You can always send us your messages, comments or suggestions.
In one click, store and find all your favourite recipes.
Add this recipe >Before starting this Mini Coffee Éclairs recipe, organise all the necessary ingredients for the choux pastry.
For the choux pastry: Place the butter, salt and water in a saucepan on the heat.
Bring to a boil.
Remove from the heat and pour all the flour at once.
Stir with a wooden spatula until there are no more lumps.
The resulting dough is called 'panada'. Dry off the panada on the heat, stirring with a wooden spatula, until the paste comes away from the sides of the saucepan and forms a ball.
Transfer the preparation into the stand mixer recipient, and beat for a brief moment with the flat beater to let it cool down.
One by one, incorporate the eggs, with the stand mixer set on low speed.
As you can notice, it is difficult to incorporate the egg at the start, but it will combine well after a while.
Repeat for the remaining eggs. The choux pastry is ready to use. It should be used immediately.
Pipe the mini éclairs on a baking sheet...
... arranging them in staggered lines. These mini éclairs should be 5 or 6cm long.
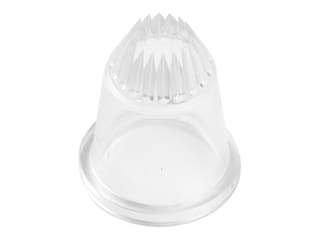
I recommend using a fluted nozzle for this operation. Over the years, I noticed the result with a plain nozzle is not as regular.
Bake in a preheated oven at 170°C (gas 3) until golden and hollow. These éclairs don't need to be glazed with egg wash since they will be coated with chocolate icing later on.
For the coffee crème pâtissière: Organise all the necessary ingredients.
In a saucepan, bring the milk to a boil. Cut the vanilla pod in half lengthwise, then add to the milk.
In a mixing bowl, combine the sugar with the whole eggs.
Blanch the preparation until light and fluffy.
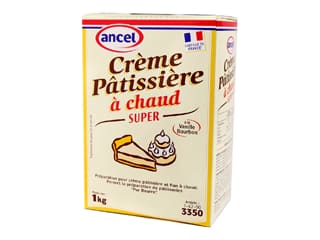
Add the crème pâtissière powder. For this recipe I used crème pâtissière powder as a substitute to flour. This powder contains 99% corn starch and allows for lighter choux buns. Combine well.
When the milk starts boiling...
... pour it in one go over the cream preparation, stirring with a whisk.
Combine.
Transfer the preparation into the saucepan used to boil the milk...
... and cook over medium heat for 3 minutes, stirring constantly. Make sure that the cream does not stick to the bottom of the pan.
Transfer the preparation into the stand mixer recipient and beat at high speed until cooled down completely.
Add some Trablit coffee extract to flavour the cream. Add the equivalent of one teaspoon first. Then add more if necessary. The amount of coffee extract varies according to the desired flavour intensity. You should always taste your preparation.
Add the soft butter, then beat for a further 3 minutes at maximum speed.
By now, the buns should be ready.
Remove from the oven and set aside to cool.
With the tip of a knife or a filling nozzle, pierce the buns on one end. I recommend using a filling nozzle to make sure the bun is completely and evenly filled with coffee cream.
Pour the coffee preparation into a piping bag fitted with a filling nozzle (6 or 8mm diameter).
Place the tip of the nozzle inside the hole at the end of the bun.
Insert the whole nose inside the bun...
... then gently squeeze the bag, gradually removing the nozzle.
Make sure you do not squeeze the bag too hard, otherwise the éclair could burst. If some filling is coming out of the bun (small holes can appear during baking), simply finish filling the bun, then wipe the excess that escaped from the bun.
Repeat this operation until all the éclairs are filled. Reserve in the fridge.
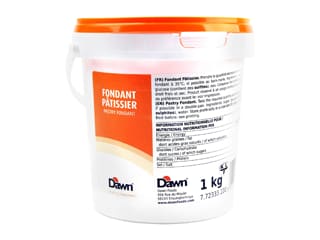
For the coffee icing: For this recipe, I used fondant white icing as a base.
Soften the fondant icing over a bain-marie. Use a digital thermometer to monitor the temperature. To ensure a glossy effect, the temperature should not exceed 37 or 40°C.
Add a few drops of coffee extract, then add more if necessary. Again, the amount of coffee extract varies according to the desired flavour intensity.
Combine gently with a spatula...
... until the coffee is fully incorporated.
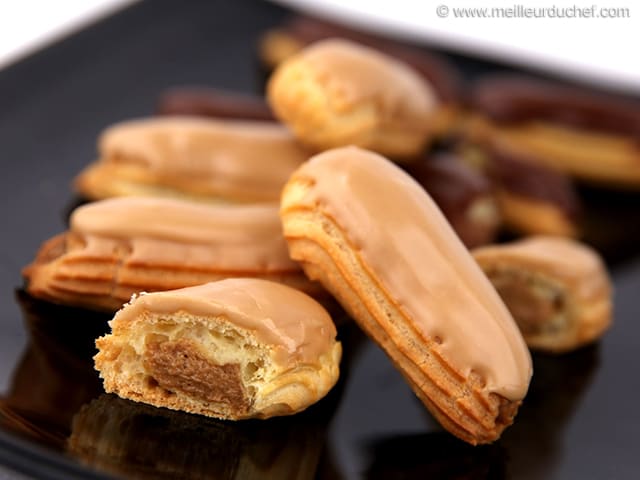
Icing the éclairs: Take one éclair with your fingers and carefully dip it in the hot coffee icing (which should at a temperature of maximum 40°C). When the surface of the éclair is in contact with the icing, make 3 or 4 quick movements, going up and down.
Let the icing excess drip off.
Wipe with your fingertip to create a neat, round end on the coating.
Place the coated éclair on a baking sheet and let cool. As it sets, the icing should be smooth and glossy.
Repeat the same operation until all the éclairs are coated with icing. Make sure you regularly stir the coffee icing to avoid a sort of skin forming on the surface. Basically, every time you're about to coat an éclair, give a quick stir to the preparation.
The éclairs are now ready!
Please login to post a review