You can always send us your messages, comments or suggestions.
In one click, store and find all your favourite recipes.
Add this recipe >Before starting this Hazelnut Tartlets recipe, organise all the necessary ingredients for the cocoa rich shortcrust pastry..
For the cocoa shortcrust pastry: In the stand mixer recipient, place the dry ingredients: flour...
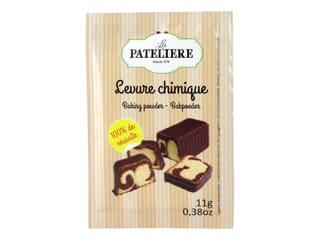
... icing sugar, baking powder and cocoa powder.
Add the eggs and softened butter.
Mix at low speed with the flat beater...
... until homogeneous. Make sure you do not knead it excessively.
Shape the dough into a ball (flatten slightly with a rolling pin) and reserve in the fridge.
For the hazelnut ganache (make the day before): Organise all the ingredients. Hydrate the gelatine in water. Pour 150 grams of whipping cream in a saucepan and bring to a boil.
Place the white and milk chocolate in a mixing bowl, as well as the hydrated gelatine.
Pour the boiling cream over the chocolate pistoles...
... and combine vigorously with a whisk, until the chocolate is completely melted.
Add the hazelnut paste...
... and combine carefully.
Add the rest of the whipping cream (cold)...
... and combine.
Mix the preparation with a Bamix hand blender.
Cover with cling film and refrigerate overnight.
For the soft caramel:Organise the necessary ingredients.
In a saucepan, place 28 grams of glucose syrup, the milk...
...and the whipping cream.
Split the vanilla pods in half and scrape the seeds out.
Add the split vanilla pods and seeds to the saucepan.
Add the fleur de sel.
Place the pan over medium heat and bring to a boil.
When the preparation starts boiling, remove the pan from the heat.
In a separate saucepan, place 100 grams of glucose syrup...
... add the castor sugar...
... and cook until you obtain a caramel.
When the caramel has a nice colour...
... add the boiling preparation (milk and cream) to reduce the temperature of the caramel. The preparation should be boiling to avoid thermal shock and splatter.
Combine vigorously with a whisk until completely incorporated. Boil the preparation for a few more minutes until the temperature reaches 105°C.
Pass the preparation through a fine sieve.
Set aside to cool (the preparation should go down to 70°C).
When the caramel is at 70°C, add the soft butter and incorporate with a hand blender.
Cover the surface with cling film and refrigerate.
For the soft hazelnut biscuit: Organise all the necessary ingredients.
Place the soft butter and hazelnut paste into the stand mixer recipient.
Mix with the whisk attachment until the texture is smooth and fine.
Place the egg yolks in a mixing bowl.
Add the castor sugar...
... and blanch with a whisk.
Sift the flour and corn starch in a mixing bowl. Set aside.
This is what the result should look like after a few minutes. Set aside.
Pour the egg whites in the stand mixer bowl...
... and beat until bright white and foamy. Add the castor sugar.
When the sugar is completely incorporated and the egg whites are stiff, stop the beater. The meringue is now ready.
Pour butter and hazelnut paste mix over the blanched egg yolks...
... and combine carefully with a whisk.
Using a whisk, start incorporating the meringue carefully.
Before the meringue is completely incorporated, add the sifted powders...
... and fold gently with a rubber spatula, making sure the preparation doesn't collapse.
This is what the result should look like this.
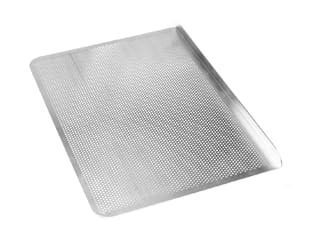
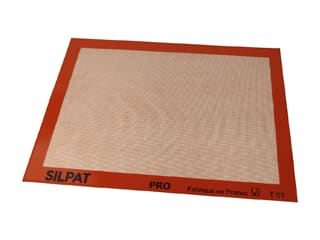
Place a Silpat baking mat on a Silichef® perforated baking sheet.
Pour the hazelnut biscuit preparation over the Silpat mat...
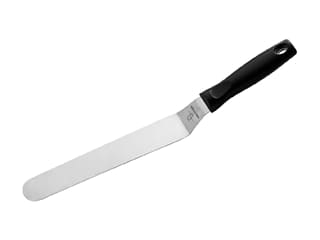
... and spread with a metallic cranked spatula to a thickness of 0.5cm.
Sprinkle chopped toasted hazelnuts over the surface.
Cook the biscuit in a fan-assisted oven preheated at 170°C (gas 3) for about 15 minutes.
In the meantime, pour the cold caramel in a piping bag. Store in the fridge until ready to assemble the tartlets.
When cooked, remove from the oven...
... and leave to cool at room temperature.
When cooled down, flip the biscuit over a sheet of greaseproof paper and detach the Silpat silicone mat (it should come off easily).
Cut 10 disc shapes with a plain round cutter Ø 4cm and 10 other disc shapes with a plain round cutter Ø 5cm. Set aside.
Remove the hazelnut ganache from the fridge and transfer into the stand mixer bowl...
... then beat with the flat beater. The colour should become paler and the texture should be similar to a whipped cream.
Transfer the hazelnut ganache into a piping bag. The use of a nozzle is not necessary.
Place the hazelnut tartlet silicone mould on top of a baking sheet.
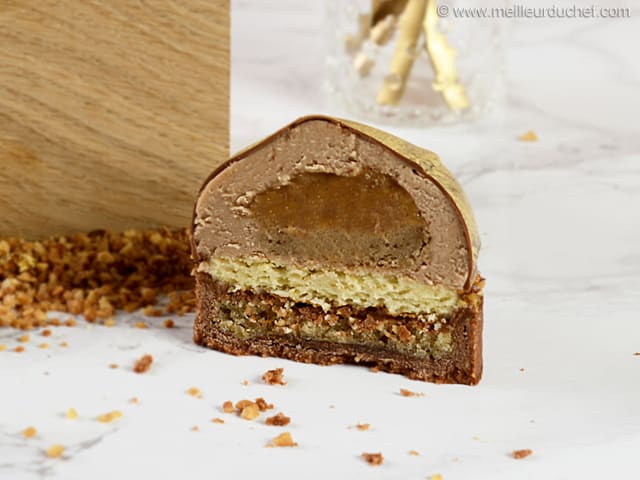
Fill the cavities halfway up with the hazelnut ganache.
Using a small cranked spatula, create a volcano shape so that the ganache goes all the way up the rim.
Pipe some soft caramel in the centre.
Arrange a small biscuit disc (Ø 4cm) directly over the caramel and press with your fingers gently.
Cover with hazelnut ganache...
... and even the surface with the cranked spatula.
Place a biscuit disc (Ø 5cm) over the ganache.
Cover the surface with cling film and place in the freezer. Up to this stage, the tartlets can be made in advance and stored in the freezer.
Using a rolling pin, roll out the cocoa rich shortcrust pastry to a thickness of 3mm...
... as shown in the photo. Make sure you sprinkle flour over your workbench beforehand.
Using a round pastry cutter Ø 6cm, cut 10 discs of pastry.
With the rest of the pastry, cut strips to a width of 2 cm.
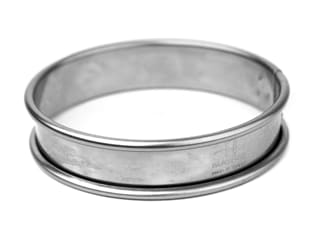
Line 10 tart rings 6cm. Arrange one pastry strip along the inside rim of each ring. Place the rings over a Silichef perforated baking sheet lined with a Silpat baking mat.
Place a disc of cocoa rich shortcrust pastry at the bottom of each ring...
... making sure to seal the disc and strip together with your finger.
Slide the knife blade along the rim of the tart ring and discard the pastry excess.
For the hazelnut cream: Prepare all the ingredients.
In a mixing bowl, place the soft butter and castor sugar.
Mix both ingredients with a spatula.
Add the whole egg...
... and combine carefully with a whisk. The consistency is grainy at this stage, which is completely normal.
Add the ground hazelnuts and the flour...
... and combine with a spatula.
Add the whipping cream and combine.
Transfer the hazelnut cream in a piping bag (no nozzle needed).
Pipe a thin layer of hazelnut cream (thickness 0.5cm) at the bottom of each pastry shell.
Cook the tartlets in a fan-assisted oven preheated at 170°C (gas 3) for 15 to 20 minutes.
For the coating: Organise all the necessary ingredients.
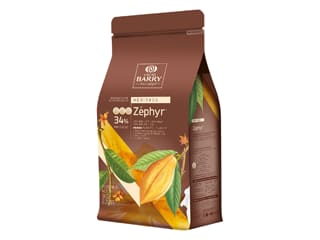
Pour the chocolate in a mixing bowl and melt it in the microwave, stirring every 30 seconds so it doesn't burn. The temperature should reach 40°C.
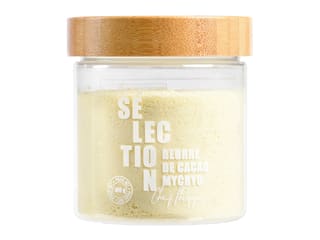
Repeat the operation with Mycryo cocoa butter until it reaches 40°C (make sure it doesn't exceed that temperature).
Combine the melted chocolate and cocoa butter with a whisk until homogeneous.
When the pastry shells are cooked, remove from the oven.
Pour the icing in a dispenser jug and mix with a hand blender until homogeneous.
Take the tartlet tops out of the freezer and remove the cling film.
Release the hazelnut shapes from the mould and arrange on a rack placed on top of a deep baking tray.
Pour the icing (at 40°C) over the hazelnut entremets, making sure to pour one layer only. The icing should set immediately.
This is what the result should look like.
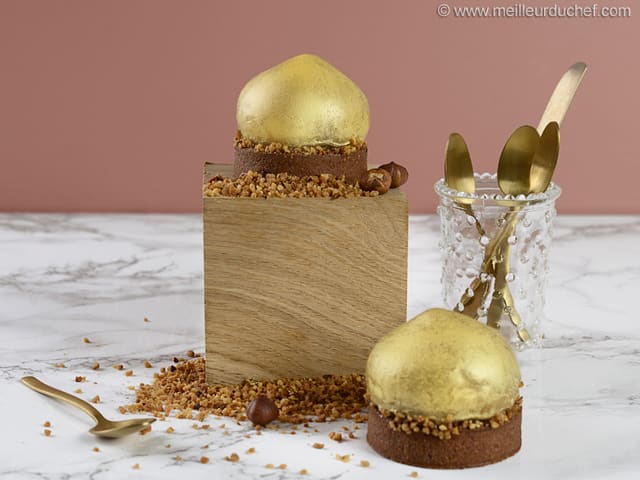
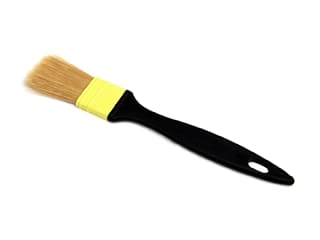
Using a pastry brush, apply gold leaf on the surface of each cake...
... as shown in the photo.
Trim the angles of the pastry cases with a Microplane grater to get a perfectly regular finish.
The result should be as shown in the photo.
Fill a piping nozzle with pralin feuilletine paste (soften in the microwave beforehand).
Place a knob of praline paste over each tartlet base...
... and spread with a small palette knife over the whole surface of the tartlet.
Place the golden tartlet tops over the pastry bases...
... as shown in the photo.
Stick chopped caramelized hazelnuts around the rim of each tartlet, at the base of each golden top. The hazelnut pieces should easily stick to the pralin feuilletine paste. Reserve in the fridge until ready to serve. It should defrost for at least 2 hours. Enjoy!
Please login to post a review