You can always send us your messages, comments or suggestions.
In one click, store and find all your favourite recipes.
Add this recipe >Before starting this Classic Fraisier recipe, make sure you have organised all the necessary ingredients.
For the crème mousseline: Cut the vanilla pod lengthwise. Scrape the seeds out with a knife and add them to the cold milk.
Add half of the sugar, then bring the milk to a boil.
Pour the rest of the sugar over the whole eggs.
Blanch the ingredients using a whisk...
... and add the flour. Combine well.
Add the boiling milk, while stirring with the whisk. Combine well.
Transfer the preparation into the saucepan used to boil the milk and cook the crème over medium heat, whisking constantly, until thick and homogeneous.
Transfer the preparation into the stand mixer recipient, making sure to remove the vanilla pod. Beat at medium speed until cooled down completely.
When the cream is cold, add the soft butter cut into cubes...
... and beat until homogeneous.
Add the Kirsch last. Combine well.
Assembling the cake: Organise all the necessary ingredients.
Cut the sponge cake in half, lengthwise, to create 2 thin layers.
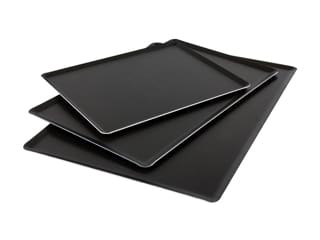
Place an expandable frame on a baking sheet. For this recipe, I set the frame to dimensions of 28 x 21cm. Cut a gold cake board to the same dimensions and place at the bottom. This will facilitate handling the cake for serving.
Place half of the sponge cake at the bottom (crust side facing down). The dimensions should be slightly smaller than the frame (27 x 20cm).
Using a brush, steep the biscuit with the syrup (made beforehand by combining the cane sugar syrup and kirsch).
Place the strawberry slices vertically against the inside rim of the frame. Instead of using strawberry halves, I cut the strawberries in round slices for a different visual effect.
Repeat the operation until all sides of the frame are lined with strawberries.
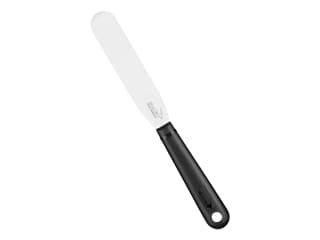
Spread 1/3 if the crème mousseline on top of the biscuit, using a small palette knife to fill up every space and remove any air bubbles.
Add the rest of the strawberries, cut in pieces...
... until they cover the whole surface.
Spread another third of crème mousseline on top of the strawberries. Even the surface.
Place the second half of génoise sponge, this time with the crust facing up. Steep the biscuit with the remaining syrup, then spread the rest of crème mousseline on top.
Even the surface with a spatula.
Cover with cling film and refrigerate for at least 1 hour to set. This cake cannot be prepared days ahead then frozen, due to the fresh fruits filling. If necessary, you can make it 24 hours beforehand (48 hours is the absolute maximum).
For the finish: Remove the cling film.
Work the green marzipan with your fingers.
Spread the marzipan into a thin layer (a few millimetres). Sprinkle some potato starch or cornflour on the kitchen worktop to prevent the marzipan from sticking.
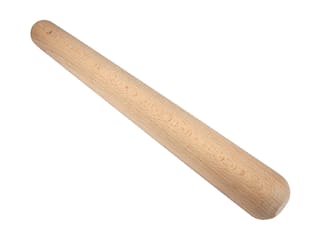
Wrap it gently around the rolling pin...
... and place it over a decorating relief mat. (This baking mat is not going to be used in the oven here, it serves as a stencil to create a relief pattern on the marzipan.) Press gently, in order not to create holes in the marzipan.
Wrap the marzipan around the rolling pin.
Gently lay it on top of the cake, with the patterned side facing up.
Gently adjust it on the cake...
... and trim the excess, passing the rolling pin along the edge of the frame.
Reserve the marzipan excess aside...
... then remove the frame gently. Not to damage the marzipan decoration, I placed the cake board on a thick stand, then slid down the frame slowly.
Finish the decoration with a few marzipan roses and leaves. Reserve in the fridge until ready to serve. For a creamier and tastier experience, I recommend taking the cake out of the fridge 30 or 45 minutes before serving.
Enjoy!
Please login to post a review