You can always send us your messages, comments or suggestions.
In one click, store and find all your favourite recipes.
Add this recipe >Before starting this White Bread recipe, organise all the necessary ingredients.
Tip the flour in the stand mixer recipient.
Add the castor sugar...
... salt...
... and combine with a hand whisk.
Use a measuring glass to measure the milk, then heat in the microwave for a few seconds.
In the meantime, add the fresh baker's yeast over the flour in the bowl. Results will be much better if you're using fresh instead of dry yeast. It should be easy to find in the pastry section of your supermarket.
When the milk reaches a temperature between 25 and 30°C (I recommend using a laser thermometer)...
... pour it over the dry ingredients in the bowl.
Add the water (at room temperature) in the stand mixer bowl...
... and place the bowl in the stand mixer.
Attach the dough hook.
Add the melted butter to the rest of the ingredients...
... and knead at low speed until all the ingredients are incorporated.
When all the ingredients are incorporated, increase to medium speed and knead for 8 to 10 minutes.
The dough should come away from the bowl. This operation aims to develop the glutinous network of the dough.
In the meantime, start the proofing chamber set at 30°C.
When the kneading is complete (10 minutes later)...
... it is important to check the glutinous network. Stretch the dough carefully with your fingers. The gluten network should be visible, making the dough almost translucent, without tearing. If the result is similar to what is shown in the photo, your dough is ready.
Place a small recipient at the bottom of the proofing chamber and fill with a small amount of warm water. This will help create a humid environment inside the chamber.
Install the sides of the proofing chamber. This operation is easy by simply unfolding them.
Place a rack at the bottom of the proofing chamber.
Place a bowl on top of the rack in the proofing chamber. Warm up the bowl in the microwave beforehand, making sure it is not too hot.
Shape the dough into a ball and place in the bowl.
Cover the bowl with a clean tea towel...
... as shown in the photo.
Close the proofing chamber with the lid...
... and leave to rise for 30 minutes at 30°C.
Remove the cloth 30 minutes later. The dough should have doubled in volume.
Knock the dough back with your fist...
... to get rid of carbon dioxide gas that formed inside the dough. The dough should reduce in volume.
Transfer the dough on your kitchen workbench (lightly floured beforehand).
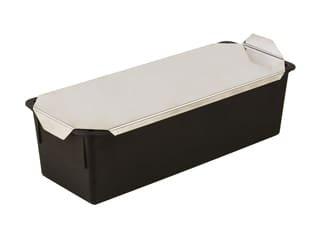
For this recipe I used an Exoglass® bread pan. It is important that you're using a mould with a lid to make sure you get a tight crumb. Grease the inside of the mould with oil spray. The whole surface of the mould should be coated with a thin layer of grease.
Grease the underside of the stainless steel lid as well for an easier release later on.
Place the dough on your workbench and give it a long rectangle shape. Fold the dough towards the centre to give it more texture. Use both hands and your right hand's palm to gather the dough.
Continue folding the dough over the whole length.
Shape the dough into a regular sausage. Flip the dough upside down so the seal is underneath...
... and place it inside the bread pan.
Close the mould with the lid, leaving an opening of about 20% of the lid length.
Place the mould on the rack in the proofing chamber...
... then install the removable walls...
... and cover with the appropriate lid. Leave to rise at 28°C for 30 to 45 minutes until the dough gets to the top of the mould without touching the lid.
The dough is ready for baking.
Remove the sides from the proofing chamber.
Slide the lid shut so the dough is completely enclosed...
... as shown in the photo.
Place the mould on the middle rack of a fan-assisted oven...
... preheated to 220°C (gas 7).
Place the bread pan in the oven and reduce the oven temperature down to 180°C (gas 4). Bake for 45 minutes.
When cooked, remove the pan from the oven. Some dough might have come out between the mould and the lid (as shown in the photo). This is nothing to worry about.
Place the mould on your workbench.
Remove the dough coming out of the mould and slide the lid open. The bread pan is very hot, make sure you use a tea towel for this operation. It might be difficult to open the lid.
This is what the result should look like at this stage. The bread loaf is perfectly cooked and golden!
Flip the hot bread loaf onto a rack...
... and carefully release the loaf from the mould. The bread should come off easily.
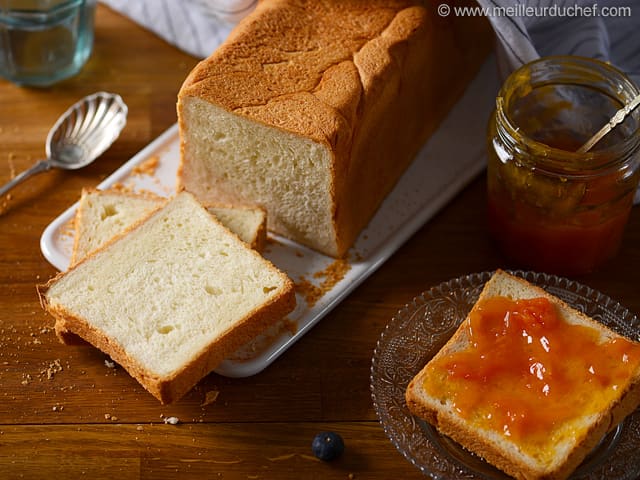
Leave aside to cool on the rack at room temperature. Using a serrated knife, you can trim the base of the white bread to give it a perfectly regular shape. Enjoy!
Please login to post a review