You can always send us your messages, comments or suggestions.
In one click, store and find all your favourite recipes.
Add this recipe >Before starting this Chocolate and Caramel Tart recipe, organise all the necessary ingredients for the vanilla rich shortcrust pastry.
For the vanilla rich shortcrust pastry: In the stand mixer recipient, place the butter and castor sugar.
Blanch the ingredients with the flat beater for a few minutes until homogeneous.
Add the salt.
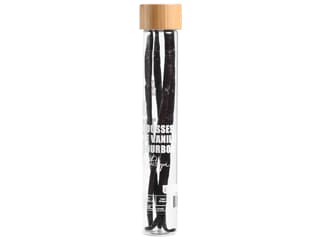
Split the vanilla pod lengthwise, then scrape the seeds out.
Add the vanilla seeds to the bowl.
Add the egg. Combine.
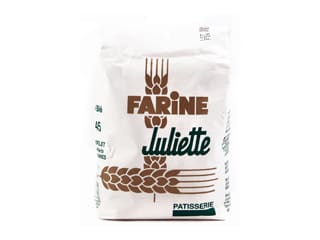
Gather the almond powder, flour and baking powder and blend together.
Add the powder ingredients to the bowl...
... and combine until homogeneous.
Transfer the dough on your kitchen worktop. Quickly work the dough (stretching and regathering) with your palm. Shape the dough into a ball. Wrap with cling film and refrigerate during at least 2 hours.
For the caramel and milk chocolate mousse: Organise all the necessary ingredients. Beat the whipping cream...
... until you obtain a whipped cream, using an electric whisk. Reserve in the fridge.
Tip the castor sugar in a small saucepan. Add 5 cl of water, just enough to humidify the sugar.
Cook the sugar until the temperature reaches 121°C. For this step, the use of a digital probe thermometer is recommended.
Pour the cooked sugar over the eggs, while whisking at medium speed. Pour the cooked sugar along the inner side of the bowl to avoid splashes of hot sugar.
Increase the speed of the stand mixer and whisk until completely cold. This preparation is called 'pâte à bombe'.
In the meantime, melt the caramel chocolate couverture in the microwave, stirring every 10 or 20 seconds to make sure the chocolate doesn't burn.
Stir until completely melted and homogeneous.
Pour the melted chocolate (at room temperature) in the preparation...
... and combine gently.
Blend half of the whipped cream to the chocolate preparation to facilitate the incorporation...
... then add the mixture to the remaining whipped cream...
... and fold gently.
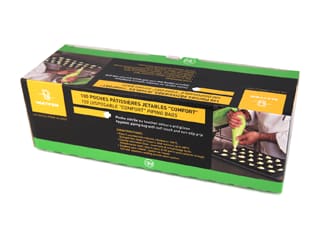
Transfer the preparation into a piping bag. The use of a nozzle is not necessary.
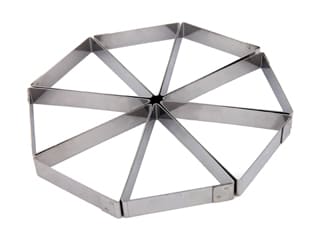
Pipe the caramel mousse into the triangle tartlet rings. Even the surface with a cranked metallic spatula...
... and cover with cling film. Store in the freezer overnight so the mousse is totally frozen.
The caramel mousse triangles can be prepared a long time ahead, then stored in the freezer.
Flour your kitchen worktop then place the dough ball on top.
Using a rolling pin, roll the dough out to a thickness of 3 mm.
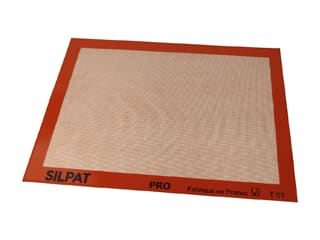
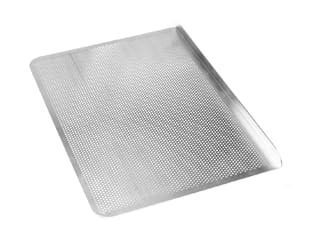
Transfer the dough onto a Silpat baking mat, placed on top of a Silichef XL perforated baking sheet.
Cut the dough into triangle shapes. The triangle shapes should be slightly bigger than the rings used to mould the mousse, about 0.5cm larger on each side.
Cut 8 triangle shapes, using a triangle tartlet ring as a guide.
Discard the pastry scraps.
Arrange the triangle shapes on the silicone mat, making sure to leave enough space between them.
Bake at 180°C (gas 4) for about 12 minutes, preferably in a fan-assisted oven.
When cooked, remove from the oven and leave to cool.
When completely frozen, remove the caramel mousse triangles from the freezer and spread a thin layer of Cara Crakine on top with a small palette knife.
Repeat the operation for all triangles.
Place a sheet of cling film over the triangles.
Slide a rolling pin over the triangles to even the surface. The surface should be perfectly flat. Return to the freezer.
For the chocolate coating: Organise all the necessary ingredients.
Melt the milk chocolate in the microwave, working in periods of 10 to 20 seconds to make sure the chocolate does not burn.
When melted and homogeneous, add the grapeseed oil...
... and combine gently with a rubber spatula until smooth.
Add the caramelized hazelnuts and combine until homogeneous. Set the chocolate coating aside until the temperature goes down to 30/35°C.
Take the caramel mousse triangles out of the freezer and remove the cling film.
One by one, release the caramel mousse triangles from the rings. Gently heat the sides of the triangle ring with your finger, or expose the ring very quickly to the flame of a bowl torch. Make sure the mousse doesn't melt.
Transfer the caramel mousse triangles onto a rack, placed on top of a deep tray.
Pour the coating in one stroke, from one side of the triangle to the other...
... making sure the whole surface and sides are coated.
Repeat the operation for all the triangles. By coming into contact with the frozen triangles, the coating should set immediately.
While they are still frozen, lift the triangles with a spatula...
... and arrange one on top of each cooked pastry triangle.
The tartlets should look like this. At this stage, the tartlets should be stored in the fridge instead of the fridge.
Ideally, store this dessert in the fridge overnight to allow it to defrost slowly.
For the chocolate Chantilly cream: Organise all the necessary ingredients.
Pour the whipping cream in a saucepan. Add the glucose syrup. If you're handling the glucose with your fingers, dip them in cold water beforehand to avoid it from sticking.
Bring the cream and glucose to a boil. The glucose is used to smooth the consistency of the Chantilly cream.
When the preparation starts boiling, remove the saucepan from the stove and let the temperature go down to 80°C.
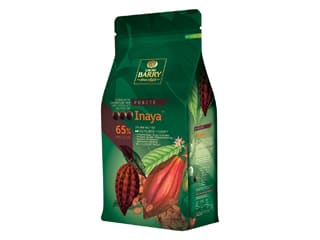
Pour the preparation over the dark and milk chocolate...
... so that the pistoles are completely immersed.
Wait for about one minute before stirring; the chocolate will start to melt in the hot cream...
... then combine gently with a whisk...
... until the consistency is homogeneous. Cover with cling film and refrigerate for about 4 or 5 hours.
Take the Chantilly cream out of the fridge and place it in the stand mixer bowl.
Whip the cream with the flat beater. The consistency should be pale and fluffy. Stop mixing when you obtain a smooth texture.
Transfer the cream into a piping bag fitted with a plain nozzle (diameter 1 cm).
Take the tartlets out of the fridge and pipe small drops of chocolate Chantilly cream on the surface of each triangle.
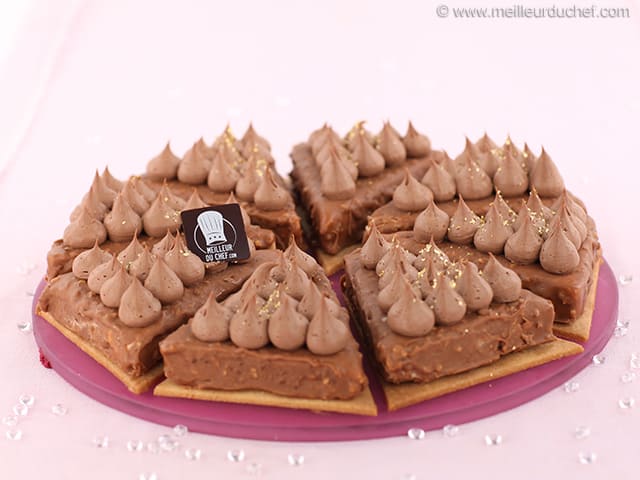
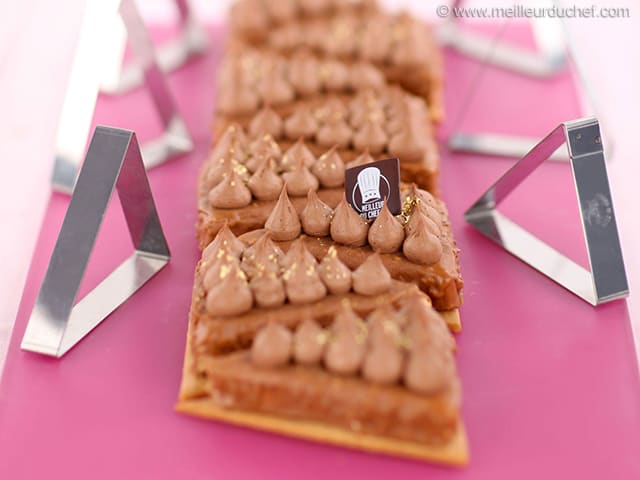
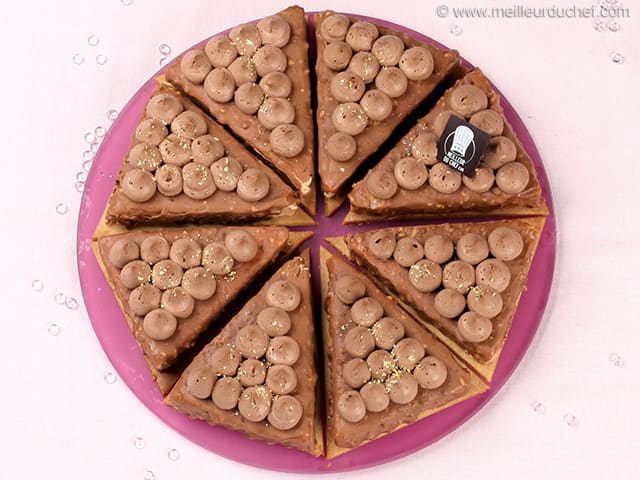
The finished tart should look like this.
Finish by sprinkling a few gold flakes over the tartlets...
... and your dessert is ready!
This gorgeous tart is the perfect treat for chocolate and caramel lovers...
This dessert does not contain any gelling ingredient (such as gelatin or Mycryo cocoa butter) other than chocolate, which sets while cooling down. Milk chocolate takes longer to firm than dark chocolate. From the moment the log is defrosted, it should be stored in the fridge between 24 and 36 hours to allow the caramel and milk chocolate to set completely. Otherwise, the log is likely to collapse and you will have trouble cutting it.
Please login to post a review