You can always send us your messages, comments or suggestions.
In one click, store and find all your favourite recipes.
Add this recipe >Before starting this Almond and Morello Cherry Entremets recipe, roll out the puff pastry with a rolling pin.
Using a bowl or pastry cutter, cut discs to a diameter of 12 cm.
We need a total of 5 discs.
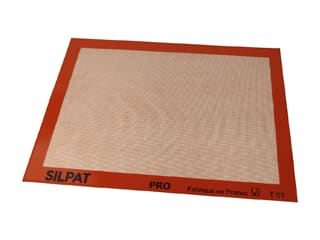
Line 5 greased Exoglass® tart rings Ø 9cm and arrange them on a Silpat baking mat, placed on top of a Silichef XL perforated baking sheet.
Remove the pastry excess with a utility knife.
The result should be as shown in the photo. Reserve in the fridge.
For the almond preparation:Organise all the necessary ingredients.
Pour the water in a saucepan...
... and add the castor sugar.
Combine well until melted.
Place the saucepan on the stove...
... and bring to a boil. When the preparation start boiling, cook for 1 minute and take the pan away from the heat.
Place the almond powder in a mixing bowl...
... add the boiling syrup...
... and gently combine with a whisk.
In a second recipient, place the egg yolks and flour.
Whisk well, making sure lumps do not form.
Add the almond preparation...
... and combine with a whisk.
Transfer the preparation into the saucepan used to boil the syrup. Cook for a couple of minutes until the preparation boils and thickens.
Transfer the almond preparation into a piping bag and fill the pastry cases.
Even the surface with a small metallic cranked spatula.
Bake in a fan-assisted oven preheated at 200°C (gas 6)...
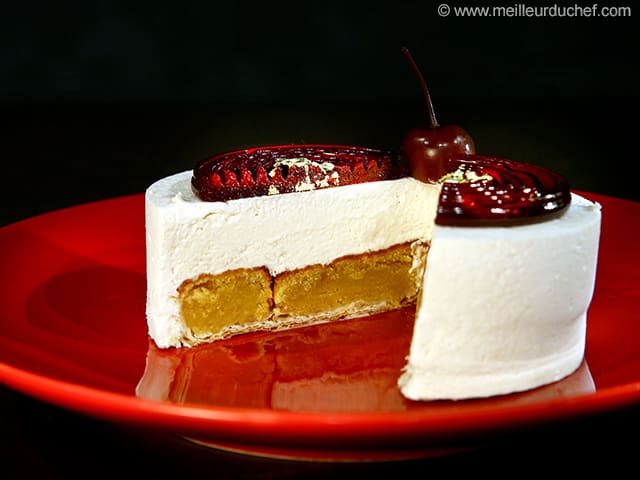
... for approximately 30 minutes. The almond filling will rise during baking. Once out of the oven, it will collapse and return to the same level.
The final result should look like this. Slide a knife blade between the pastry and the tart ring...
... and gently remove the ring.
Leave to cool.
For the morello cherry purée:Organise all the necessary ingredients.
Pour the morello cherry purée in a saucepan and place on the heat. Add the castor sugar. Keep some sugar aside for the pectin.
In a separate bowl, blend the pectin NH and the rest of the sugar. This will prevent the pectin from creating lumps in the preparation.
When the cherry fruit purée starts boiling...
... add the pectin and sugar mix...
... and combine carefully with a whisk. Cook for 1 or 2 minutes to give time to the pectin to kick in.
Pour the morello cherry purée in the cavities of a whirl silicone mould. Fill the cavities up to the top. Place the mould in the freezer.
For the Chantilly cream: Organise all the necessary ingredients.
Place the cold whipping cream in the stand mixer recipient, as well as the whipped cream stabilizer.
Whisk until you obtain a firm Chantilly cream. The use of stabilizer helps to reduce whisking time.
On a Silpat baking mat, arrange a strip of acetate cut the circumference of the mousse rings Ø 12cm. The acetate strip should have a width of 4.5cm. Using a small palette knife, spread a thin layer of Chantilly cream over the acetate strip.
Thickness should not exceed 3 or 4mm. Gently lift the acetate strip and detach from the Silpat mat...
... and arrange the strip inside the ring. Repeat the operation for all five rings.
Place the almond flans at the bottom of each ring.
Flavour the remaining Chantilly cream with morello cherry flavouring. The amount of flavouring varies according to the desired flavour intensity.
Transfer into a piping bag. The use of a nozzle is not necessary.
Fill the mousse rings with Chantilly cream.
Even the surface with a small cranked spatula. Place in the freezer. Up to this stage, this recipe can be prepared several days in advance.
On the day: Remove the rings from the freezer and release the cakes from the rings. Slightly heat up the sides of the rings with a blow torch to facilitate the operation...
... and remove the acetate strips.
Remove the cherry purée whirls from the freezer. Gently release the whirl shapes from the silicone while they are frozen...
... and arrange them carefully on the centre of each cake.
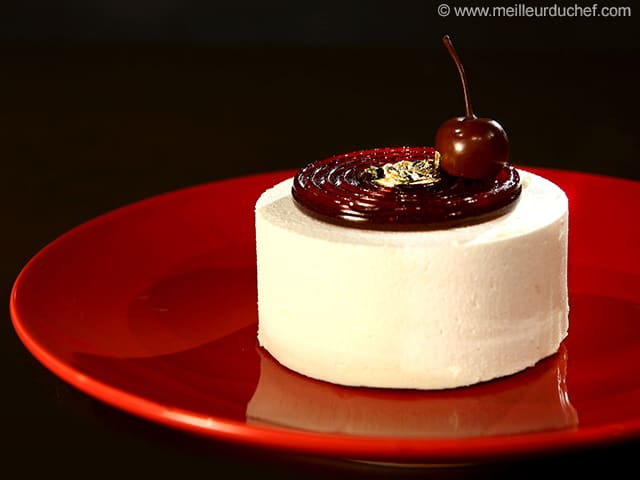
This is what the result should look like.
Arrange a liqueur morello cherry on top of each cherry purée whirl. If needed, cut the base of the cherries so they are stable on the surface of the cake.
Another photo of the result at this stage.
In the centre of each cake, carefully place a chunk of gold leaf sheet with decorating tongs or the tip of a knife.
Store in the fridge to defrost.
Please login to post a review