You can always send us your messages, comments or suggestions.
In one click, store and find all your favourite recipes.
Add this recipe >Before starting this Fruit Birthday Cake recipe, organise the necessary ingredients for the strawberry fingers.
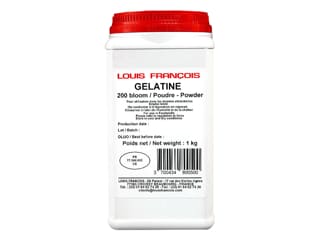
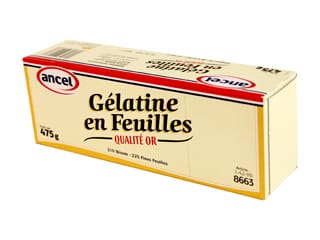
For the strawberry insert (make the day before): Place the gelatine sheets in cold water.
Pour the strawberry purée in a saucepan. Add the castor sugar.
Bring the purée to a gentle boil. Strain the gelatine, squeezing it between your hands, and add to the purée. Combine until the gelatine has dissolved completely.
Pour the strawberry purée in a baking dish with raised edges to speed up the cooling down process.
Do not refrigerate; the preparation should not jellify.
In the meantime, beat the cold whipping cream until you obtain a whipped cream. It is essential that the cream has a 30-35% fat content (source from your local dairy shop).
When the strawberry purée is at room temperature, transfer into a mixing bowl and add the whipped cream. Fold gently with a rubber spatula.
Scoop the preparation into a piping bag. The use of a nozzle is not necessary.
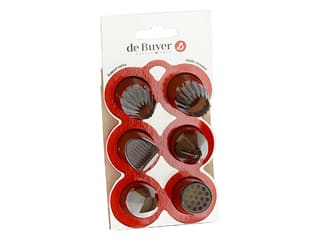
Cut the end of the piping bag and fill the cavities of a Flexipan cylinder mould all the way up.
Cover with cling film and place in the freezer overnight.
For the strawberry jelly insert (make the day before): Organise all the necessary ingredients.
Pour the strawberry purée in a saucepan. Add half of the sugar, i.e. 40 grams. Bring to a boil.
Place the gelatine in 78 grams of water.
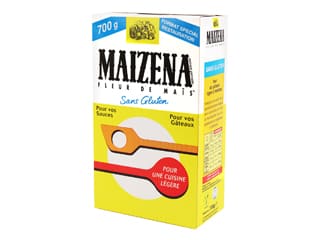
In a bowl, tip the remaining castor sugar and the cornflour or potato starch.
Combine the ingredients with a small whisk.
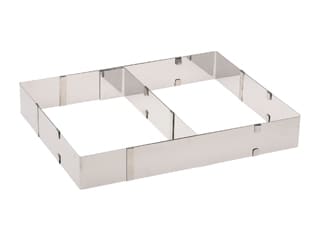
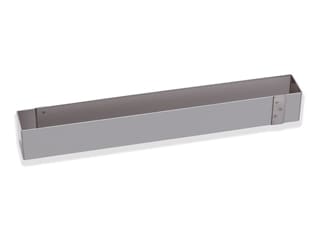
Stretch some cling film on a long rectangular frame on one side only to create a bottom. Place the frame on a flat tray, the side with cling film facing down. Set aside.
When the strawberry purée is hot (gentle boil), add the sugar and cornflour mix...
... and combine vigorously to avoid lumps. The preparation should thicken within a few seconds.
Using a hand blender, mix the preparation until homogeneous. Make sure there are no lumps.
Take the rehydrated gelatine mass...
... and add it to the hot strawberry purée. Combine well until incorporated.
Pour the hot purée in the cake frame, trying to achieve a regular thickness.
Store in the freezer overnight.
For the strawberry fingers coating: Organise the necessary ingredients.
Melt the white chocolate in the microwave or over a bain-marie. The temperature should not exceed 40/45°C.
Add the grapeseed oil to the melted chocolate.
Combine well.
Add the chopped hazelnuts and combine.
Remove the Flexipan mould from the freezer and remove the cling film.
Gently remove the strawberry inserts from the mould, making sure not to break them. For a more regular surface, you can gently trim the fingers with a small knife.
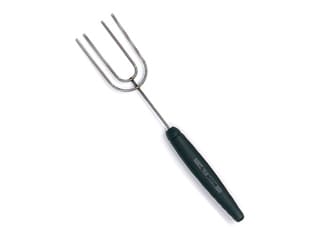
Place one strawberry finger on the prongs of a dipping fork.
Gently bury it in the white chocolate coating.
Remove gently when completely coated. Let the excess coating drip off. The white coating will set within a few seconds.
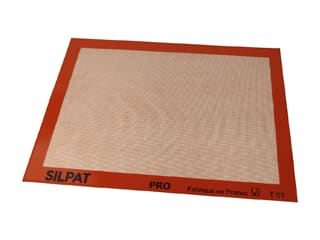
Arrange the coated fingers on a Silpat baking mat and store in the freezer. Make sure to proceed quickly, as the strawberry inserts won't take long to defrost.
For the strawberry biscuit base: Organise all the necessary ingredients.
Mix the strawberries until coarsely chopped. Simply make sure the strawberry bits are not too chunky.
Pour the egg whites in the stand mixer recipient and beat until firm.
Add the castor sugar.
Beat again until stiff.
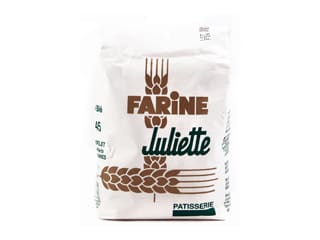
Add the sifted flour...
... and the almond powder.
Fold gently with a rubber spatula.
Add the chopped strawberries and combine.
On a Silpat baking mat, spread the preparation into an even layer.
Bake at 170°C (gas 3)...
... for 18 to 20 minutes.
When cooked, let cool then flip the baking mat onto a sheet of greaseproof paper. Gently detach the biscuit from the mat.
Set aside.
Génoise à la pistache For the pistachio génoise sponge: Organise all the necessary ingredients.
Combine the eggs and sugar in a mixing bowl or in the stand mixer recipient.
Using a hand whisk, whip over a bain-marie.
The temperature should reach roughly 40°C.
Finish beating with an electric mixer until cooled down completely. If you do not have a food mixer, you can finish beating manually. The preparation is ready when doubled in volume.
Add the pistachio paste.
Combine gently.
Add the flour (which has been sifted beforehand)...
... and stir gently with a rubber spatula or a skimmer, with a rotating motion.
Grease a 24cm round cake tin. I used an oil spray for an easy release of the cake.
Tip the preparation...
... into the mould.
Bake at 180°C (gas mark 4) for about 20 minutes.
To check whether the sponge cake is cooked, insert the blade of a knife in the cake. When you take it out, nothing should stick to the blade. Remove the sponge cake from the mould.
Leave to cool on a rack or a tray.
For the mango mousse: Organise all the necessary ingredients.
Heat up the mango purée and castor sugar in a saucepan.
Combine with a whisk until the sugar has dissolved completely.
Add the gelatine sheets, which have been softened in water beforehand. Combine well until dissolved.
Pour the mango purée in a baking dish with raised edges to speed up the cooling down process. Do not refrigerate. The preparation should not jellify.
In the meantime, beat the whipping cream until you obtain a whipped cream.
When the mango purée has cooled down, transfer into a mixing bowl.
Add the whipped cream...
... and fold gently, using a rubber spatula.
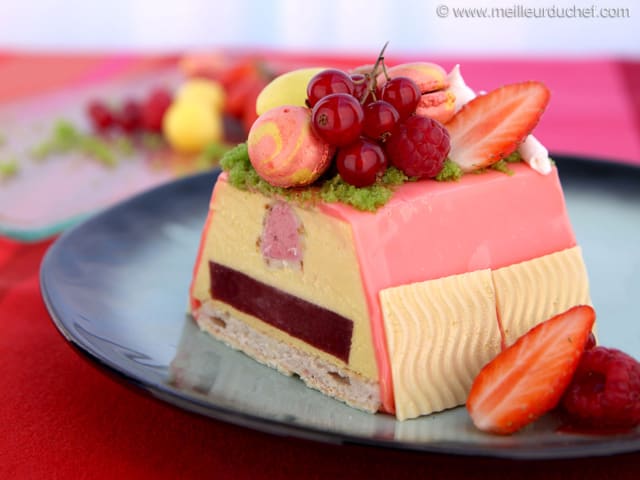
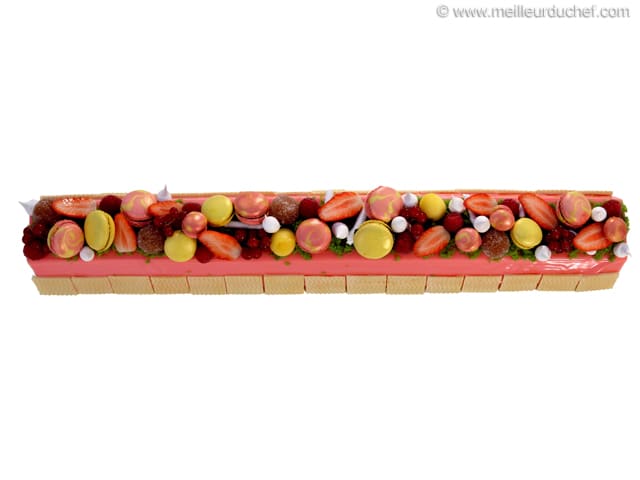
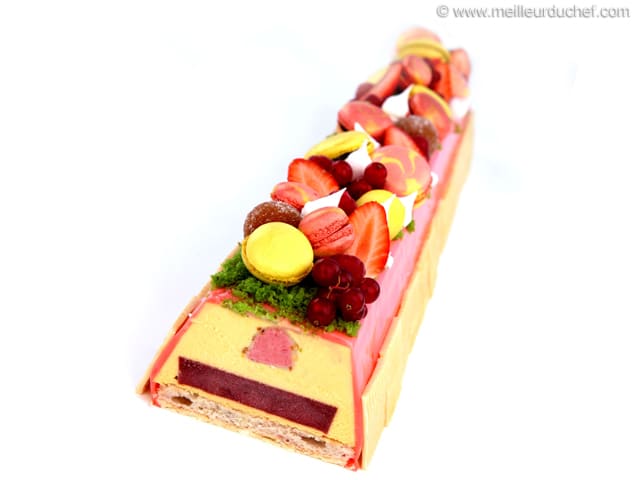
Assembling the cake: Place the 56cm ingot cake frame on a Silpat baking mat. Fill with the mango preparation halfway up.
Arrange the frozen strawberry fingers in the centre...
... lining them up, lengthwise.
Cover the strawberry fingers with a thin layer of mango mousse.
Release the strawberry jelly insert from the cake frame...
... and place it on top of the mango preparation. Gently bury it in the mango mousse (it should come up a bit on each side).
Spread another thin layer of mango mousse on top, then cover with a strip of strawberry biscuit cut to the same dimensions as the frame.
Using a brush, spread melted white chocolate on the surface of the biscuit. This will create a hard shell on the biscuit to prevent it from breaking. Reserve in the freezer.
When the cake is completely frozen (a few hours later), remove from the freezer and gently heat the sides of the frame with a blowtorch...
... until it detaches from the cake. Make sure you do not overheat the frame in order not to melt the cake.
Return the cake to the freezer.
For the pink icing: Organise all the necessary ingredients.
Hydrate the gelatine with 36 grams of water.
Pour the water in a saucepan.
Add the castor sugar...
... then add the glucose syrup. (It can be melted in the microwave for a few seconds to give it a liquid consistency that will be easier to work.)
Heat the ingredients until the temperature reaches 103°C. This should be very quick. Basically, the temperature is right when you reach a gentle boil.
When the preparation reaches 103°C, add the condensed milk and combine.
Add the rehydrated gelatine; it will melt quickly in the warm icing.
Combine well.
Pour the hot preparation over the white chocolate pistoles...
... and wait for a few seconds before stirring for the chocolate to start melting a little.
Mix using a hand blender.
Add a small pinch of strawberry red colouring powder...
... and stir well. Colouring powders are very effective. I recommend working with very small quantities, then adjust the colour by adding more powder if needed.
Transfer the icing into a deep, narrow recipient. Mix again with the blender. This will allow to remove any air bubbles and obtain a smooth consistency. Create gentle swirls while mixing, making sure the blender head is completely immersed so as not to incorporate any air.
When the icing has a temperature of 30°C (maximum), take the cake out of the freezer and transfer onto a rack, placed on a deep baking tray in order to collect the icing excess. Pour the icing in one stroke...
... from one end of the cake to the other. Make sure the sides are coated as well. By coming into contact with the frozen cake, the icing will set immediately. Let defrost slowly in the fridge.
Using a serrated knife, cut the sponge cake in half, crosswise.
Using both halves...
... grate the inside to create a light, crumbly texture. I recommend using a decorating comb for this operation.
Reserve the crumbs...
... and arrange them into a thin layer, all over the surface of the cake.
Make sure you don't drop any sponge crumbs on the sides of the cake for neat results. Return to the fridge.
For the decorations: Don't hesitate to customise this dessert with the decorations of your choice! For this recipe, I made some last-minute coloured decorations, such as these fresh mango balls, shaped using a melon baller.
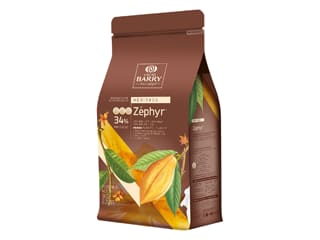
Other types of decorations should be made in advance. I made white chocolate squares, using tempered white chocolate couverture (Zéphyr for instance), spread into a thin layer on a texture sheet and cut before the crystallisation process is complete. When set, detach the chocolates gently by lifting.
Using a dry brush, apply some iridescent gold colouring powder on the surface of the chocolate squares.
I also made passion fruit paste and moulded it into spheres using a GourmetFlex silicone mould...
... then I coated them with granulated sugar.
The coating operation should be performed at the last minute before serving.
If you wish, you can make two-colour macarons in advance. For perfect results, pipe the macarons on the appropriate Silpat baking mat. For an original two-colour effect, I recommend using the DUO decorating set.
Of course, you can also make one-colour macarons, as shown in the photo with pink or yellow macarons. When cooked, use some passion fruit paste to assemble two parts together.
Make some meringue kisses in advance, pipe them on a Silpat baking mat...
... then cook at 100°C (gas 1/4) for about 1 hour, preferably in a fan-assisted oven.
When all the decorations are ready, take the cake out of the fridge and start arranging the chocolate squares on the sides of the cake, lining them up at the base. They will stick easily to the icing.
On top of the green sponge crumbs, place the different decorations you prepared, together with fresh red berries (strawberries, raspberries and red currants.
Arrange them gently, creating a harmonious combination of colours.
If you don't want to use gelatine sheets, which are of animal origin, you can replace them with agar-agar, a powder extracted from red seaweeds.
Recommended quantity: 1 gelatin sheet (2 grams) = 0.6 grams of agar-agar.
Please login to post a review