You can always send us your messages, comments or suggestions.
In one click, store and find all your favourite recipes.
Add this recipe >Before starting this Black Forest Cake Roll recipe, organise the necessary ingredients for the chocolate choux pastry.
For the chocolate choux pastry: Pour the milk in a saucepan.
Add the castor sugar...
... salt...
... and the butter. Heat the ingredients.
In the meantime, sift the flour and cocoa powder over a sheet of greaseproof paper.
Pour the egg whites in the stand mixer recipient...
... and beat until foamy. Make sure the eggs whites are not too firm.
When the butter, sugar and salt are melted in the milk, transfer into a separate stand mixer bowl...
... and add the sifted flour and cocoa powder.
Combine vigorously with a whisk until homogeneous.
The resulting dough is called 'panada'. Unlike traditional choux pastry, this dough doesn't need to be dried out over high heat.
Add the whole eggs (whisked beforehand) to the chocolate choux pastry...
... and whisk vigorously.
Add the egg yolks...
... and combine with the whisk.
Add 1/3 of the beaten egg whites to the chocolate preparation and combine carefully. Add the preparation to the rest of the beaten egg whites and fold gently with a rubber spatula.
The preparation should have a soft texture, somewhat like a sponge cake mix.
Place a baking mat on a baking sheet with dimensions 40 x 30cm.
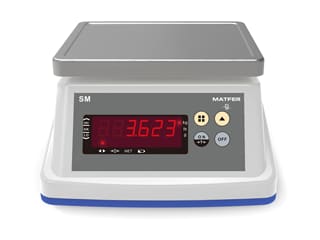
Pour 275 grams of chocolate preparation on the baking mat. This quantity is optimal for a tray to those dimensions. Place the baking sheet on top of a kitchen scale to facilitate the operation.
This recipe makes 2 cake rolls. Pour the rest of the chocolate preparation over another baking sheet.
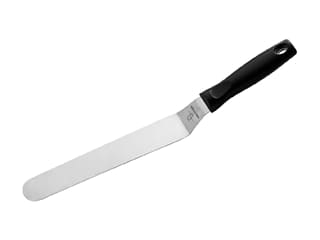
Even the surface with a metallic cranked spatula and spread right to the corners of the baking tray.
Wipe a finger around the edge of the baking sheet to create a neat finish on the biscuit.
Repeat the operation with the second tray. You can divide quantities in half to make one cake roll, however the consistency might not be optimal. We recommend following the quantities listed here for 2 cakes (each serving 6).
Bake in a fan-assisted oven preheated to 220°C (gas 7) for 6 minutes. For optimal baking results, we recommend cooking one tray at a time instead of both trays at the same time.
When cooked, remove from the oven. The biscuit should have puffed a little and the surface should be really smooth.
Place a sheet of greaseproof paper over the biscuit.
Flip the biscuit over a cooling rack.
Remove the baking mat while the biscuit is still hot. The mat should come off easily.
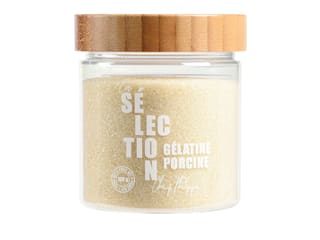
For the vanilla Chantilly cream (make the day before): Organise the necessary ingredients. Hydrate the gelatine powder with water.
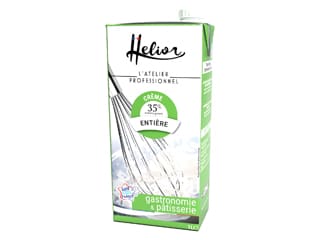
Pour the whipping cream in a saucepan and place on the stove.
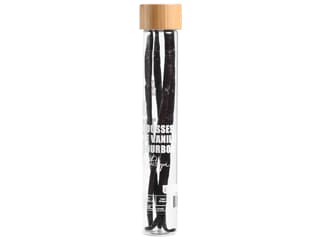
Cut the vanilla pod into chunks of 1cm, directly into the cream.
When the cream starts boiling, mix with a hand blender to incorporate the vanilla slices into the cream. This will release all the vanilla seeds.
Leave aside for 30 minutes so the vanilla infuses all its flavours in the hot cream.
Place the white chocolate pistoles and 24 grams of gelatine mass in a bowl.
Return the infused cream to the stove and bring to a boil.
Pour the boiling cream over the white chocolate and gelatine...
... and whisk vigorously to create an emulsion.
Mix with a hand blender until smooth and homogeneous.
Pass the preparation through a sieve...
... and press the vanilla chunks with a rubber spatula to extract as many vanilla seeds as possible.
The result should look like this.
Place cling film on the surface of the vanilla cream and store in the fridge overnight.
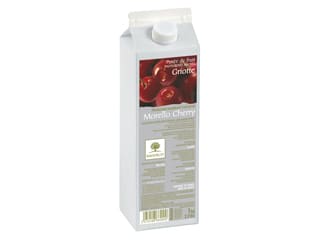
For the morello cherry compote: Organise the necessary ingredients.
Pour the cherry purée in a saucepan.
Combine the sugar and pectin NH coating together, then add to the warm cherry purée.
Combine constantly with a whisk...
... and add the glucose syrup (softened in the microwave beforehand)...
... and whisk.
Heat the preparation slowly and bring to a boil to activate the pectin.
When the preparation starts boiling, continue cooking for 1 or 2 minutes...
... and mix with a hand blender.
Weigh 250 grams of cherry compote in a bowl.
Take the cold chocolate biscuit...
... and place a sheet of greaseproof paper on top.
Flip the biscuit onto a cooling rack. It is important to apply the cherry compote on one side only (the side that was in contact with the baking tray while baking).
Pour 250 grams of cherry compote on the biscuit. The compote should be hot and liquid.
Spread carefully with a cranked spatula, right to the corners of the biscuit...
... as shown in the photo. Refrigerate until the compote jellifies and the finish is glossy.
Repeat the operation with the second biscuit.
Place cling film on the surface of the remaining cherry compote and refrigerate. This will be useful later for the finish.
For the crumble: Organise the necessary ingredients.
In the stand mixer bowl, place the ingredients and the butter cut into cubes (straight out of the fridge).
Mix with a flat beater until you obtain a crumbly.
Stop the beater and remove the flat beater attachment.
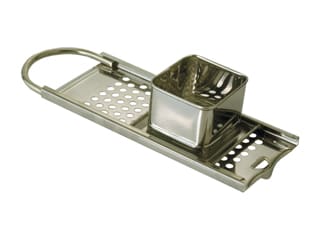
Knead the dough with your hands until you obtain a ball. It is essential to do this operation by hand. Take a small chunk of dough and squash it over a coarse grater. We used a spaetzle grater for this recipe.
Squash the dough over the grater to create small shavings of dough.
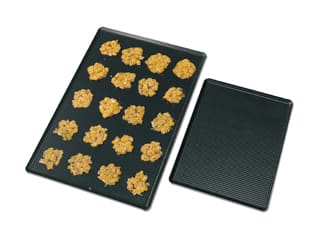
Grate the dough evenly over the baking tray to create a thin layer of dough shavings, without clusters. When the crumble is ready, bake in a preheated oven at 160°C (gas 3) for 30 minutes.
For the crunchy chocolate biscuit: Organise the necessary ingredients. We need 115 grams of crumble (make sure it has cooled down beforehand before use).
Place the cocoa butter and dark chocolate in a bowl. Melt the ingredients in the microwave, stirring every 20 or 30 seconds to make sure the chocolate doesn't burn.
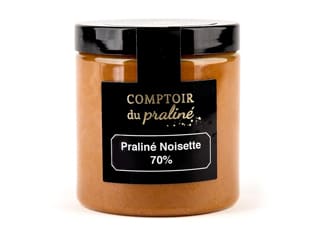
In the meantime, place the rest of the ingredients in the stand mixer recipient: the cooled down crumble, the pailleté feuilletine flakes and the hazelnut praline paste.
When the chocolate and cocoa butter are completely melted and have a temperature of 50°C...
... transfer into the stand mixer recipient...
... and knead with the flat beater...
... until the chocolate preparation is homogeneous.
Transfer the preparation over the baking mat...
... and spread to an even thickness of 0.5cm with the cranked spatula. Tap the baking sheet gently to even the surface and refrigerate until set.
Assembling the cake with the vanilla Chantilly cream: Take the vanilla cream out of the fridge and transfer into the stand mixer bowl.
Beat the cream until it has the consistency of a Chantilly cream. The consistency should be soft and not firm, make sure you don't beat it excessively.
Take the chocolate biscuits out of the fridge. The cherry compote should have jellified on the surface.
Place 250 grams of vanilla Chantilly over each biscuit. Make sure the quantities are measured accurately to get a dessert with balanced flavours.
Spread the vanilla Chantilly over the whole surface of the biscuit, using the cranked spatula.
Repeat the operation with the second biscuit.
Trim the four edges of the biscuit with a knife to ensure a perfectly neat result.
Place the biscuit in front of you, as shown in the photo.
Fold the top part of the biscuit and start rolling...
... as shown in the photo.
Using the greaseproof paper, pull the biscuit towards you.
The biscuit should roll upon itself.
The result should look like this.
Lift the other side of the biscuit...
... to finish the roll.
Wrap the cake roll in the greaseproof paper...
... and place the roll in a Silikomart silicone yule log mould. Repeat the operation with the second biscuit. Reserve in the freezer. Up to this stage, this recipe can be prepared several days in advance. Store in the freezer, then on the day all you need to do is the icing and decoration.
For the chocolate icing: Organise the necessary ingredients.
Pour the whipping cream in a saucepan. Add the glucose syrup, softened in the microwave beforehand.
Add the invert sugar...
... and heat on the stove.
In the meantime, place the dark chocolate pistoles in a bowl and melt in the microwave. Stir every 20 or 30 seconds.
Incorporate the cream to the chocolate in 4 batches. Pour 1/4 of the cream over the chocolate...
... and combine well with a rubber spatula.
Add another quarter of hot cream over the chocolate preparation...
... and combine with the rubber spatula.
Add a third quarter of hot cream...
... and combine with the rubber spatula.
Add the rest of the cream...
... and combine with the rubber spatula.
Add the soft butter to the chocolate preparation and combine gently...
... while making sure the temperature is somewhere between 40 and 45°C.
Mix the icing with a hand blender until smooth and homogeneous.
Transfer the icing into a pouring jug.
Take the cake roll out of the freezer and remove the greaseproof paper. You can see the different layers in the centre of the cake.
Place the cake on a rack, on top of a deep tray...
... and pour the icing over the whole surface of the cake in one stroke. The icing should be between 25 and 30°C.
The result should look like this. Let the excess icing drip off.
Move the rack on a sheet of greaseproof paper...
... and sprinkle dark chocolate mini pearls over the surface of the log...
... as shown in the photo. The chocolate pearls will stick to the surface of the icing. It is essential to do this operation while the icing hasn't set.
Remove the crunchy chocolate biscuit from the fridge. It should have set by now.
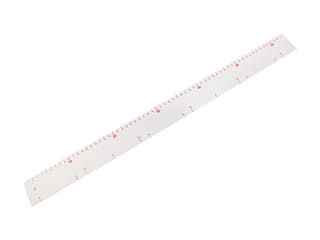
Using a graduated ruler, cut the crunchy chocolate biscuit into two strips, to a length of 20cm...
... and a width of 7cm.
Reserve the biscuit rectangles in the fridge.
Place a biscuit rectangles on a serving plate.
Trim both ends of the cake roll with a knife for a perfectly neat result.
Make sure the slices are as thin as possible when trimming the cake.
Apply some chocolate icing over the chocolate biscuit to allow the cake roll to easily stick to the biscuit.
Lift the roll carefully with a cranked metallic spatula...
... and arrange it gently over the chocolate biscuit. Make sure it is perfectly centred.
The result should be as shown in the photo.
Take the rest of vanilla Chantilly cream...
... and beat a little until smooth but still soft.
Cut the tip of a piping bag at a slanted angle so the shape is similar to a Saint-Honoré nozzle. You can also use a small Saint-Honoré nozzle and insert it at the end of a piping bag.
Fill the piping bag with the vanilla Chantilly cream...
... and pipe the cream on the surface of the log with a zigzag pattern...
... as shown in the photo.
Place the cherry compote in a bowl...
... combine with a whisk until smooth.
Transfer the compote into a decorating bag (about a spoonful).
Cut the tip of the bag with scissors to create a really small hole.
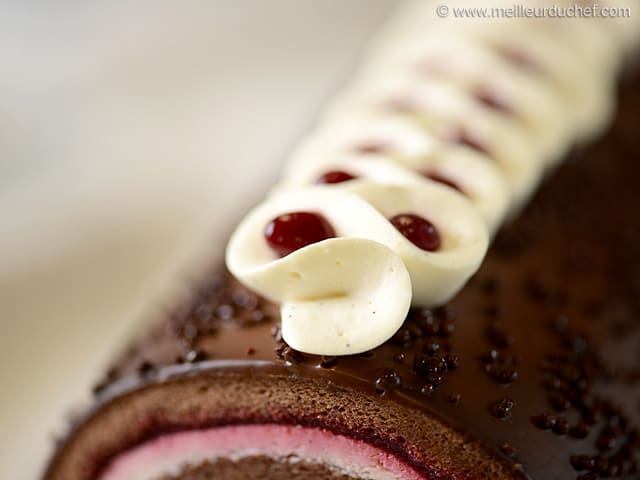
Pipe the cherry compote over the vanilla Chantilly cream...
... by filling the holes with a drop of cherry compote.
The result should look like this.
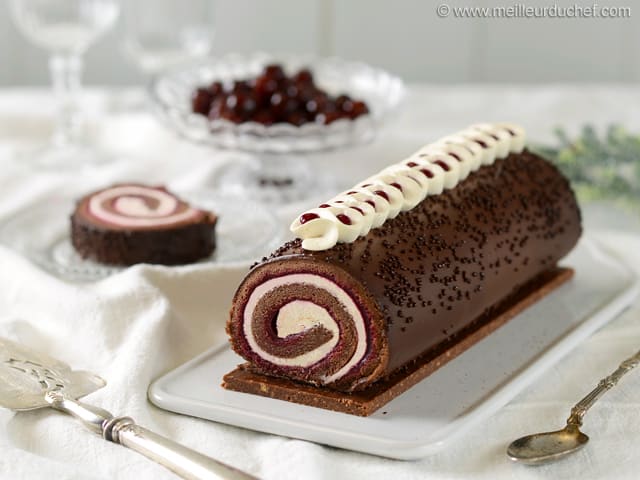
The Black Forest Cake Roll is now finished. Leave to defrost in the fridge for 2 to 3 hours before serving. Enjoy this delicious Christmas dessert!
To get the required gelatine mass, start with the quantity mentioned for gelatine powder (25 grams for instance). Then add 5 times its weight in water.
5 x 25 = 125g water + 25g gelatine powder = 150g gelatine mass.
Hydrate for at least 15 minutes at room temperature, then refrigerate.
It is best to make a large quantity of gelatine mass, hydrate it well, melt it in the microwave then let it set again. You will be able to use the quantities of gelatine mass you need as you go in the recipe.
The gelatine mass will be transparent and the gelling properties will be better. This gelatine will better catch the moisture present in various preparations.
Please login to post a review