You can always send us your messages, comments or suggestions.
In one click, store and find all your favourite recipes.
Add this recipe >Before starting this Cherry recipe, make sure you have organised all the necessary ingredients for the chocolate biscuit.
For the chocolate biscuit: Place the egg whites (preferably cold) in the stand mixer recipient...
... and beat until firm.
Add the castor sugar...
... and continue beating for 1 or 2 minutes until stiff.
Beat the egg yolks in a separate recipient, then add to the beaten egg whites...
... and incorporate with a rubber spatula.
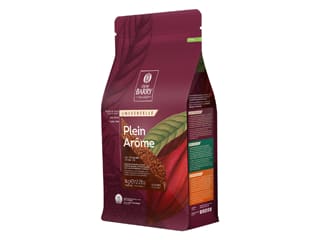
Add the cocoa powder.
Sift the cocoa powder beforehand.
Combine with the spatula...
... until homogeneous.
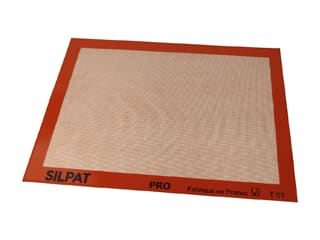
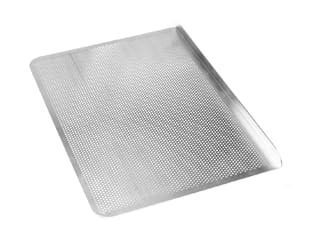
Pour the preparation on a Silichef XL perforated baking sheet lined with a Silpat baking mat.
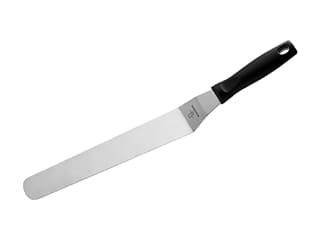
Spread with a metallic cranked spatula to an even thickness...
... spreading right up to the angles.
Bake in a preheated oven at 180°C (gas 4)...
... for 12 minutes.
When cooked, remove from the oven and leave to cool before detaching from the Silpat mat.
For the morello cherry insert (make two days in advance) Organise all the necessary ingredients.
Pour the morello cherry purée in a saucepan and place on the stove.
Add 50 grams castor sugar. Combine well with a whisk.
When the preparation reaches 60°C, add the remaining sugar and pectin NH coating (combined together beforehand).
Combine carefully with the whisk.
When the preparation starts boiling, continue cooking for one minute and mix with a hand blender.
Pour the morello cherry confit in the cavities of a mini tuffle silicone mould. Place in the freezer.
For the morello cherry mousse: Organise all the necessary ingredients.
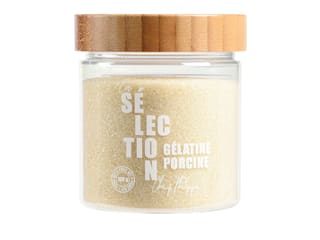
Place the gelatine powder in 24 grams of water.
Combine with a small whisk.
Pour the cherry purée in a saucepan.
Add the castor sugar...
... and combine.
Bring to a boil.
When the preparation starts boiling, take the pan away from the heat and add the gelatine mass. Combine with a whisk until the gelatine has dissolved completely in the hot purée.
Transfer into a separate recipient and leave to cool at room temperature. The gelatine should not set.
In the meantime, place the whipping cream in the stand mixer recipient.
Beat the whipping cream until you obtain a whipped cream.
The cream should be cold and with a fat content between 30 and 35%.
When the cherry purée is at room temperature, transfer into a mixing bowl.
Add 1/3 of the whipped cream.
Combine with a whisk.
Add the rest of the whipped cream...
... and fold gently with the spatula.
Transfer the preparation into a piping bag (no nozzle required).
Fold the bottom of each cavity in the fruit silicone mould.
When the inserts are frozen, gently release them from the mould...
... and arrange one in each cavity, burying it inside the mousse.
Fill the cavities with cherry mousse, leaving a 0.5cm gap on top.
Using a pastry cutter Ø 5cm, cut the chocolate biscuit into discs.
Arrange the chocolate discs carefully over the mousse. Cover with cling film and place in the freezer.
For the cherry chocolate stems (make the day before) Organise all the necessary ingredients.
Melt the chocolate couverture in the microwave. Add the cocoa powder (sifted beforehand), one spoon at a time. Combine well every time.
Add cocoa powder until smooth. Transfer into a piping bag fitted with a plain nozzle Ø 3 mm.
Pipe the chocolate into lines on a sheet of greaseproof paper.
The chocolate lines shouldn't be completely straight (see photo). Leave to cool.
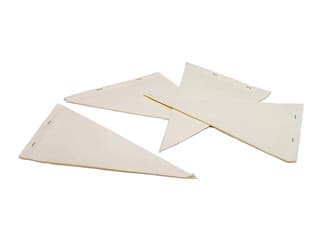
Assembling the cherry stems: Make a decorating bag with a sheet of greaseproof paper...
... and fill with melted chocolate.
Seal the bag properly to avoid leaks.
Cut the tip of the bag to create a small hole with a diameter of Ø 2 mm.
The next day, cut the crystallized chocolate stems to the right length, between 10 and 12 cm.
Dip the tip of a cherry leaf in melted chocolate.
Carefully stick the tip with melted chocolate on the chocolate stick.
Make sure you arrange the cherry leaves so they are facing the right way before sticking on the chocolate stem.
Pipe a drop of melted chocolate to stick the cherry leaves.
Leave to set.
You can also use a cooling spray for a faster operation.
For the cherry glossy icing: Organise all the necessary ingredients.
Place the sugar and pectin NH coating in a bowl...
... and combine with a whisk.
Pour the glucose syrup into a saucepan.
Add the sugar and pectin mix...
... and water.
Place the saucepan on the stove and combine gently with a whisk.
Heat the preparation up to about 60°C (temperature at which sugar starts to dissolve). I recommend using a digital thermometer with probe.
Add the morello cherry purée...
... and slowly bring to a boil. Increase the heat gently to make sure the ingredients don't burn. When the preparation starts boiling, mix with a hand blender.
Transfer the icing into a bowl.
Cover the surface with cling film. Leave to cool.
For the finish: Prepare all the elements for the icing.
Release the frozen cherries from the silicone mould.
Arrange the cherry cakes on a cooling rack, placed on a deep tray. Reserve in the freezer.
When the icing is at room temperature, remove the cling film.
Transfer the icing into a narrow, deep recipient (jug).
Mix again with a hand blender. If you find the icing too thick, melt it in the microwave for a few seconds. The icing should be smooth, with a temperature between 30 and 35°C maximum.
Pour the icing over the frozen cakes...
... making sure the whole surface and sides are coated. The icing excess will collect in the tray beneath; it can be reused later on.
Repeat with all cherry cakes. Gently tap the rack and tray on your worktop to let the excess drip off.
Work quickly as the cakes won't take long before they start to defrost.
Lift each cherry with a small cranked spatula and a wooden pick. Insert the pick at the top of the cherry and lift carefully with the spatula. Slide the spatula along the rack to get rid of any icing strings at the base. Decoration is crucial for this dessert so we want a perfect finish.
Carefully arrange a cherry on a serving plate.
Repeat with all cherries.
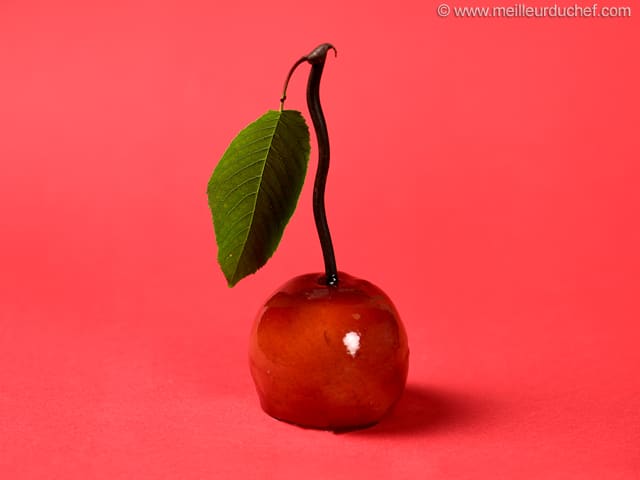
Arrange a chocolate stem with leaves at the top of each cherry very carefully. The cakes should be starting to defrost at this stage, so it should be easy to insert the stem in the mousse.
Repeat the operation.
Reserve the cherries in the fridge until defrosted completely. Remove from the fridge just before serving. Enjoy this surprising dessert!
Please login to post a review