You can always send us your messages, comments or suggestions.
In one click, store and find all your favourite recipes.
Add this recipe >This recipe is an easy method for home-made chocolate blocks.
We're going to add a twist to classic chocolate blocks by adding fillings and playing with shapes and colours.
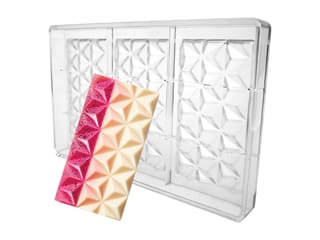
For this recipe, we used a set of 5 polypropylene moulds with geometric shapes. They can be reused about 10 times.
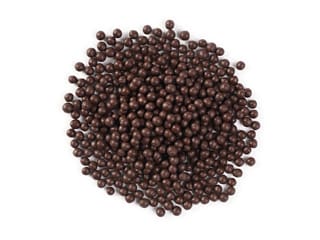
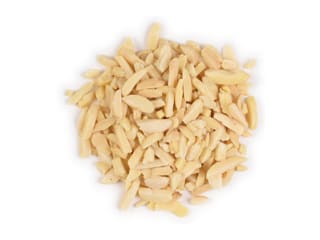
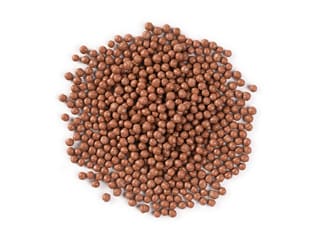
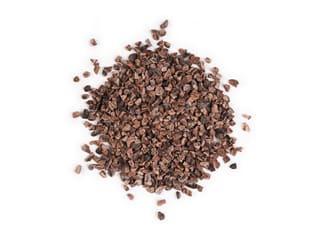
For the filling: Our suggestions include: toasted slivered almonds, cranberries, toasted chopped almonds, chopped pistachios, toasted cocoa, dark or milk chocolate crispy pearls, sesame seeds, sunflower seeds... You can use any other ingredients of your choice, provided they are chopped finely.
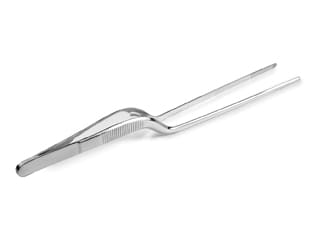
Arrange the chopped fillings in the mould. This operation might take a while as you need to be precise when placing the small chunks inside the cavities. Use small decorating tongs for neat result. This a great activity idea to share with children.
Tempering the dark chocolate: This step is essential to get a glossy finish, a neat snap when breaking and to avoid dull white marks. We're following the traditional technique for this recipe
with Ocoa dark chocolate with has the ideal texture and fluidity. Make sure not to use regular chocolate found in supermarkets but professional chocolate called "couverture" (such as Ocoa).
The traditional tempering technique follows a strict temperature curve. The crystallization curve varies according to the type of chocolate (it is usually mentioned on the packet). The temperature curve for the Ocoa dark chocolate is as follows: 45/50°C - 27/28°C - 32°C - 20°C.
1st phase: Heat the chocolate until the temperature reaches 45-50°C. Melt in the microwave in periods of 30 seconds to make sure the chocolate does not burn, stirring every time.
The use of a laser thermometer is essential. When working with chocolate, don't leave anything to chance!
Why follow this temperature curve? Tempering chocolate allows the formation of beta crystals which will bring a glossy, smooth finish.
Pour the chocolate (between 45°C and 50°C) on your workbench.
Ideally, your workbench should be clean and perfectly smooth, made from marble or granite.
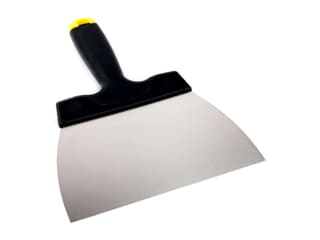
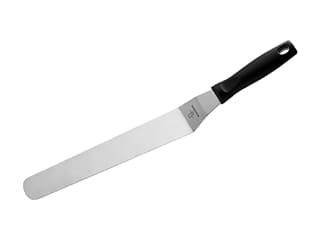
2nd phase: Spread the chocolate with a cranked spatula...
... then gather with the chocolate spatula and scrape against the cranked spatula to collect the chocolate stuck on the blade.
If you're right-handed, you should hold the cranked spatula still with your left hand while you gather the chocolate with your right hand...
... and scrape it against the cranked spatula. The video will help you understand the technique.
This technique allows the chocolate to cool down.
Monitor the temperature regularly with a laser thermometer.
Check the temperature when the chocolate is spread. It is now down to 30°C and we can see it is getting thicker.
Continue spreading and gathering the chocolate the temperature is between 27°C and 28°C.
The cooling process will vary according to how warm your kitchen is, the season (winter/summer), etc.
You will see bubbles forming on the surface of the chocolate; these are the beta crystals we mentioned earlier. At this stage, the chocolate is 26.5°C.
Gather the chocolate and transfer into the bowl.
Make sure to collect as much chocolate as possible.
3rd phase: Heat the chocolate with a hot air gun for 10 or 15 seconds only, keeping it at a distance of 20/25 cm and making round motions over chocolate...
... then check the temperature again. At this stage, the chocolate is 30°C.
The consistency should get more fluid and runny as the temperature goes by. The temperature should reach 32°C.
Keep stirring the chocolate during the whole time.
Heat again with the hot air gun until the chocolate reaches 32°C.
You can also use a hair dryer, or heat the chocolate for a few seconds in the microwave.
When the temperature reaches 31/32°C, the chocolate is tempered. The beta crystals have now disappeared, which is a sign the chocolate is properly tempered.
Transfer the tempered chocolate into a piping bag.
We worked with a small amount of chocolate for this recipe. If you want to temper a larger quantity of chocolate, you will need to keep it warm afterwards in a melting machine, or reheat regularly with the hot air gun or hair dryer.
Cut the end of the bag with scissors to create a small hole.
Start piping the chocolate carefully over the chopped fruits and nuts to make sure they don't move inside the cavities when pouring the chocolate.
Fill the rest of the cavity with chocolate.
Make sure the chocolate does not overflow from the cavity.
Shake the mould very gently to even the surface.
The chocolate has a fluid consistency at this stage so you don't need a spatula or palette knife to even the surface.
Set aside to crystallize at room temperature (do not refrigerate). This operation might take a while if your room is warm. Ideally, store in a cool room at 18°C or 19°C.
The last temperature on the temperature curve (20°C) is the stage when the chocolate sets and solidifies, i.e. crystallizes.
For the coloured tempered white chocolate: The technique is the same, except for the crystallization curve which is slightly different.
Commencer par faire fondre le chocolat blanc jusqu'à 45°C, en suivant les mêmes instructions que le chocolat noir que je vais rappeler ici :
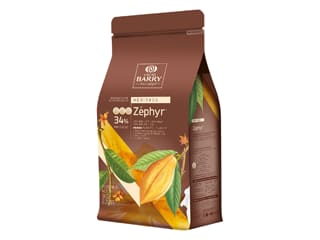
As mentioned earlier, every type of chocolate has a specific temperature curve (it is usually mentioned on the packet). Here is the temperature curve for Zéphyr white chocolate: 40/45°C - 25/26°C - 27/28°C - 20°C.
Phase 1: Heat the white chocolate until the temperature reaches 40/45°C. Melt it in the microwave, in periods of 30 seconds to make sure the chocolate does not burn and the temperature doesn't exceed 45°C. Stir with a rubber spatula every time.
We're going to colour the white chocolate in yellow, using the Power Flowers colouring system. They are non-azo, so soluble in fat only,
and exist in 4 colours (red, blue, yellow and white).
For this chocolate block we want a yellow colour, not too bright.
We recommend using the colour chart featured in the Power Flowers application (iOS and Android) to know exactly how many flowers you need to use to create a specific shade which will be easy to reproduce later. There are many shades available.
Here is a screen capture of the Power Flowers application. We chose the Yellow 3D shade, which requires 1 whole Power Flower for 400 grams of white chocolate.
Pour 1/3 of melted white chocolate in a bowl.
Add one yellow Power Flower and set aside for a few minutes without stirring. The flower will slowly start to melt. Transfer into the bowl with the rest of the white chocolate.
Mix with a hand blender to activate the colour pigments...
... and reveal the final colour. Make sure the mixer head is fully immersed to avoid incorporating air in the preparation.
We're now ready to start the tempering process, exactly as we did with the dark chocolate earlier. If you need to colour your chocolate, always do it before tempering it!
A reminder of the temperature curve for white chocolate: 40/45°C - 25/26°C - 27/28°C - 20°C.
When tempered, transfer the white chocolate into a piping bag.
Cut the end of the bag to create a small hole.
Pipe the chocolate carefully over the filling first, then fill the cavity.
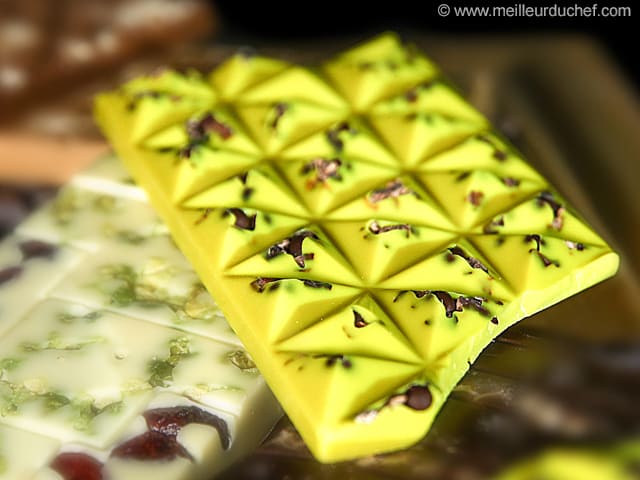
This time, we're using a rigid polycarbonate mould for 3 pyramid-shaped chocolate bars.
Tap the mould on your workbench to even the surface and knock out any air bubbles.
Leave to crystallize at room temperature (no fridge).
Releasing the chocolate blocks from the mould: Grab the crystallized dark chocolate block.
Just by looking through the mould, you can tell whether the chocolate has crystallized or not. We can lighter areas where the chocolate has detached from the mould.
Flip the mould into your workbench and press softly on the surface.
The chocolate bar should come off easily.
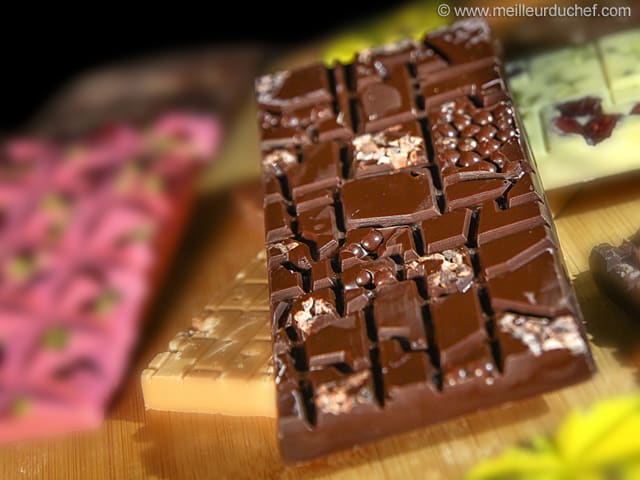
You can see the filling on the surface.
We made several versions with dark, milk, white and caramel white chocolate...
... pink coloured white chocolate (using the Power Flowers colour chart).
Enjoy these delicious home-made chocolate bars!
Please login to post a review