You can always send us your messages, comments or suggestions.
In one click, store and find all your favourite recipes.
Add this recipe >Before starting this Chocolate Easter Nest Cake recipe, organise the necessary ingredients for the chocolate biscuit.
For the chocolate biscuit: Cut the raw almond paste in small chunks and place in the stand mixer bowl (soften in the microwave for a few seconds if needed).
Add 35 grams of castor sugar to the bowl.
Beat the ingredients with the flat beater. The ingredients should be totally incorporated and there should be no chunks of almond paste (easier if you reheat the almond paste at step #2).
When the preparation is homogeneous, gradually add the egg yolk while beating.
If necessary, increase the speed to smooth the consistency of the almond paste.
When the preparation is pale, add the rest of the egg yolks and whole eggs...
... and stop mixing when creamy and homogeneous.
Pour the egg whites in a separate recipient...
... and beat until foamy.
When foamy (the egg whites shouldn't be too firm), add the 35 grams of sugar. Continue beating until stiff.
On a sheet of greaseproof paper...
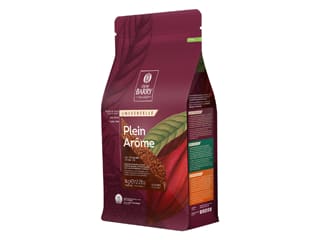
.... sift the flour and cocoa powder.
Pour the almond paste mix over the egg whites.
Fold gently with a rubber spatula, making circular motions to ensure the preparation does not collapse.
Gradually add the sifted flour and cocoa powder, while folding carefully with the spatula.
Ideally, two people will perform the operation: while one is pouring the sifted ingredients, the other is stirring.
If you're by yourself, add the flour and cocoa powder in several batches.
Combine again.
When almost homogeneous...
... take a small ladle of the chocolate preparation...
... and combine with the melted butter (cooled down beforehand).
This pre-mix will ensure the preparation doesn't collapse.
Add the melted butter to the rest of the chocolate preparation...
... and incorporate gently.
The chocolate preparation is now ready.
Transfer the preparation into a piping bag. The use of a nozzle is not necessary. We'll use the piping bag directly in the cake tin to ensure clean results.
Place a silicone oval savarin mould on a baking sheet.
Slightly grease the cavities with an oil spray.
Fill with the chocolate preparation.
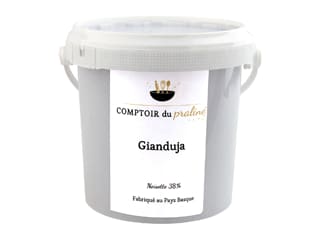
Scoop a little Gianduja paste over each cake, then bury slightly.
Bake at 160°C (gas 3) between 20 and 25 minutes.
When cooked, take out of the oven...
... and cover with a sheet of greaseproof paper.
Place a baking sheet on top to flatten the surface of biscuits. Let cool.
When the biscuits are cold, remove the baking sheet and greaseproof paper on top.
Using a serrated knife, cut the top of the biscuits crosswise...
... to create a perfectly flat surface.
Carefully remove the biscuits from the mould. Set aside.
For the milk chocolate mousse:Organise all the necessary ingredients.
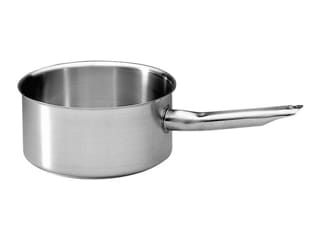
Pour the milk in a saucepan and bring to a boil.
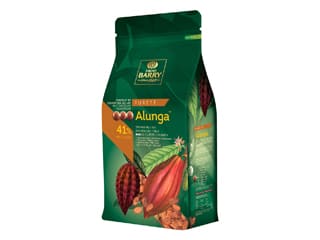
Pour the boiling milk over the chocolate pistoles.
Shake the bowl a little to immerse all the chocolate pistoles.
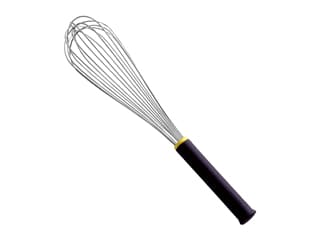
Whisk until homogeneous.
Beat the whipping cream until you obtain a whipped cream. The texture should be soft.
Add some of the whipped cream to the chocolate preparation and combine with a whisk.
Add the rest of the whipped cream...
... and fold gently.
The result should be homogeneous. Transfer in a piping bag.
Clean the silicone mould used for the chocolate biscuit, then fill the cavities halfway up with chocolate mousse.
Place the chocolate biscuit on top and press with your fingers. The mousse should come up the sides a little to make sure you get rid of air bubbles. Cover with cling film and place in the freezer.
For the chocolate mirror icing:Organise all the necessary ingredients.
In a saucepan, heat the water and sugar to make a syrup.
When the sugar is melted and first comes to a boil, pour it over the cocoa powder.
Combine well with a whisk.
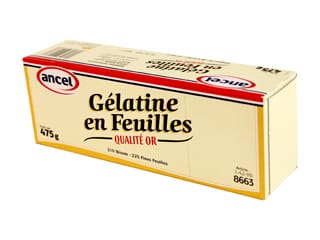
Soak the gelatine sheets in cold water for a few minutes.
Bring the cream to a boil, then add the drained gelatine.
Combine well with a whisk until completely dissolved.
Pour the hot cream over the chocolate preparation.
... and combine with a whisk...
... until the icing has a homogeneous consistency.
Stir the icing regularly to make it cool down.
To speed up the cooling process, you can place the bowl in a bigger bowl filled with cold water.
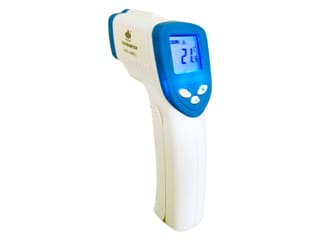
Ideally, the icing should get down to a temperature of 20-25°C. The use of a laser thermometer is recommended for this operation.
Trimming the cakes: Remove the tray from the freezer.
Remove the cakes from the mould one by one. The cakes should be completely frozen.
Trim the area where both layers joint with a vegetable peeler to create a perfectly flat surface.
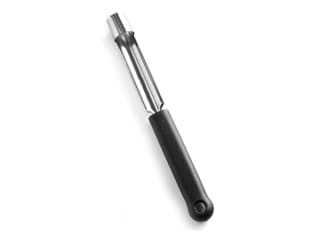
Pierce the centre with an apple corer.
The cakes should have started to defrost already at this stage, so it should be easy to pierce them.
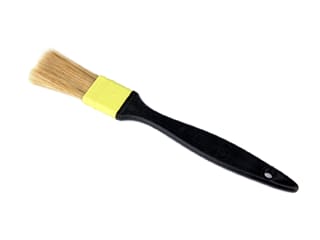
Using a small brush, remove any crumbs on the surface of the cakes.
Cover again and reserve in the freezer.
For the gold icing: In a small ramekin, place one or two tablespoons of clear mirror glaze.
Add a small amount of gold colouring powder until you get the desired shade.
Combine well.
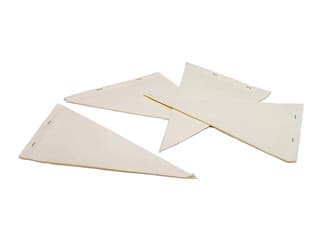
Transfer the icing into a paper decorating bag. Set aside.
Pour the chocolate icing in a pouring jug and process finely in a Bamix hand blender. The temperature should be 30°C.
This operation is essential to get rid of air bubbles.
Check the temperature again before use, which should be between 28°C and 30°C.
Icing the Easter cakes: Place the frozen cakes over a cooling rack. Place the rack on top of a deep tray.
Pour the icing over each cake. The icing excess will drip through the central hole.
When all the cakes are coated with icing, use the decorating cone to create gold lines across the surface of each cake. The gold icing should blend in the fresh chocolate icing.
The final result should look like this. Reserve in the fridge.
For the milk chocolate icing:Melt the milk chocolate over a bain-marie or in the microwave, working in periods of 20 seconds to make sure the chocolate does not burn.
When the chocolate is melted and at about 35°C...
... add the grape seed oil and combine with a spatula.
Add the chopped caramelised hazelnuts.
Combine and set aside.
Remove the nest cakes from the fridge. The should still be frozen in the centre.
Insert two wooden picks in each cake so you can handle them easily without touching the icing.
Holding the wooden picks, dip the base of each cake (biscuit part) in the milk chocolate icing.
Lift the cake and let the icing excess drip off for a few seconds...
... and arrange it carefully on a sheet of greaseproof paper.
The final result should look like this.
For the hay decorations: On a sheet of greaseproof paper, draw semi-circles. Use a cup as a guide, with similar dimensions to the size of the nest cakes.
Draw some marks on the paper so there is enough space between the circles. The width of each circle should be about 6.5 cm.
Draw the circles.
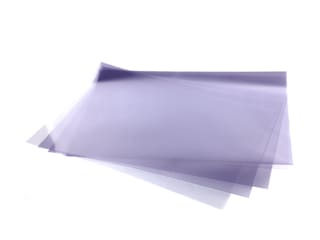
Place an acetate sheet over the baking parchment.
Fill a piping bag with tempered Zephyr caramel white chocolate (same technique as white chocolate).
Cut the tip so you create a really small hole.
Pipe the caramel white chocolate over the acetate sheet in a random pattern to create a nest effect inside the circle marks.
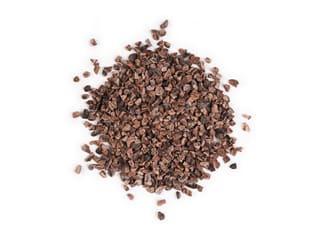
Sprinkle cocoa nibs coated with gold powder before the chocolate crystallizes (optional).
Leave to set at room temperature (ideally in a cool room at 17°C). Detach the nest shapes with a small cranked spatula.
For the finish: Remove the wooden picks gently by rotating them between your fingers.
Place a nest shape on top of each cake.
Pipe a few drops of tempered Zephyr caramel white chocolate...
... and arrange small sugar eggs (or brandy eggs) on top.
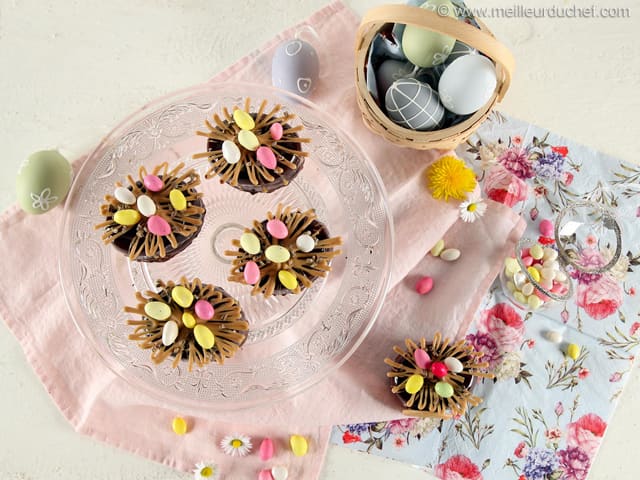
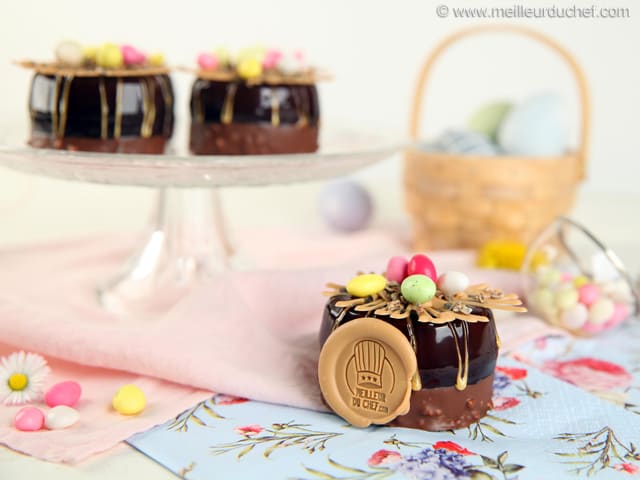
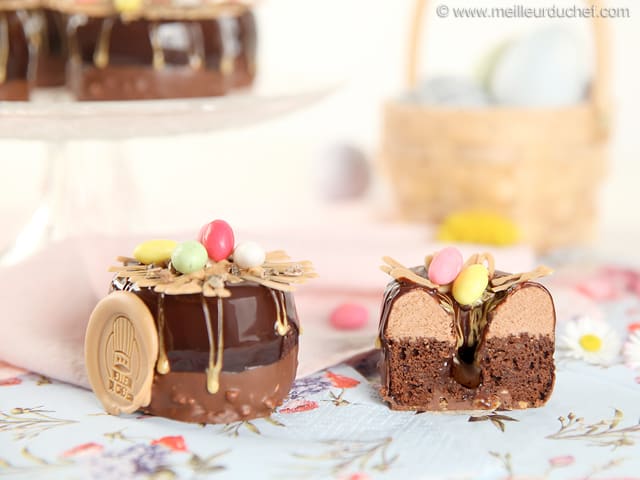
This is what the final result should look like.
I finished the decoration with a "MeilleurduChef" stamp...
... made with a custom brass stamp used frozen on tempered chocolate.
Carefully lift the nest cakes with a small cranked spatula. Reserve in the fridge until defrosted completely (between 2 and 3 hours).
Enjoy!
Please login to post a review