You can always send us your messages, comments or suggestions.
In one click, store and find all your favourite recipes.
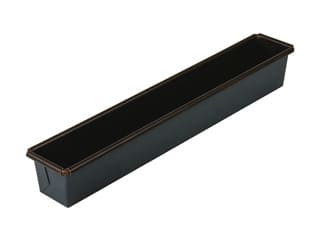
Add this recipe >Before starting this Gianduja Chocolate Loaf Cake recipe, grease the cake tins with an oil spray.
Place the raw almond paste in the stand mixer bowl, cutting into small chunks.
Add 70 grams of castor sugar.
Beat the ingredients with the flat beater. The ingredients should be totally incorporated and no chunks should remain.
When the preparation is homogeneous, gradually add the egg yolk while beating.
If necessary, increase the speed to soften the consistency of the almond paste.
When the preparation is pale, add the rest of the egg yolks...
... and stop mixing when creamy and homogeneous.
In a separate bowl, beat the egg whites until firm peaks form.
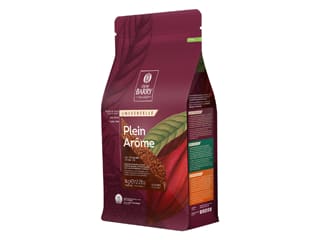
In the meantime, sift the flour and cocoa powder over a sheet of greaseproof paper.
Add the castor sugar to the whipped egg whites. Beat until stiff.
Turn the mixer off and set aside.
At this stage, we have two preparations: the beaten egg whites and the almond paste and egg mix.
Using a rubber spatula, gently fold the the two preparations together...
... working in a circular motion.
Gradually add the sifted flour and cocoa powder. Combine gently with a rubber spatula. Ideally, two people will perform the operation: while one is pouring the sifted powder, the other is incorporating the ingredients.
When homogeneous, fill a spoon with the preparation and combine with the cold melted butter.
This operation is essential to facilitate the incorporation and ensure a liquid consistency.
Add the melted butter to the chocolate preparation and combine gently.
Transfer the preparation into a piping bag. The use of a nozzle is not necessary, as the preparation will be piped directly in the cake tin.
Fill one cake tin with the chocolate preparation up to 3/4.
Repeat the operation with the second cake tin.
Add the Gianduja paste, cut into chunks, over the chocolate preparation. You should use about 35 grams of Gianduja paste per cake.
Using the back of a spoon, bury the Gianduja pieces in the chocolate preparation.
Repeat the operation with the second cake. Bury the Gianduja chunks deep enough so that they are not exposed to the oven heat.
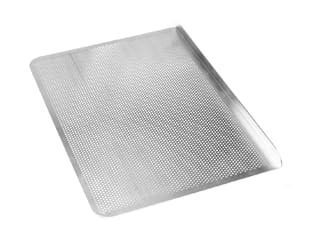
Bake at 160°C (gas 3) between 35 and 40 minutes. When cooked, remove from the oven. Cover with a baking sheet to flatten the surface of the hot cakes. Leave to cool.
This will ensure the cakes have a flat surface when you release them from the mould.
For the chocolate Chantilly cream: Organise all the necessary ingredients.
Pour the whipping cream in a saucepan. Add the glucose syrup. If you're handling the glucose with your fingers, dip them in cold water beforehand to avoid it from sticking.
Bring the cream and glucose to a boil. The glucose is used to smooth the consistency of the Chantilly cream.
When the preparation starts boiling, remove the saucepan from the stove and let the temperature go down to 80°C.
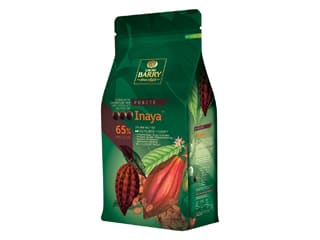
Pour the preparation over the dark and milk chocolate...
... so that the pistoles are completely immersed.
Wait for about one minute before stirring; the chocolate will start to melt in the hot cream...
... then combine gently with a whisk until homogeneous.
Refrigerate for about 4 or 5 hours.
For the coating: Melt the compound coating to 35/40°C over a bain-marie or in the microwave. Add the chopped caramelised hazelnuts to the melted coating.
Combine the 2 ingredients. If you don't use all the coating for this recipe, simply store it and reheat it to 35/40°C when needed; it will be as glossy and smooth as when you first used it.
Transfer into a jug with pouring spout for a more accurate operation.
Remove the cold cakes from the tins and transfer onto a cooling rack, which has been placed on a cooking tray. Ideally, the loaf cakes should at room temperature, i.e. around 20°C.
Pour the coating in one stroke, from one end of the cake to the other...
... making sure the whole surface and sides are coated.
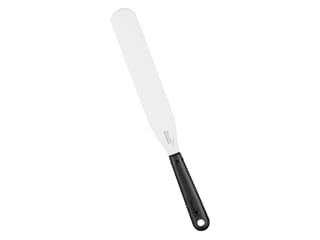
Using a metallic spatula, even the surface and remove any excess.
Gently tap the rack to let the coating excess drip off. 10 minutes later, the coating should be set and glossy.
When the coating is set...
... take the Chantilly cream out of the freezer. You can either use the cream as is and keep the ganache texture, or whip the cream with the flat beater. For this recipe, we chose keep a ganache consistency.
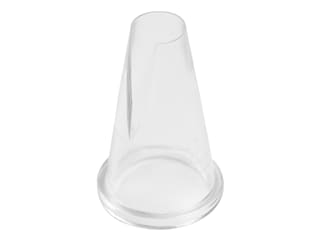
Scoop the chocolate cream into a piping bag fitted with a Saint Honoré nozzle.
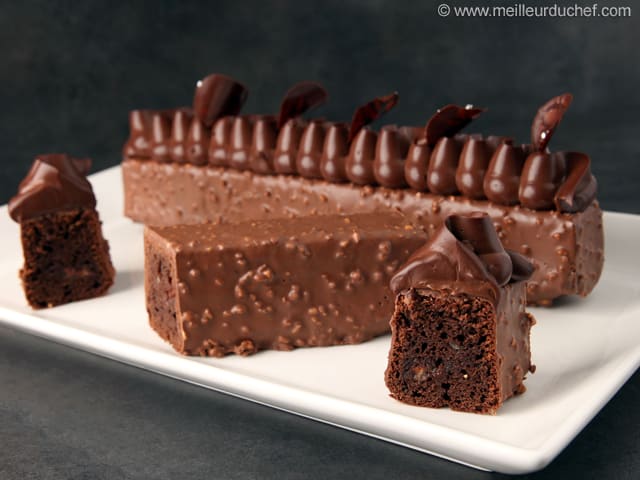
Pipe the cream into zigzags, working from one end of the cake to the other.
Finish the last curve with a sharp movement in order to create a pointed end.
If you are making these miniature loaf cakes to take along to a picnic, I recommend not piping the chocolate cream on top.
The pointed end adds an elegant finish to the cake!
Arrange the chocolate crisps on top of the chocolate Chantilly in a random pattern.
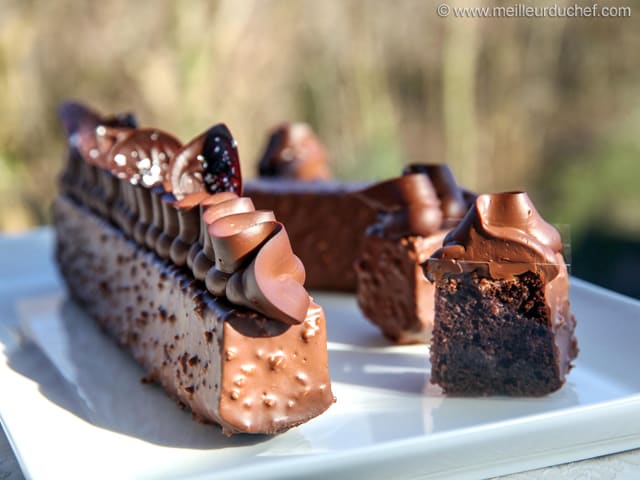
The cake can be cut into individual portions. Slice the cake at a slanted angle...
... and cover the cut sides with squares of acetate sheet. This will prevent the cake slices from drying out.
Arrange the cake on a serving plate at the last minute, and pipe the chocolate cream on top if you haven't done so earlier.
For more details and technical explanations, don't hesitate to watch our video on YouTube. Enjoy this delicious dessert!
Please login to post a review
Thank you