You can always send us your messages, comments or suggestions.
In one click, store and find all your favourite recipes.
Add this recipe >Before starting this Chocolate & Meringue Balls recipe, make sure you have organised the necessary ingredients for the Swiss meringue.
For the Swiss meringue: Pour the egg whites in the stand mixer bowl.
Add the castor sugar.
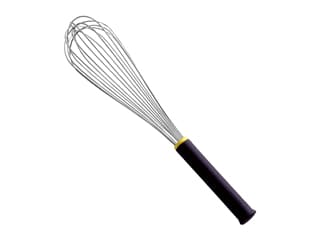
Combine with a whisk to incorporate the castor sugar.
Place the recipient over a bain-marie prepared in a saucepan.
Whisk the preparation until hot. When touching the preparation with the tip of your finger, you should feel a stinging sensation due to the heat. Watch the intensity of the heat, as it could cause the egg whites to coagulate.
Place the recipient in the food mixer and beat...
... until you obtain a meringue. Continue beating until the meringue is cold. The Swiss meringue is now ready.
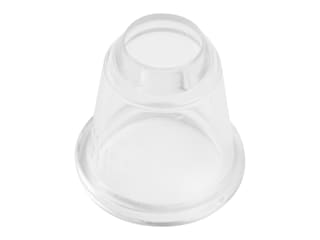
Scoop the meringue into a piping bag fitted with a plain nozzle.
Pipe the meringue into the 8 half-sphere cavities of a Silicon Flex mould.
Even the surface with a metallic spatula.
Bake at 100°C (gas 1/4) for 8 to 12 hours.
Ideally, leave the meringues to cook overnight.
For the milk chocolate crémeux: (make the day before) Organise all the necessary ingredients.
In a saucepan, pour the whipping cream, the whole milk...
.. and glucose syrup.
Bring to a boil.
Combine the egg yolks with a whisk.
When the milk reaches 35/40°C...
... pour a small amount in the egg yolks and whisk.
Add the egg yolk preparation to the boiling milk and cream...
... and cook 'à la nappe' (i.e. until the consistency is thick enough to coat the back of a spoon). The temperature shouldn't exceed 80 or 85°C.
I recommend using a digital thermometer for this operation.
When cooked, pour the preparation over the milk chocolate couverture, passing it through a chinois or fine sieve.
Combine gently with a rubber spatula.
Pour the chocolate crémeux in a high, narrow recipient (jug with pouring spout).
Process with a hand blender until smooth and homogeneous.
Transfer into a recipient...
... and place cling film on the surface of the cream. Reserve in the fridge overnight.
Assembling the cakes: Remove the meringues from the oven and set aside to cool.
Gently remove the meringues from the mould. They should come off easily.
Even the flat side with a serrated knife...
... for a perfectly regular surface.
Fill the cavities of a 3D sphere-shaped silicone mould (white bottom part) with milk chocolate crémeux. I recommend using a piping bag for this operation.
Arrange a meringue half-sphere in the centre of each cavity.
Pipe a lace of chocolate crémeux on the flat surface of the meringue...
... and place another meringue half-sphere on top, flat side facing down.
Take the clear top part of the mould and pipe chocolate crémeux on the sides of each cavity, making sure to leave a hollow centre.
Assemble both parts together and press to seal. The chocolate cream excess will come out through the hole on top.
Scrape it out with the blade of a knife. Store in the freezer overnight.
Remove the frozen spheres from the freezer.
Gently remove the top part of the mould.
Gently release the spheres from the mould, pushing from the underside.
Thanks to the flexible silicone material, this operation should be really easy.
Using a knife, even the surface of each sphere to create a perfectly round shape.
Pour fine chocolate flakes in a baking sheet...
... and roll each sphere in them until the whole is coated.
Arrange the chocolate and meringue balls on a serving plate. Place them on a bed of chocolate flakes to ensure good stability. Sprinkle gold flakes over the balls just before serving.
Enjoy this delicious dessert!
Please login to post a review