You can always send us your messages, comments or suggestions.
In one click, store and find all your favourite recipes.
Add this recipe >Before starting this Praline Bites recipe, organize the necessary ingredients for the hazelnut praline.
For the hazelnut praline (make the day before): Pour the water and castor sugar in a saucepan.
Bring to a boil and continue to cook until the temperature reaches 118°C. The use of a probe thermometer is essential for this operation.
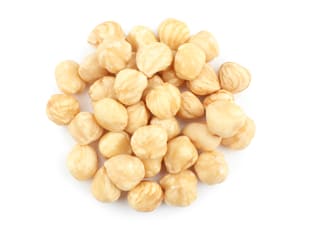
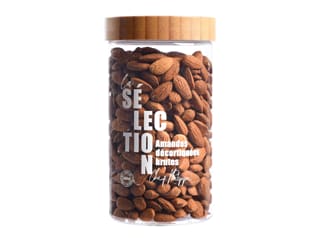
Add the whole hazelnuts and almonds.
Blend the dried fruits with the syrup using a rubber spatula.
The syrup should start to coat the almonds and hazelnuts...
... and create a white frosting.
Continue cooking the caramel while stirring constantly until the white frosting turns into syrup again, then into a caramel.
The caramel should slowly coat the dried fruits.
Continue cooking until the caramel is the desired colour.
Make sure you don't let the caramel turn too dark to avoid a bitter taste.
Transfer the caramelized hazelnuts and almonds onto a sheet of greaseproof paper and set aside to cool at room temperature.
When the dried fruits have cooled down, transfer into a food processor...
... and mix until homogeneous.
The mix should slowly become a paste.
Continue mixing.
Little by little, the paste consistency should become finer (mixing praline is a long process).
Mix again...
... until smooth.
Mix for a few more minutes...
... until the praline is a soft paste. Set aside.
For the praline filling (make the day before): Organise the necessary ingredients.
Place the milk chocolate, dark chocolate and cocoa butter in a bowl.
Melt the ingredients it in the microwave, stirring every 20 or 30 seconds with a rubber spatula.
When melted, the chocolate should be at a temperature of 45°C.
Add 550 grams of the hazelnut praline we just made (the amount of praline should be weighed accurately).
Add the chopped roasted hazelnuts...
... and combine carefully with the rubber spatula until smooth and homogeneous.
The praline filling is now ready.
Grab a square cake frame 16 x 16cm...
... and stretch cling film over one side of the cake frame.
Make sure the film is stretched tight and sticks to the sides of the frame.
Place the square frame on a baking sheet (side with cling film facing down). Pour the praline filling inside the frame.
The texture is very smooth so the surface should be even. Leave to set at room temperature overnight preferably to give it time to crystallize naturally.
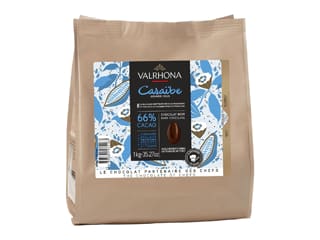
Coating the praline with chocolate: The next day, melt the dark chocolate in the microwave and stir every 20 or 30 seconds until completely melted.
Get the square frame with the praline filling. If the texture feels soft to the touch, refrigerate for about 30 minutes until firm.
Remove the cling film...
... and slide a knife blade between the frame and the praline...
... and place it on a sheet of greaseproof paper.
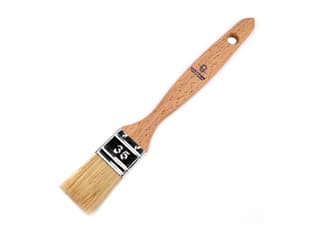
Using a pastry brush, spread the melted chocolate over the surface of the praline square. This will create a hard shell on the praline filling to prevent it from breaking. The chocolate layer should be really thin. Apply quickly as the chocolate won't take long to set.
The result should be as shown in the photo.
Flip the praline square and apply chocolate on the other side...
... as shown in the photo.
When the chocolate has set, cut the praline square into small rectangles with a knife. Needless to say, you can create any shape and size of your choice.
This is a side view of the praline filling.
I cut the square in four strips, each to a width of 4cm...
... and cut crosswise into 4 equal strips.
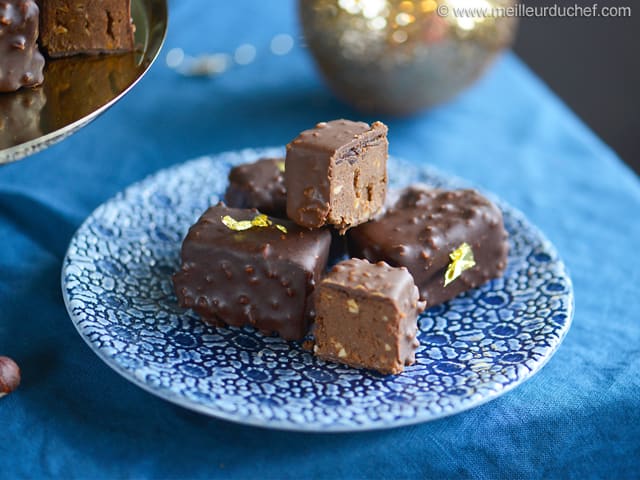
This is what the result should look like.
For the milk chocolate rocky icing: Organise the necessary ingredients.
Melt the milk chocolate in the microwave, working in periods of 20 to 30 seconds...
... and stir every time. The chocolate should start to melt...
... until melted and smooth.
Add the grape seed oil and combine carefully.
Add the chopped roasted hazelnuts and combine...
... until the icing is homogeneous.
Dip half of the praline bites in the milk chocolate icing.
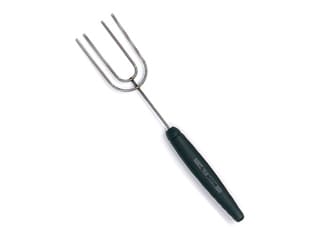
Lift a praline square with a 4-prong dipping fork and dip it in the milk chocolate icing until all sides are coated. Slide the fork against the bowl rim to get rid of any excess icing...
... and arrange the praline square on a sheet of greaseproof paper. Repeat the operation with half of the praline bites.
Set aside until set.
For the dark chocolate rocky icing: I created a dark chocolate version of the rocky icing for this recipe. Melt the dark chocolate in the microwave and stir every 20 to 30 seconds.
Add the grape seed oil and combine.
Add the chopped roasted hazelnuts and combine.
The dark chocolate rocky icing is ready.
Gather the remaining praline bites...
... and dip them in the dark chocolate icing, using the 4-prong dipping fork. Slide the fork against the bowl rim to get rid of any excess icing.
Repeat the operation with the rest of the praline squares and arrange them on the greaseproof paper.
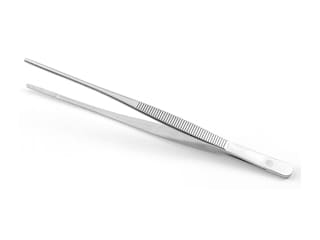
Before the chocolate sets, arrange a small piece of gold leaf on the surface of each praline square with dark chocolate icing, using decorating tweezers.
The praline bites are now done. Leave to set in a cool room (between 18 and 20°C). Do not refrigerate to avoid condensation on the surface of the chocolates. Enjoy these delicious Christmas treats!
Please login to post a review