You can always send us your messages, comments or suggestions.
In one click, store and find all your favourite recipes.
Add this recipe >Before starting this Chocolate and Passion Fruit Ingot Cake recipe, organise the necessary ingredients for the passion fruit jelly insert.
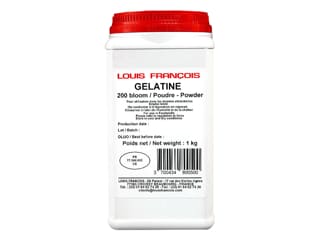
For the passion fruit jelly insert: Hydrate the powder gelatin with 18 grams of water. Combine and set aside until swollen.
Stretch cling film over the narrowest side of the 18cm ingot cake frame.
Make sure the cling film is stretched tight.
Bring the passion fruit purée to a boil.
Add the castor sugar...
... and the rehydrated gelatine.
Combine well with a whisk until incorporated.
Scrape the pulp and seeds from a fresh passion fruit. Add to the hot purée. Combine.
Place a ingot frame on a baking sheet, with the cling film side facing down. Fill the bottom of the frame with the passion fruit preparation to a thickness of 0.5 or 1cm.
Store in the freezer until set. I recommend preparing the jelly insert the day before.
For the crunchy base: Organise all the necessary ingredients.
Gather the dark and milk chocolate pistoles.
Melt the chocolate in the microwave. Work in periods of 20 seconds then stir to obtain a homogeneous consistency.
Combine well with a rubber spatula.
Add the crêpe dentelle flakes...
... and combine.
Pour the crunchy base preparation on a sheet of greaseproof paper...
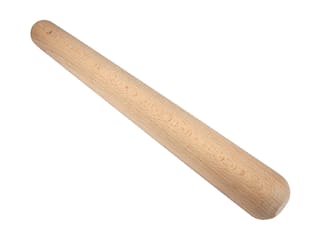
... and spread with a rolling pin between 2 paper sheets, to a thickness of 2 or 3mm. Reserve in the fridge to set.
For the dark chocolate mousse: Organise all the necessary ingredients.
Place the gelatine in 6 grams of water. Combine well...
... and set aside until completely rehydrated.
Heat the milk in the microwave for 30 to 40 seconds at maximum power. Add the rehydrated gelatine to the hot milk. Mix until the gelatine is completely dissolved.
Melt the dark chocolate in the microwave. Work in periods of 20 seconds then stir to obtain a homogeneous consistency.
Add the melted chocolate to the warm milk.
Combine until homogeneous, and leave to cool down to 25-28°C, stirring frequently.
When the chocolate reaches the right temperature, add 1/4 of the whipped cream first, to facilitate the incorporation. Combine with a spatula.
Add the rest of the whipped cream and fold gently.
Transfer the preparation into a piping bag. The use of a nozzle is not necessary. Set aside.
Remove the jelly insert from the freezer.
Remove the cling film...
... and slightly heat the sides of the frame with a blow torch...
... to release the passion fruit jelly easily.
Reserve in the freezer right up to when you release the jelly from the cake frame to make sure it doesn't defrost at room temperature.
Remove the crunchy base from the fridge and remove the top sheet of greaseproof paper. Using a knife, cut a rectangle to slightly smaller dimensions (2 or 3mm less) than the widest part of the frame. Reserve in the fridge.
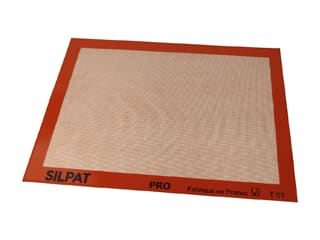
Place the cake frame on a Silpat baking mat, with the narrowest side facing down.
Pipe a layer of chocolate mousse...
... to a thickness of about 1cm.
With a small palette knife, create a volcano shape, so that the cream goes all the way up the rim.
Remove the jelly insert from the freezer. Trim about 1cm on each side with a knife.
Gently arrange the insert over the chocolate mousse, making sure it is perfectly centred. The jelly insert should not touch the sides of the frame.
Bury it gently in the chocolate mousse to get rid of any air bubbles.
Pipe chocolate mousse over the jelly insert and fill the cake frame. Reserve the chocolate mousse excess for the finish.
Using a palette knife, create a volcano shape so that the mousse goes up the rim.
Arrange the rectangle of crunchy biscuit. Press gently to make it stick. The biscuit should come up right up to the rim of the frame.
Place in the freezer and let set for a few hours. Up to this stage, this recipe can be prepared in advance.
When frozen, take the cake out of the freezer...
... and heat the sides of the frame with a blow torch. Make sure the chocolate mousse does not melt. Heat up the cake frame very slightly.
The frame should come off easily. Remove by lifting upwards gently.
Place the ingot-shaped cake on your kitchen worktop.
Fill any gaps with the remaining chocolate mousse.
Even the surface with the blade of a knife. Store the cake in the fridge and let it defrost for a few hours.
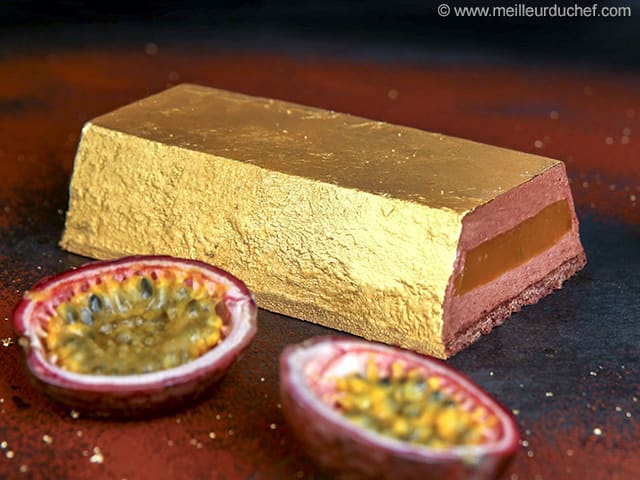
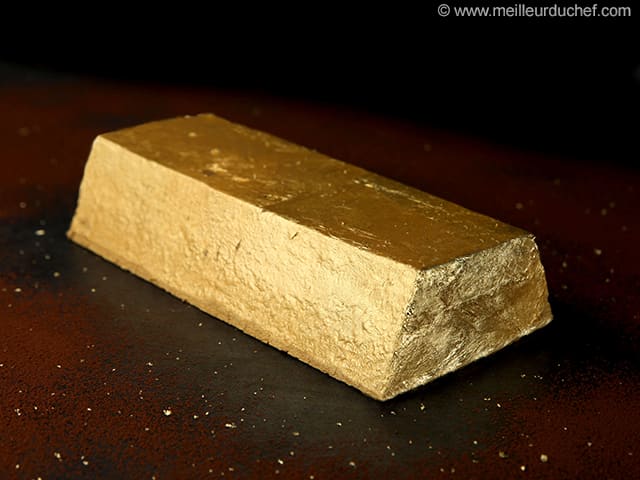
For the finish: When defrosted, apply gold leaf sheets on the surface of the cake. Make sure you don't apply the gold sheets on the cake while it is still frozen, as they won't adhere. Work gently for this operation, as the cake is more fragile when defrosted.
Try not to touch the surface of the cake directly with your fingers. Use the paper dividers to press the gold leaf sheets on the surface of the cake.
Repeat the operation until the whole surface is covered in gold. You can also use a gold colouring spray, however the result will be slightly less realistic and the surface of cake will need to be perfectly even.
Please login to post a review