You can always send us your messages, comments or suggestions.
In one click, store and find all your favourite recipes.
Add this recipe >Before starting this Raspberry Linzer Cookies recipe, organise all the necessary ingredients for the hazelnut rich shortcrust pastry.
Hazelnut rich shortcrust pastry: Place the softened butter (at room in the stand mixer recipient.
Add the salt...
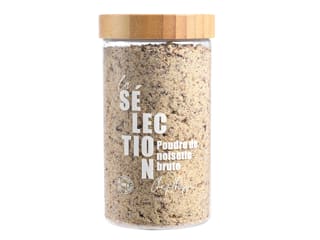
...hazelnut powder...
... and the icing sugar.
Equip the mixer with the flat beater...
...and mix thoroughly, meaning don't overwork the dough to prevent it from aerating (emulsifying), which could make it fragile when handling.
As soon as the butter, hazelnut powder, and icing sugar are combined...
...stop the mixer and scrape down the sides of the bowl.
Add the egg yolks.
Mix the preparation again without overworking it, setting the mixer at the lowest speed. Stop the mixer and remove the dough from the paddle.
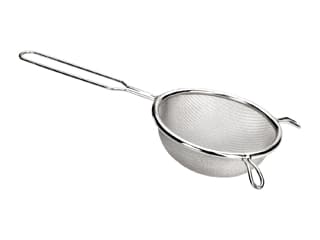
Sift the flour...
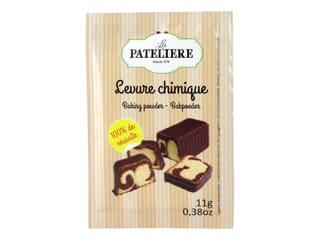
...mixed with the baking powder over the mixture.
It's essential to pass the flour through a fine strainer or sieve, with the baking powder simultaneously, to incorporate the latter properly into the dough.
Finish mixing with the mixer, still at low speed to avoid flour projections.
Stop the mixer as soon as all the ingredients are combined.
Remove the paddle from the bowl.
Gather as much dough as possible using a dough scraper or a rubber spatula and place it on a work surface covered with plastic wrap. You can see that it's a rather soft dough.
Wrap the dough while flattening it out evenly...
... and refrigerate until firm. The dough will be easier to work with a rolling pin.
Remove the hazelnut shortbread from the fridge and divide it into two. Place these two pieces of dough on two sheets of parchment paper...
...and cover them with another sheet of parchment paper.
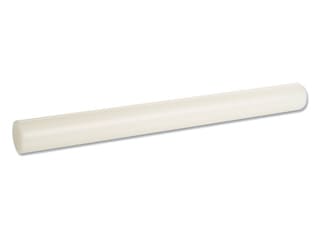
Roll out these two pieces of dough with a rolling pin, to a thickness of 3mm.
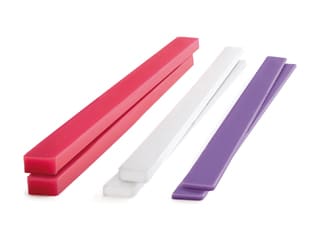
For consistent thickness, use leveling guides.
We have our hazelnut shortbread sheets. The first sheet will be used for the bottom of the biscuits, and the second sheet for the top of the biscuits.
Slide a baking sheet under each sheet of parchment paper covered with a sheet. And place everything in the fridge for a minimum of 1 hour.
When the dough is firm, remove from the fridge and remove the top parchment paper.
Place a new sheet of parchment paper directly in contact with the dough...
... and flip upside down on your kitchen worktop...
...and remove the second sheet of parchment paper that adheres to the dough, so you can cut and peel it easily from the paper. Do the same with the second sheet of dough.
Cut hazelnut shortbread fluted discs using Linzer cookie cutters on the first sheet of dough.
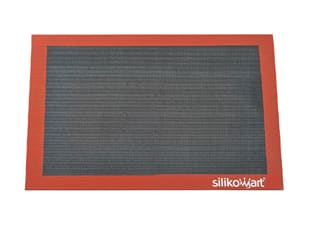
Place these shortbread discs on a baking sheet covered with a silicone mat.
Cover the shortbreads with a baking mat so that the baking is uniform, without deformation.
Place the baking sheet in a fan-assisted oven, preheated to 170°C (gas 3), and bake for 10 to 15 minutes depending on the oven.
Equip the cutter with the star-shaped cutter...
...and secure it well at the bottom of the cavity, as shown in the photo.
Cut out the second dough sheet to obtain the upper part of the shortbreads.
Place these hazelnut shortbread patterned discs on a baking sheet covered with a silicone mat.
Do the same with the Christmas tree-shaped cutter...
...cutting out the hazelnut shortbread.
And place the patterned dough discs on the baking mat.
This is what the result should look like.
Now fit the cutter with the snowman-shaped cutter...
...blocking it in the cavity of the Linzer cutter.
Cut hazelnut shortbread discs with this cutter...
...and place them on the silicone mat.
The upper parts of the shortbreads are ready. Each biscuit consists of two parts, one solid and the other with a pattern in the centre.
Cover the biscuit discs with a bread baking mat...
...and place in a fan-assisted oven, preheated to 170°C (gas 3), and bake for 10 to 15 minutes. This baking time may vary depending on the oven.
After baking the first batch, remove the baking sheet from the oven and remove the top mat once the biscuits have cooled. If you do this operation when hot, you may damage the surface of the biscuits.
We obtain the base of our shortbreads.
When the second batch is baked, remove from the oven...
...and remove the top mat once the biscuits are lukewarm.
Here are our patterned shortbreads.
Dust icing sugar on the surface of the patterned discs, sifting it through the fine sieve...
... to achieve this result.
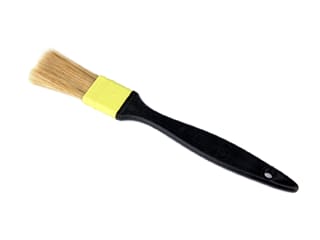
Apply raspberry jam on the surface of the biscuits bases using a pastry brush. Slightly heat the jam in the microwave beforehand.
Then place the patterned discs over the jam.
Continue filling the biscuits base discs...
...and cover with a patterned disc...
... as shown in the photo.
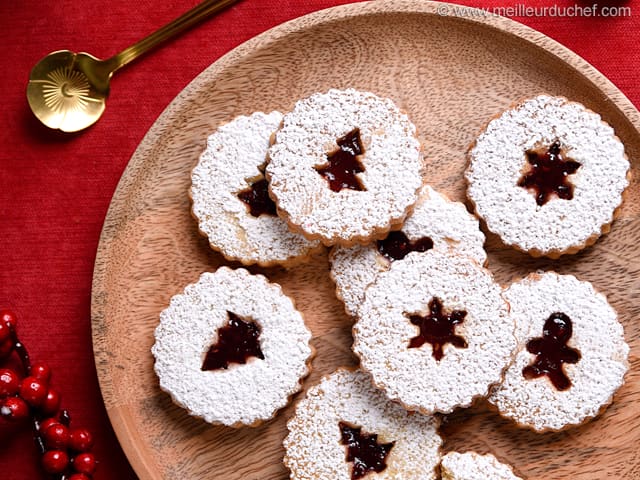
Our Christmas shortbreads are now ready.
Pour the remaining jam into a small piping bag.
Cut the tip of the pastry bag with a pair of scissors to get a very small opening to control the jam flow.
Gently fill the central cavity of the shortbreads. This operation is necessary to fully taste the raspberry jam (the middle layer will not be sufficient to flavour the biscuits).
Here are our raspberry Christmas shortbreads ready to be enjoyed! Bon appétit!
Please login to post a review