You can always send us your messages, comments or suggestions.
In one click, store and find all your favourite recipes.
Add this recipe >Before starting this Zebra Loaf Cake recipe, organise the necessary ingredients for the chocolate cigarette cookie pastry.
Place the soft butter in a mixing bowl.
Add the icing sugar...
... and combine with a spatula...
... until creamy and homogeneous.
Add the egg white...
... and combine with the spatula.
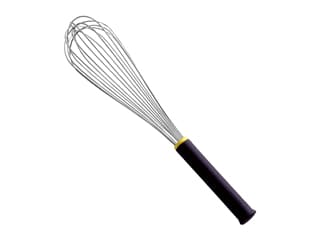
Finish mixing with a whisk.
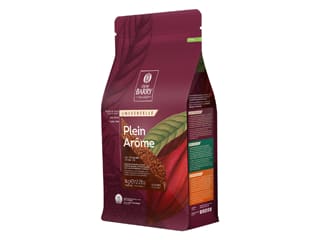
Add the cocoa powder...
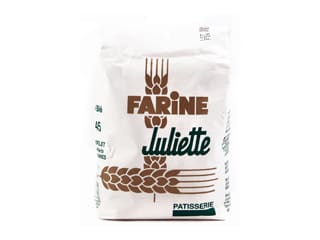
... and the flour...
... and combine with a whisk...
... until the consistency is homogeneous.
Scrape the sides of the bowl with a maryse spatula...
... and set aside.
Cut a sheet of greaseproof paper to the same length as the loaf cake mould with tube insert, i.e. 25 cm.
Wrap the greaseproof paper two or three times around the tube. Discard any paper excess.
Wrap again to check. Set aside.
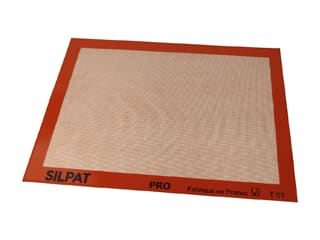
Using an old Silpat baking mat...
... cut into rectangles with a box cutter, to the same dimensions as the sides of the mould.
Check the size of the Silpat rectangles inside the mould. Adjust the dimensions if needed.
We'll need three rectangles to line the sides and bottom of the loaf cake mould.
Using a rubber spatula, spread a thin layer of chocolate pastry over one silicone rectangle.
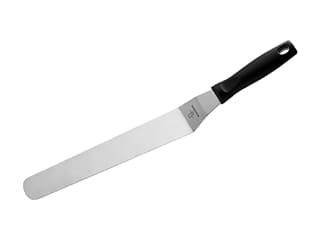
Spread to an even layer with a metallic cranked spatula.
Carefully lift the silicone rectangle with the spatula...
... and collect the pastry excess.
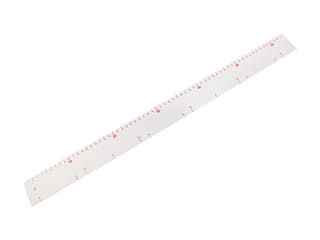
Place the rectangle on a clean corner of your worktop surface and slide a decorating comb to create parallel lines, using a graduated ruler as a guide.
This is what the result should look like.
Gently lift the Silpat rectangle, taking care not to damage the stripe pattern, and transfer on a Silichef XL perforated baking sheet.
Repeat with the remaining silicone rectangles. Place in the freezer.
For the plain cigarette cookie pastry: Organise all the necessary ingredients.
In a mixing bowl, place the soft butter...
... icing sugar...
... and combine with the spatula until homogeneous.
Add the egg whites...
... and combine with the spatula first...
... and finish with the whisk.
Add the flour...
... and combine vigorously...
... until homogeneous.
Remove the frozen striped rectangles from the freezer one at a time...
... and place one of them on a clean surface.
Spread a layer of plain pastry over the chocolate stripes...
... and even with a metallic cranked spatula. The whole silicone rectangle should be covered with pastry.
Carefully lift the rectangle and return to the freezer. Proceed with one rectangle at a time, as the chocolate will defrost very quickly. While you're working with one rectangle, make sure you leave the other two in the freezer.
For the loaf cake batter: Organise all the necessary ingredients.
Place the soft butter in the stand mixer recipient.
Add the salt...
... and the castor sugar.
Blanch with the flat beater for a few minutes.
Add the liquid vanilla extract...
... and combine. Set aside.
In a separate stand mixer recipient, place the egg yolks and brown sugar.
Combine with a whisk until the preparation reaches the ribbon stage.
The preparation should double in volume and become pale and smooth. When you lift the whisk over the preparation, it should fall slowly forming a ribbon. Set aside.
In a third stand mixer bowl, tip the egg whites and beat until firm...
... then add the sugar and beat until stiff.
Set aside.
Gather the three mixtures.
Pour the 'ribbon' preparation over the butter and sugar mix.
Combine carefully with a rubber spatula, very briefly.
Add the beaten egg whites and combine gently.
Add the flour...
... and baking powder (make sure you incorporate the baking powder at the same time as the flour).
Combine gently with a rubber spatula...
... until homogeneous. Set aside.
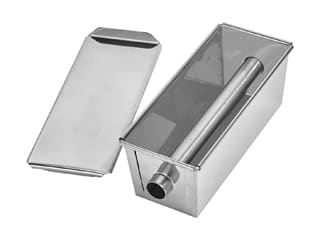
Place the insert tube inside the loaf cake mould.
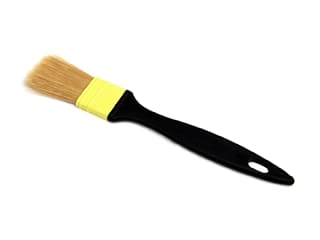
Using a pastry brush, apply a little melted butter around the tube.
Place the sheet of greaseproof paper around the tube...
... and wrap a couple of times. This will facilitate the release from the mould.
Apply melted butter over the wrapped greaseproof paper.
This is what the mould should look like at this stage.
Divide the cake batter into 2/3 and 1/3. Set the big bowl aside (with 2/3 of vanilla batter). Add some Trablit coffee extract to the small batch (1/3)...
... and combine gently. The amount of flavouring varies according to the desired flavour intensity.
Transfer both preparations in a piping bag.
Assembling the cake: Remove the striped rectangles from the freezer.
Place the rectangles on the sides and bottom of the mould, with the silicone side in direct contact with the mould.
Place one rectangle at the bottom first, then the right side...
... and the left side.
Pipe two laces of vanilla batter at the bottom of the mould...
... then pipe a few dollops of coffee batter on top.
Pipe another layer of vanilla batter, and dollops of coffee batter on top until the filling gets up to 3/4.
Using a fork, stir the filling gently to get a marble effect.
Slide the lid on top...
... then bake in a fan-assisted oven preheated at 160°C (gas 3) for 50 minutes, on the middle rack.
For the coffee crémeux: Organise all the necessary ingredients.
Pour the whipping cream in a saucepan...
.. and add the whole milk. Place the pan over medium heat.
Place the egg yolks in a mixing bowl...
... add the castor sugar...
... and blanch the ingredients with a whisk.
When the milk and cream start boiling...
... pour the preparation over the blanched egg yolks while whisking.
Transfer the preparation into the saucepan used to boil the milk.
Cook 'à la nappe' (i.e. until the consistency is thick enough to coat the back of a spoon), making 8-shaped motions at the bottom of the pan. The use of a laser thermometer is recommended for this operation. Make sure the temperature doesn't exceed 84°C.
In a mixing bowl, place the milk chocolate and crème fraîche.
Place a strainer on top of the bowl and pass the cooked custard through it.
Let the chocolate melt without stirring for a minute...
... then combine until smooth.
Add the Trablit coffee extract. Taste and add more if needed. Combine carefully.
The chocolate and coffee crémeux is now ready. Reserve in the fridge.
When the cake is cooked...
... remove from the oven.
Remove the lid. The batter should have risen to fill the mould completely.
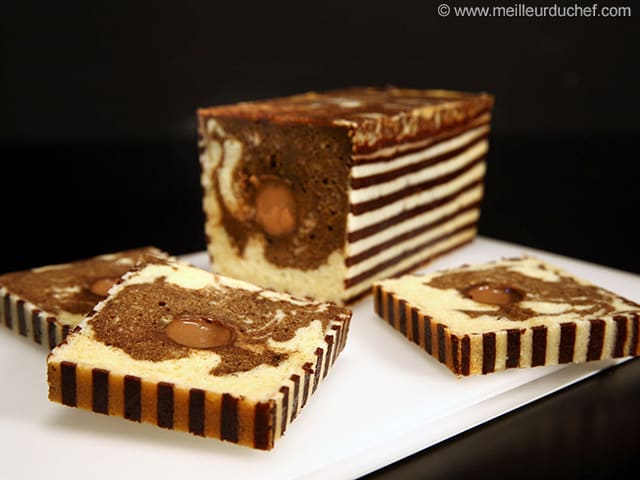
The result should be as shown in the photo. The marble effect should be visible.
Flip the loaf cake onto a baking sheet...
... then remove the insert tube carefully...
... sliding it gently towards you.
Don't forget to remove the greaseproof paper tube.
Flip the cake and slide the blade of a knife between the mould and the cake at both ends.
Flip the cake upside down again and gently release from the mould.
The cake should come off easily. Carefully remove the silicone rectangles...
... to reveal the zebra pattern. The stripes should be printed on the biscuit.
Set aside to cool, then arrange the cake vertically. Stretch cling film over one end of the cake beforehand.
Place the cake on a flat surface and set aside.
The chocolate and coffee crémeux should now be at room temperature. Mix with a Bamix hand blender until smooth and homogeneous.
Transfer into a piping bag...
... and cut the tip of the piping bag to obtain a diameter of about 0.5 cm.
Pipe the chocolate/coffee crémeux into a thin stream inside the central hole...
... and fill completely. Make sure there are no air bubbles.
Close the other end with cling film to protect it. Place the cake in the fridge for a few hours.
When the coffee and chocolate crémeux is set, remove from the fridge and remove the cling film.
Slice the cake with a serrated knife. This operation should be easy.
The cake slices will reveal a nice marble effect...
... and the chocolate and coffee crémeux insert. The consistency should be smooth and creamy but not runny. Slice this cake in advance and set aside at room temperature before serving.
Please login to post a review