You can always send us your messages, comments or suggestions.
In one click, store and find all your favourite recipes.
Add this recipe >Before starting this Almond, Vanilla & Cara Crakine Travel Cake recipe, organise all the necessary ingredients for the soft almond cake.
For the soft almond biscuit: Place the butter in a saucepan...
... and place over high heat...
... until the butter starts boiling.
Take the saucepan away from the heat.
Set aside to cool. Make sure the butter doesn't set. We want the butter to cool down while keeping a liquid consistency.
Pour the castor sugar in the stand mixer recipient, fitted with the whisk.
Add the almond powder...
... the flour...
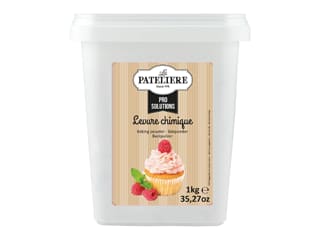
... baking powder...
... and the honey, melted in the microwave beforehand. Combine all the ingredients carefully.
Add the egg whites while whisking.
Add the melted butter (it should have cooled down first) to the bowl...
... and combine until smooth and homogeneous.
Line a baking sheet with a silicone mat.
Pour the almond biscuit batter over the silicone mat...
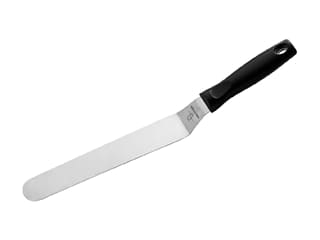
... and spread to an even layer with a metallic cranked spatula over the whole surface of the silicone mould.
The result should be as shown in the photo.
Place the baking sheet in the oven preheated to 145°C (gas 2) and bake until golden. This should take between 15 and 20 minutes, depending on the oven.
For the vanilla ganache (make the day before): Prepare all the necessary ingredients.
Place the white chocolate in a mixing bowl and melt it in the microwave in periods of 20 or 30 seconds.
The chocolate will slowly start to melt. Stir with a rubber spatula every time...
.... until the chocolate has melted completely. The temperature shouldn't exceed 45°C.
In the meantime, heat the whipping cream in a saucepan.
Add the vanilla powder (quantity varies according to the desired flavour intensity).
When the cream starts boiling, incorporate it to the white chocolate in 3 batches while mixing with a rubber spatula to create an emulsion. Add one third of the cream...
Combine well.
Add the second third of the cream...
... and combine carefully.
Add the rest of the cream...
... and combine until smooth and homogeneous.
The vanilla ganache is ready.
Cover the surface of the ganache with cling film...
... and set aside to cool overnight.
When cooked, take the golden biscuit out of the oven.
... and place the tray on your workbench.
Slide the silicone mat onto a rack so the biscuit cools down faster.
Leave to cool at room temperature. The biscuit will be easier to release once cooled down completely.
The next day, place the vanilla ganache in the stand mixer bowl...
... and beat with the whisk attachment...
... until you get a whipped ganache. Make sure the texture is still soft.
This is what the ganache should look like at this stage.
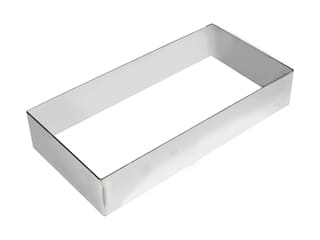
Flip the biscuit onto a sheet of greaseproof paper and remove the silicone mat. Using a stainless steel rectangle frame 20 x 10cm, cut the biscuit into three rectangles.
44 Cut the biscuit with a knife along the sides of the ring
The result should be as shown in the photo.
Place one biscuit rectangle at the bottom of the stainless steel frame.
Place two generous scoops of vanilla ganache over the biscuit rectangle and spread with a small cranked spatula.
The layer should be thin and regular.
Place two scoops of Cara Crakine caramel filling over the vanilla ganache (reheat in the microwave beforehand until soft). Make sure the filling is soft, but not liquid.
Spread the Cara Crakine to an even layer. We want regular tiers inside the cake.
Arrange a second biscuit rectangle.
Repeat the operation with a layer of vanilla ganache...
... and spread with the cranked spatula.
Repeat the operation with a layer of Cara Crakine...
... and spread to an even thickness with the spatula.
This is what the result should look like at this stage.
Place the last biscuit rectangle on top, pressing with your fingers so it sticks to the Cara Crakine filling. The top of the biscuit should get to the top rim of the rectangle frame, or just under.
Wrap the biscuit with cling film...
... and refrigerate for 2 or 3 hours.
Slide a knife blade between the cake and the stainless steel frame to release the cake.
Remove the frame carefully, making sure not to damage the cake.
Cut the cake in half lengthwise with a knife to create two travel cakes.
The two cakes are now ready for the icing operation.
For the chocolate rocky icing: Organise the necessary ingredients.
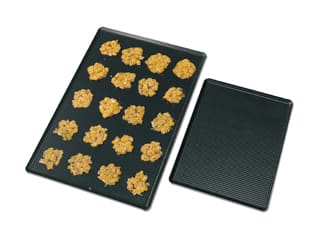
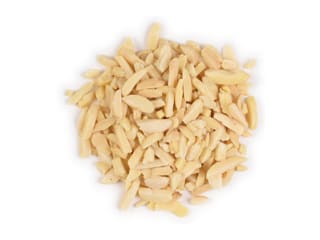
Place the slivered almonds on a baking sheet...
... and roast in the oven preheated at 150°C (gas 2) for 15 minutes.
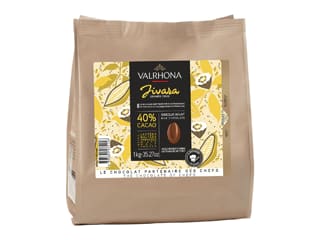
In the meantime, melt the milk chocolate in the microwave and stir every 20 or 30 seconds until completely melted.
The milk chocolate is completely melted at this stage.
The temperature shouldn't exceed 50°C (the use of a laser thermometer is recommended for this operation).
Add the grapeseed oil to the melted chocolate and combine with the spatula.
Take the roasted almonds out of the oven...
... and add to the melted chocolate while they are still warm.
Combine with the rubber spatula.
Transfer both cakes on a rack, placed on top of a deep tray. Using a small ladle, coat one cake with the chocolate icing.
This is what the result should be like.
Repeat the same operation with the second cake.
Our travel cakes are now finished. Leave to set in the fridge for 20 to 30 minutes.
Take the cakes out of the fridge and detach them from the rack with a thin knife.
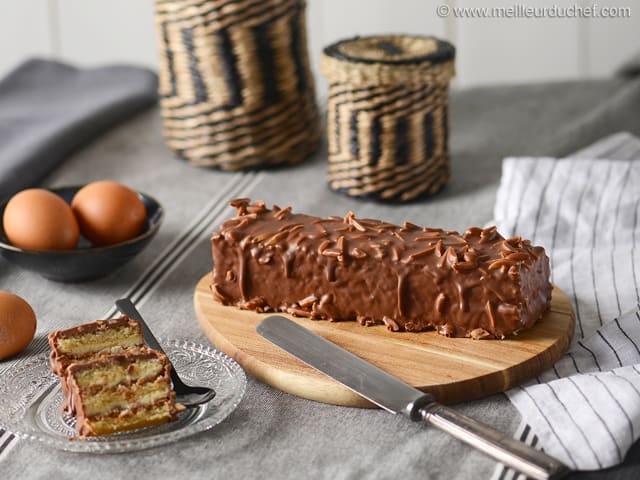
Arrange both cakes on a cake board and store in the fridge until ready to serve. Take them out of the fridge 20 or 30 minutes before serving. Enjoy!
Please login to post a review