You can always send us your messages, comments or suggestions.
In one click, store and find all your favourite recipes.
Add this recipe >Before starting this Banana and Pineapple Entremets recipe, organise the necessary ingredients for the banana mousse.
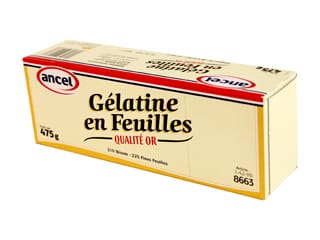
Steep the gelatine sheets in cold water.
Use a kitchen scale to measure exactly 165 grams of banana purée.
Add the castor sugar.
Bring to a boil to dissolve the sugar in the banana purée.
Strain the gelatine sheets.
Add to the hot purée, then combine with a whisk.
Pour the jellified banana purée in a baking sheet with raised edges so it cools down faster.
In the stand mixer, beat the whipping cream until you obtain a whipped cream. Transfer the whipped cream into another bowl and reserve in the fridge.
When the banana purée is cold (at room temperature), transfer into a mixing bowl.
Add 1/3 of the whipped cream...
... and combine with a whisk.
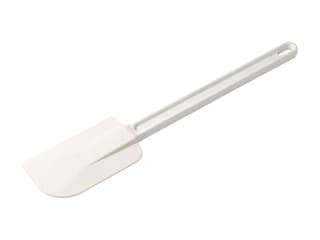
Add the rest of the whipped cream and combine gently with a rubber spatula until homogeneous.
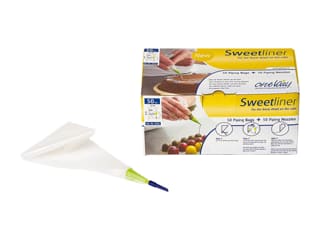
Transfer the preparation into a piping bag. The use of a nozzle is not necessary.
Fill the cavities of a round insert silicone mould using the side where the central cavity is the biggest. The use of a piping bag will make this operation a lot easier.
When filled, the insert mould should look like this.
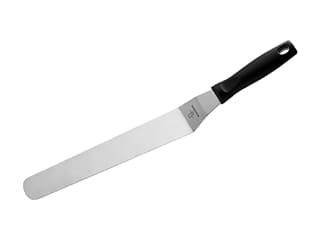
Even the surface with a cranked metallic spatula.
Cover the surface with cling film and store in the freezer. Up to this stage, this recipe can be prepared in advance and stored in the freezer.
For the banana purée: Slice the bananas.
Place the banana slices in a saucepan and add the lemon juice.
Add the castor sugar...
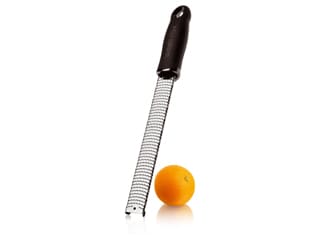
... and grate half a tonka bean using the Microplane Classic grater.
Flour your counter top and place the hazelnut rich shortcrust pastry on top. Roll out the pastry with a rolling pin...
Fleurer le plan de travail et déposer la pâte sablée à la noisette dessus. Abaisser la pâte au rouleau à pâtisserie...
... to a thickness of 3 or 4mm.
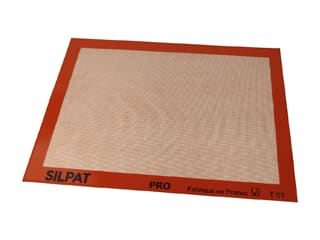
Transfer the pastry on a Silpat baking mat. Using a mousse ring (diameter 22 cm)...
... cut the pastry into a disc, cutting along the inner side of the bowl.
Remove the cake ring...
... and discard the pastry scraps.
The biscuit base is now ready to be baked...
... in a fan-assisted oven preheated at 170°C (gas 3).
Bake for 15-20 minutes. Make sure the oven temperature doesn't exceed 170°C so the biscuit colour doesn't get too dark.
When cooked, remove from the oven.
Drizzle some Mycryo cocoa butter over the pastry disc, which will make it resistant to moisture. Set aside to cool.
Spread a thin layer of Cara Crakine over the cold biscuit. Beforehand, melt the Cara Crakine in the microwave until soft.
Spread with a cranked metallic spatula, to a thickness of 1 or 2mm. Place the biscuit disc in the fridge or freezer for about 30 min for the caramel coating to set.
Take some banana purée...
... and spread into a thin layer over the Cara Crakine.
Cover with cling film and refrigerate.
Place the snowflake silicone mat on a perforated baking sheet...
... and place the mousse ring (diameter 22cm) in the appropriate notch. Set aside.
For the pineapple mousse: Organise the necessary ingredients.
Steep the gelatine sheets in cold water.
Pour the pineapple purée in a saucepan.
Add the castor sugar...
... and bring to a boil.
Strain the gelatin with your hands...
... and add to the hot pineapple purée.
Combine gently with a whisk until the gelatin is completely dissolved. Set aside to cool until the preparation is at room temperature. The preparation should not jellify.
Beat the whipping cream until you obtain a whipped cream. Reserve in the fridge.
Add 1/3 of the whipped cream to the cold pineapple purée.
Combine vigorously with a whisk.
Add the remaining whipped cream to the preparation...
... and fold gently with a rubber spatula, making sure the preparation doesn't collapse.
Transfer the preparation into a piping bag. The use of a nozzle is not necessary.
Pipe some preparation on the snowflake silicone mat...
... and spread with a cranked spatula, pressing well to fill the cavities with the preparation. This operation is important to avoid any air bubbles.
Fill the mousse ring halfway up with the pineapple preparation. Even the surface with the cranked spatula.
Remove the insert mould from the freezer.
Gently release the rings from the insert mould.
Lay the mould flat for this operation in order not to break the frozen rings.
At this stage, the result should look like this.
Arrange the insert rings over the pineapple preparation inside the mousse ring.
We need 3 insert rings for this recipe, i.e. half of the rings. You will need the central one, then the third and fifth.
Transfer the tonka bean and banana purée into a piping bag...
... and pipe a generous lace in the spaces between the banana mousse insert rings.
At this stage, the cake should look like this.
Fill the rest of the mousse ring with the pineapple mousse...
... and even the surface. Fill with pineapple mousse up to 0.5cm from the rim. This gap will be filled with the hazelnut biscuit.
Gently arrange the biscuit disc on top, with the plain biscuit side facing up. In the event the biscuit expanded a little during baking, cut it with a knife along the rim...
... so it perfectly lines the cake ring.
Cover with cling film and store in the freezer. Up to this step, the recipe can be prepared in advance. On the day, simply take the cake out of the freezer and do the decoration.
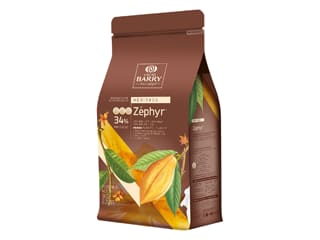
In a bowl, melt the white chocolate couverture in the microwave. Melt the chocolate at medium power in periods of 30 seconds to make sure it does not burn.
Pour the melted chocolate over a strip of acetate, cut to a width of 5cm. Cut the acetate strip to a length that is sufficient to go around the cake.
Pour the chocolate over the whole length of the strip...
... and spread with a cranked metallic spatula to a thickness of 1 or 2 mm. Leave the chocolate strip on the counter top until crystallized. Time varies according to room temperature, but this should take about 10 minutes.
Important: Proceed quickly for the following operations, as the chocolate needs to be soft to be arranged around the cake.
Take the cake out of the freezer.
Remove the cling film.
Flip the cake onto a rack, so the side with the snowflake silicone mat is facing up.
Gently remove the silicone mat. If the cake is frozen, the mat should come away easily.
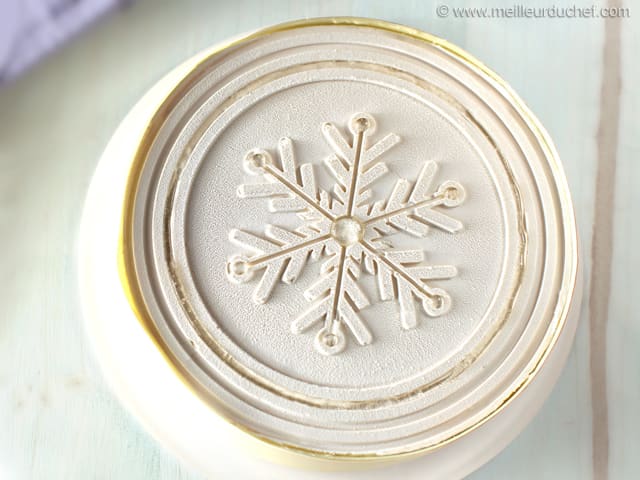
There should be a snowflake pattern on the surface of the cake...
... as shown in the photo.
Place the cake on top of a smaller mousse ring (diameter 18 or 20cm).
Using a blow torch, heat the sides of the ring very slightly.
Make sure the mousse doesn't melt. Heat the sides very carefully...
... so you can easily slide the ring downwards.
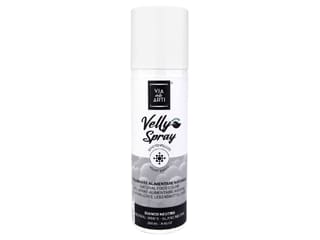
Transfer the cake onto a round rack and cover the whole surface and sides with velvet pearl white chocolate spray. Before use, reheat the bottle over a bain-marie at 40°C for 30 minutes, then spray at a distance of 30 or 40 cm.
At this stage, the cake should be frozen. Lift the acetate strip with white chocolate...
... and arrange it carefully around the cake, making sure the side with white chocolate is in contact with the cake. The chocolate should be easy to handle. Reserve in the fridge.
Melt about 2 tablespoons of clear mirror glaze in the microwave.
Combine until smooth and homogeneous...
... and transfer into a decorating bag.
Pipe a few drops of clear glaze in the centre of the snowflake and the tip of the six branches.
When the chocolate has fully crystallized, gently grab a corner of the acetate strip...
... and detach it from the chocolate. Place the cake in the fridge and let it defrost slowly. This should take between 4 and 6 hours.
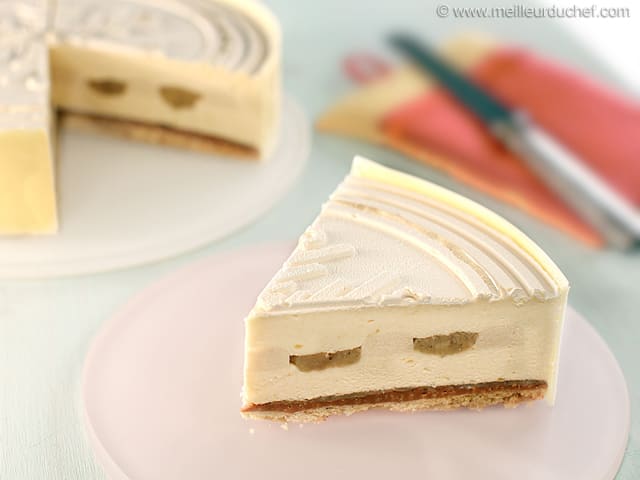
Enjoy this delicious banana and pineapple dessert!
Please login to post a review