You can always send us your messages, comments or suggestions.
In one click, store and find all your favourite recipes.
Add this recipe >Before starting this Chantilly Millefeuille with Red Berries recipe, organised all the necessary ingredients for the reverse puff pastry.
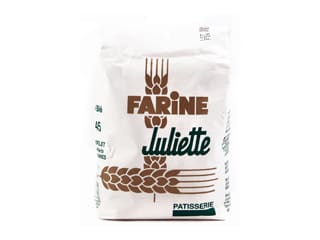
For the reverse puff pastry: (made the day before): In the stand mixer recipient, shape the flour into a fountain. If you don't have a stand mixer and want to make puff pastry from scratch, arrange the flour in the shape of a fountain on your workbench. Add the salt...
... and cold water.
Using the dough hook, start kneading at low speed to incorporate the flour, then increase the speed...
... until a ball forms. If you are not using a mixer, gather the flour with your fingers by drawing it into the water, until all the flour is incorporated and you obtain a ball.
Remove the dough from the bowl...
... and wrap in cling film.
Refrigerate for at least 30 minutes. You can prepare the dough the day before and store in the fridge overnight.
For the preparation of the butter: Shape the flour into a fountain. Place the butter in the centre. The butter should be at room temperature, cut into cubes.
With your fingertips, rub the butter into the flour...
... until homogeneous. Shape the butter into a rectangle, with a thickness of 1 cm.
Wrap in cling film and refrigerate for at least 30 minutes. You can prepare the butter the day before and store in the fridge overnight.
For the turns: Place the butter on a floured surface.
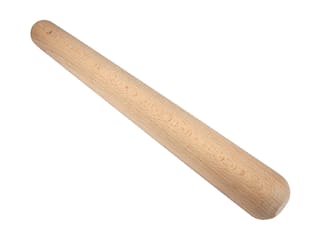
Using a rolling pin, roll out the dough into a rectangle...
... to the same width and half the length of the butter strip. Place the dough rectangle in the centre of the butter strip.
Fold the top part over the dough...
... then the bottom part. The dough should be wrapped with butter.
Roll out lengthwise, to a thickness of 1 cm.
For the first double turn: Fold the top quarter of the dough over.
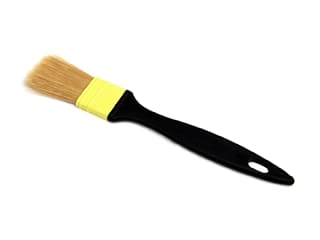
Remove the flour excess with a flour brush or pastry brush. This is really important, as we don't want to add any extra flour to the dough.
Fold the bottom quarter of the dough over.
The ends should not meet in the centre. There should be a gap of approximately 2 cm.
Fold the dough in half from the gap in the centre.
This operation is called a double turn (which equals two single turns). This folding method is also called "portefeuille" ("wallet turn").
Wrap the dough block in cling film and refrigerate for at least 30 minutes.
Place the dough on a floured surface, with the folds to the side.
For the second double turn: Roll out lengthwise, to a thickness of 1 cm. Of course, you can use a manual laminator for this recipe.
Fold the top quarter of the dough over.
Fold the bottom quarter of the dough over.
The ends should not meet in the centre. There should be a gap of approximately 2 cm.
Fold the dough in half from the gap in the centre. The second double turn is now complete. Inside-out puff pastry requires two double turns and one single turn.
Wrap the dough block in cling film and refrigerate for at least 30 minutes.
For the single turn: Place the dough on a floured surface, with the folds to the side.
Roll out lengthwise, to a thickness of 1 cm.
Fold the top third of the dough over...
... then fold the bottom third over. There should be three layers of pastry. Wrap the dough block in cling film and refrigerate for at least 30 minutes.
The reverse puff pastry is now finished. The longer you store it in the fridge, the better the results. I strongly recommend making this pastry the day before.
For the pastry layers: Divide the dough into 4 identical portions and place one portion on a floured surface.
You will need 2 portions of puff pastry for this recipe. The rest can be stored in the fridge (if you're planning to use it shortly after) or in the freezer.
Roll out the dough into a rectangle, to a thickness of 3 or 4 mm. The dough rectangle should be slightly bigger than the relief silicone mat.
Cut a sheet of greaseproof paper to the dimensions of the puff pastry baking tray and place it inside the bottom pan. Arrange the pastry rectangle over the greaseproof paper.
Place the silicone mat on top of the pastry, with the pattern side in contact with the pastry. Place another sheet of greaseproof paper over the silicone mat.
Slide both parts of the tray together to enclose the dough.
Bake at 170°C (gas 3) for 30 minutes.
When cooked, remove from the oven and open the tray.
Remove the greaseproof paper and gently lift the silicone mat.
The pattern should now be printed on the puff pastry.
I used the plaited pattern for this recipe, but you you can use any silicone mat with the pattern of your choice.
Sprinkle the puff pastry with a thin layer of icing sugar. The layer should be very thin to get a perfect caramelisation of the surface of the pastry.
There should be no clusters of sugar!
Return to the oven at 210°C (gas 6-7).
It will take only a few minutes to caramelize the sugar in a really hot oven. Make sure you caramelize the pastry at a high temperature to prevent overcooking the pastry, which would give it an unpleasant taste.
When the pastry is caramelised and glossy, remove from the oven.
Repeat steps 39 to 51 to bake another portions of puff pastry. You will need two prepare two sheets of puff pastry for one millefeuille.
Using a knife, mark the strips on each rectangle of hot puff pastry while it is still warm...
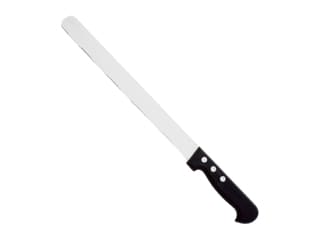
... and cut the strips with a serrated knife.
The strip dimensions will vary according to how big you want your millefeuille to be. For this recipe, I made strips with dimensions 22 x 8 cm. You will need a total of three puff pastry strips for one millefeuille.
For the Chantilly cream: Make sure you measure the quantity of whipped cream stabilizer precisely. Recommended quantity is 50 grams for 1 litre of cream.
Pour the whipped cream stabilizer over the icing sugar. Prefer icing sugar to castor sugar, it will take less time to melt in the cream. Castor sugar might give a grainy consistency to the whipped cream.
Combine the two ingredients with a spoon. It is important to blend them together beforehand to avoid lumps.
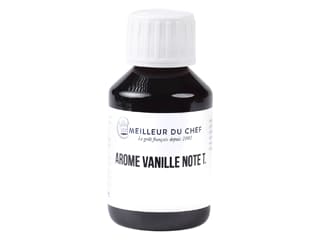
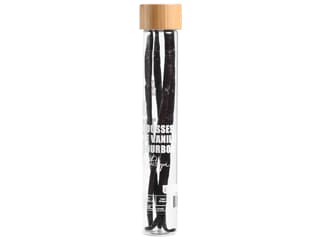
Pour the cold whipping cream in the stand mixer recipient, then add the icing sugar and whipped cream stabilizer. Add the seeds of a vanilla pod or vanilla extract.
Beat over medium speed. With the use of whipped cream stabilizer, the soft peaks won't tale long to form. Keep a close eye on the cream while beating.
Assembling the millefeuille: On a sheet of greaseproof paper, place a strip of puff pastry, caramelised side facing down.
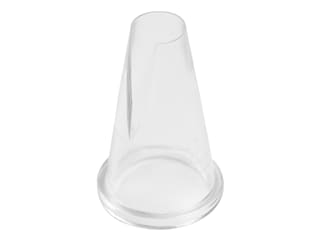
Pipe the Chantilly cream using a piping bag fitted with a plain nozzle (diameter 10 mm). Pipe 4 thick laces of cream, making sure to create tight rows.
Bury the red berries (preferably fresh) in the cream filling.
I strongly recommend making this recipe in the spring or summer months, when red berries are in season.
Pipe another layer of Chantilly cream to cover the fruits.
Arrange a second puff pastry strip on top, caramelised side facing down. Choose the least perfect pastry rectangle, as it the middle layer won't be visible. Press gently with your fingers so the biscuit sticks to the cream.
Cover the pastry with 4 thick laces of cream, piped into tight rows.
Bury red berries in the cream.
Cover with another layer of cream.
Finish with a third puff pastry on top. The caramelised side should be facing up. Press gently on the biscuit so it sticks to the cream.
Using a greaseproof paper at the bottom, gently tilt the millefeuille so it stands in a vertical position.
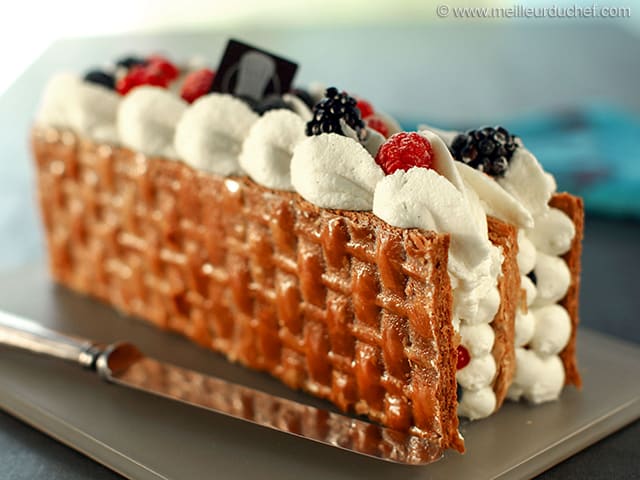
Pipe the rest of Chantilly cream on the surface of the millefeuille, creating small swirls with a Saint-Honoré nozzle (Ø 14 mm).
Arrange the remaining red berries on the surface.
Sprinkle the surface of the millefeuille with Codineige non-melting sugar. Reserve in the fridge until ready to serve.
Please login to post a review