You can always send us your messages, comments or suggestions.
In one click, store and find all your favourite recipes.
Add this recipe >Before starting this Chocolate Birthday Candles recipe, organised the necessary ingredients for the chocolate shells.
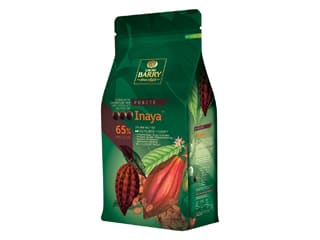
Tempering the chocolate: Place the dark chocolate pistoles in a glass recipient.
Melt the chocolate over a bain-marie or in the microwave. If you're using the microwave, work in periods of 20 seconds to make sure the chocolate does not burn.
The chocolate should not exceed a temperature of 40°C. For this step, the use of a digital or laser thermometer is recommended.
When the chocolate is down to 35°C, add the Mycryo cocoa butter. The ideal quantity is 1% of the total weight of chocolate, i.e. 3 grams for this recipe.
Combine until completely incorporated to the melted chocolate.
Continue stirring until the temperature is down to 30/31°C. The chocolate is now tempered, ready to be used.
Moulding the chocolate shells: Pour the chocolate in the square cavities of a magnetic chocolate mould...
... and fill the cavities. Gently tap the sides of the mould with a spatula handle to knock out any air bubbles.
Scrape the surface of the mould...
... with a chocolate spatula...
... then flip the mould to get rid of the chocolate excess.
I recommend performing this operation over a sheet of greaseproof paper in order to collect the chocolate excess and reuse it later.
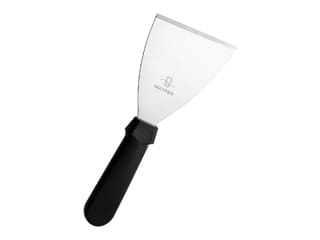
Using a triangular spatula, scrape the surface of the mould...
... and place the mould on greaseproof paper (cavities side facing down) and let the chocolate crystallise.
This should only take a few minutes if the tempering operation has been done properly. Flip the mould...
... and scrape again for a neat finish.
Set aside in a cool room (do not refrigerate).
For the salted caramel: Place the castor sugar and glucose syrup into a saucepan...
... and cook over medium heat until you obtain a dark caramel.
Add the whipping cream (at room temperature)...
... and combine with a spatula.
Finish mixing with a whisk until homogeneous.
Add the butter cut into cubes and some fleur de sel.
Pour the caramel into a large baking sheet with raised edges so it cools down faster.
When the caramel is cold, transfer into a piping bag...
... and set aside.
For the chocolate flames: Pour some tempered chocolate couverture...
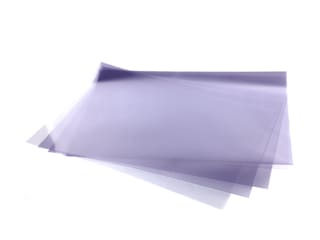
... on an acetate sheet.
Using a cranked spatula, spread the chocolate...
... to a thickness of 3 or 4mm.
Wait until the chocolate is partially crystallised. When the surface is looking matte, create candle flame shapes with the tip of a utility knife. Set aside.
For the chocolate base: When the chocolate shells are crystallised...
... and check if you can release them from the mould. The square shapes should come off easily.
Place a few dark chocolate Crispearls at the bottom of each shell...
... and fill the rest of the cavities with caramel. Make sure the caramel is cold. When piping the caramel, stop just a little below the rim to leave enough space to close the chocolates.
To close the shells...
... pour tempered chocolate over the cavities.
Lift the mould over the chocolate bowl...
... and even the surface with a triangular spatula to remove the excess. Let the chocolate crystallise at room temperature.
For the chocolate mousse: (can be prepared ahead): Organise all the necessary ingredients.
In a saucepan, place the milk, castor sugar and glucose syrup.
Bring to a boil...
... then pour over the white chocolate pistoles.
Combine gently with a spatula until homogeneous.
Transfer the resulting mixture into a large recipient...
... and add 1/3 of the whipped cream...
... then fold gently with a rubber spatula.
Add the rest of the whipped cream and combine.
Transfer the chocolate mousse into a piping bag...
... and fill the cavities of the ice cream mini stick silicone mould.
You will need two moulds to make 20 candles.
Even the surface with a metallic spatula...
... and place in the freezer.
For the chocolate icing: Organise all the necessary ingredients. Hydrate the gelatine with 90 grams of water.
In a saucepan, combine the castor sugar...
... and the glucose syrup.
Bring the preparation to a temperature of 103°C.
It only takes a few seconds after the preparation starts boiling.
I recommend using a digital thermometer.
Pour the hot syrup over the condensed milk.
Add the rehydrated gelatine and combine.
Add the dark chocolate pistoles.
Wait for a few seconds for the chocolate to start melting...
... then start stirring.
Finish mixing with a whisk for a homogeneous consistency. Set aside.
For the chocolate flames (continued): Prepare the necessary ingredients for the velvet effect.
Melt the white chocolate couverture in the microwave on medium power, in periods of 20 seconds to make sure the chocolate does not burn. Repeat the operation with the cocoa butter.
Combine the two ingredients together...
... using a spatula.
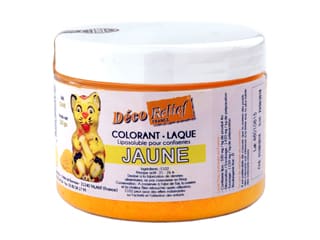
Add the yellow colouring powder...
... and mix with a hand blender until completely incorporated. The yellow colour should be quite intense.
When the preparation is 45°C, transfer into a spray gun. Set aside.
Flip the chocolate flame shapes onto a baking sheet.
Detach them gently and line them up on a sheet of greaseproof paper.
Spray the flames with the yellow chocolate preparation. Reserve in the fridge and spray again for a more intense yellow colour. Reserve in the fridge.
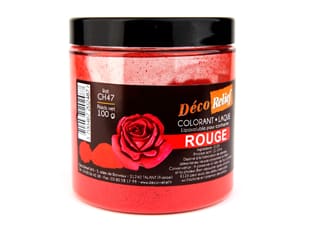
Remove the bottle from the spray gun and add some red colouring.
Mix until you obtain an orange shade.
Remove the flames from the fridge. I placed 3 spatulas on the greaseproof paper to prevent it from lifting.
Spray the top of the flame shapes with the orange colour. Reserve in the fridge.
Add some more red colouring powder to the preparation...
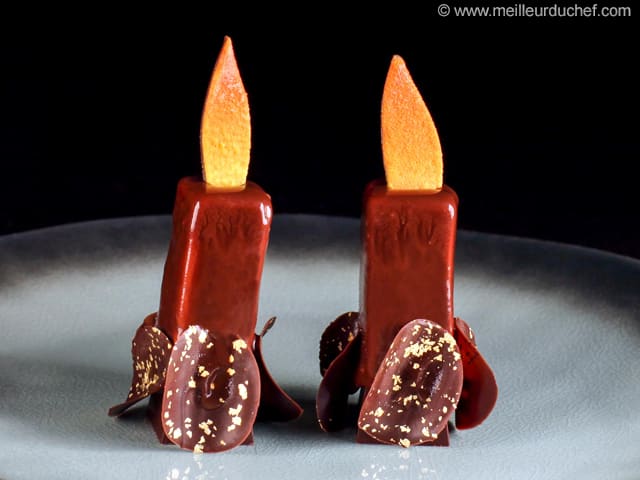
... and spray the end of the flame shapes. This should imitate perfectly the flame on a candle. Reserve in the fridge.
For the icing: Remove the mini sticks from the mould. They should be frozen.
Insert a wooden pick on one end...
... then quickly dip the stick...
... in the chocolate icing at 30°C.
Let the excess chocolate drip off.
Place the chocolate stick vertically on a baking sheet and let set. Repeat the same operation with all the sticks.
For the finish: Gently remove the chocolate squares from the mould...
... onto your worktop surface. They will serve as a base.
They should come off easily.
Place a chocolate stick on top of one chocolate square...
... arranging it in a vertical position.
Gently detach the chocolate crisps.
They are very thin and fragile.
Place 4 of them around the base of the candle.
Repeat the same operation with all the candles.
Using some tempered chocolate, stick a chocolate flame on top...
... and use a cooling spray to fix it. Let defrost slowly in the fridge.
Please login to post a review