You can always send us your messages, comments or suggestions.
In one click, store and find all your favourite recipes.
Add this recipe >Before starting this Chocolate, Cherry and Piquillo Pepper Entremets recipe, organise all the necessary ingredients for the chocolate sponge cake.
Crack the whole eggs into the stand mixer recipient.
Add the castor sugar.
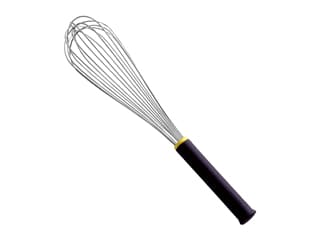
Place the bowl over a bain-marie and beat with a whisk until the preparation reaches a temperature of 40°C.
To monitor the temperature, touch the preparation with the back of your finger: you should feel a stinging sensation due to the heat.
Return the bowl to the mixer and beat until cooled down completely.
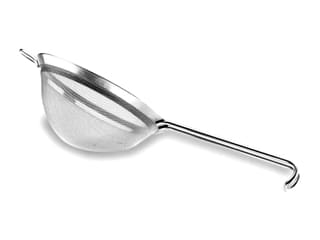
Using a fine sieve...
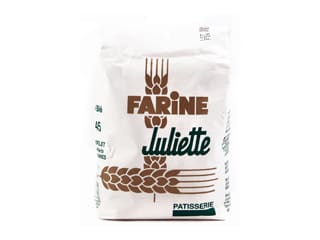
... sift the flour and cocoa powder together.
Add the sifted ingredients to the beaten egg whites in two or three batches to avoid lumps...
... and fold gently.
Pour the preparation into a Flexipan Entremets non-stick baking mat 33.5 x 33.5cm...
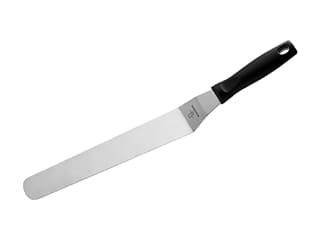
... and spread into a regular layer over the whole surface using a cranked spatula.
Bake at 180°C (gas 4) for about 15 minutes, in a fan-assisted oven.
When cooked, remove from the oven...
... and leave to cool at room temperature.
For the cherry and piquillo pepper mousse: Organise all the necessary ingredients.
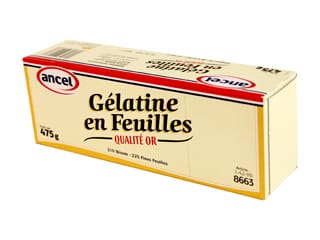
Steep the gelatine sheets in cold water.
Rinse the piquillo peppers to get rid of any oil excess and seeds. Drain well.
Place 100 grams of piquillo peppers into the processor bowl...
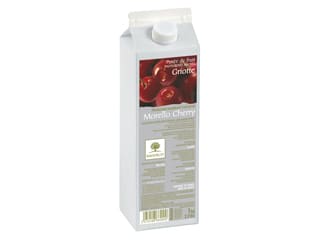
... and the cherry purée.
Mix the ingredients until you obtain a fine purée.
Transfer the fruit purée in a saucepan...
... add the castor sugar...
... and bring to a boil.
Strain the gelatine sheets...
... then add them to the hot preparation.
Combine well with a whisk.
Pour the hot preparation in a deep baking sheet for it to cool down quickly.
Place the whipping cream in the stand mixer recipient...
... and beat until you obtain a whipped cream.
When the cherry and piquillo pepper is cold, transfer into a mixing bowl.
Cut the three piquillo peppers into thin strips (5mm wide), then cut into small squares.
Add the piquillo pepper cubes to the purée...
... and combine.
Add 1/3 of the whipped cream to the cold preparation (room temperature)...
... and combine with a whisk until homogeneous.
Add the rest of the whipped cream and fold gently.
Transfer the preparation into a piping bag...
... and fill the magia del tempo silicone mould with the cherry and piquillo pepper mousse. Refrigerate.
Release the cold chocolate sponge cake from the mould.
Take the dual cutter supplied with the silicone kit. Using the plain round side of the cutter, cut the sponge cake...
... in order to create a ring.
With the fluted side of the cutter, cut the sponge cake...
... in order to create a fluted ring. These two chocolate rings will perfectly fit into the silicone mould.
Remove the mould from the fridge.
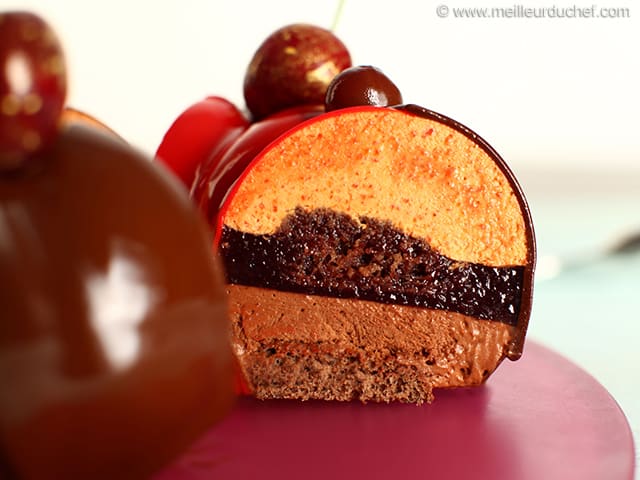
Place the plain round ring on top of the cherry and piquillo pepper mousse. Press gently with your fingers to bury the biscuit inside the mousse a little.
Return the mould to the fridge.
For the cherry jelly: Organise all the necessary ingredients.
Pour the cherry purée in a saucepan.
Add the castor sugar, then bring to a boil.
Steep the gelatine sheets in cold water.
When the cherry fruit purée starts boiling...
... strain the gelatine sheets...
... and add them to the hot purée.
Combine with a whisk until the gelatine is completely dissolved.
Pour the hot purée into a deep tray so it cools down quickly.
When the purée is at room temperature, transfer into a preparation in a funnel dispenser.
Remove the mould out of the fridge. Pour the jellied purée into the mould, to a thickness of 0.5 or 1cm. Return the mould to the fridge and leave to set.
For the chocolate and Espelette pepper mousse: Organise all the necessary ingredients.
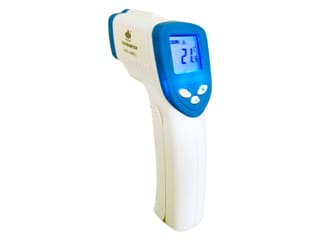
Pour the sugar in a saucepan and add 5 cl of water. Bring to a boil and cook until the temperature reaches 118°C. The use of a laser thermometer is essential for this operation.
Place the eggs into the stand mixer recipient and start whisking. The eggs should be at room temperature.
Pour the cooked sugar (at 118°C) over the eggs while beating at medium speed. Once the sugar is fully incorporated, increase the speed and beat until cooled down completely.
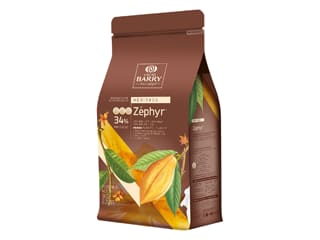
In the meantime, melt the Espelette pepper chocolate...
... in the microwave. Work in periods of 20 or 30 seconds to make sure the chocolate does not burn. Set aside.
The cold preparation in the mixing bowl is called "pâte à bombe".
Add the melted chocolate to the preparation...
... and combine with a whisk until homogeneous.
Add half of the whipped cream to the chocolate preparation...
... and whisk until homogeneous.
Incorporate the second half of the whipped cream and combine with a whisk.
Transfer the preparation into a piping bag.
Fill the rest of the mould with the Espelette pepper chocolate mousse.
The result should look like this.
Place the chocolate sponge fluted ring and place it on top of the mousse.
Press gently on the biscuit to bury it gently in the chocolate mousse. The mousse should come up a bit on the sides of the biscuit ring.
Cover with cling film and store in the freezer overnight.
For the chocolate icing (the following day): Organise all the necessary ingredients.
Soften the gelatine sheets in cold water.
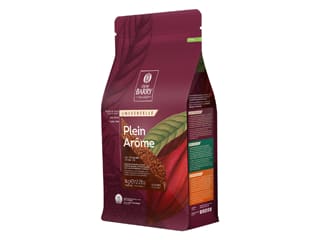
Sift the cocoa powder over a separate bowl.
In a saucepan, pour the water and castor sugar and bring to a boil. When the sugar is completely melted and the preparation starts boiling...
... pour over the sifted cocoa powder.
Combine with a whisk until homogeneous.
Strain the soft gelatine...
... then add to the whipping cream, heated beforehand. Whisk well until the gelatine is completely dissolved.
Pour the jellied whipping cream into the chocolate preparation and combine with a whisk. Set aside.
For the red icing: Organise all the necessary ingredients.
Place the castor sugar, water and glucose syrup into a saucepan. Bring to a boil and cook until the temperature reaches 103°C (1 minute after boiling point).
Pour the syrup over the white chocolate pistoles...
... add the unsweetened condensed milk...
... and whisk until homogeneous.
Add the rehydrated gelatine mass (gelatine powder blended in water). Combine well until the gelatine is completely dissolved.
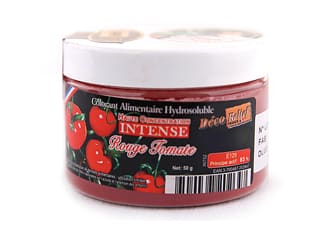
Add the red colouring powder...
... and mix with a hand blender until dissolved. The amount of colouring varies according to the colour intensity you like. I used about half a teaspoon of colouring.
For a red icing with an iridescent effect, add half a teaspoon of gold colouring powder. Mix again.
Add half a teaspoon of gold colouring powder to the chocolate icing prepared beforehand.
Both icings are now ready. Set aside. The temperature of icing preparations should not exceed 30/35°C, otherwise they will not coat the surface of the cake.
Take the cake out of the freezer...
... and remove the cling film.
Gently detach the sides of the mould first...
... then flip the cake onto a baking sheet and release it from the mould.
This is what the entremets should like at this stage.
Transfer the cake on a pastry rack, which has been placed on top of a deep tray.
Place the icing separator (supplied with silicone mould kit) over the cake. It will perfectly fit the cake shape.
Pour the chocolate icing on the outer side of the separator. For more regular results, you can use a piping bag for this operation. Ideally, get someone else to help you rotate the cake while you're pouring the chocolate icing. Make sure you pour the icing layer in one go.
When the outer side is coated, pour the red icing in the centre. I recommend using a piping bag for an easier operation.
Remove the plastic separator before the icing sets, lifting it vertically.
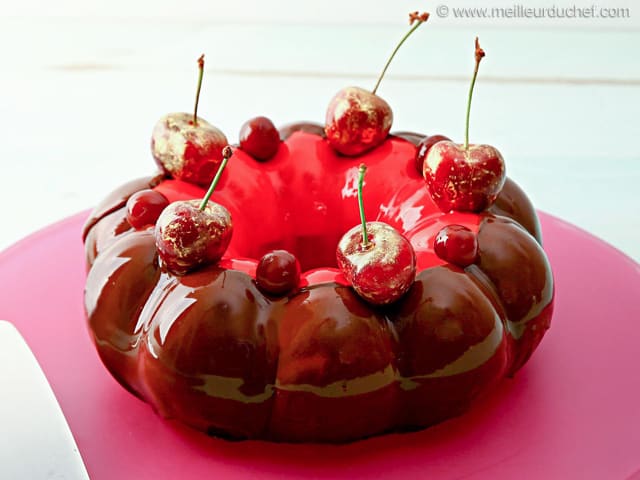
The cake is now coated with a two-colour icing.
Gently lift the entremets with a cranked metallic spatula...
... and arrange it carefully on a serving plate. Reserve in the fridge.
In a small plate, place half a teaspoon of gold colouring powder.
Add a tiny bit of kirsch liqueur, just enough to humidify the colouring powder...
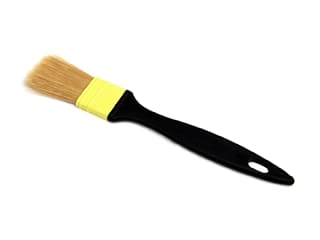
... and paint the fresh cherries with a brush.
This will give the cherries a gold iridescent effect.
Arrange a few cherries over the surface of the cake. I used two types of cherries for the decoration: golden cherries and brandied cherries.
Reserve in the fridge until ready to serve. The cake should still be frozen at this stage and it will take at least 4 hours to defrost completely.
Please login to post a review