You can always send us your messages, comments or suggestions.
In one click, store and find all your favourite recipes.
Add this recipe >Before starting this Chocolate Christmas Baubles recipe, make sure you have organised all the necessary ingredients.
The technique explained below is one of the easiest methods to crystallise chocolate.
Place the chocolate into a bowl.
You may use a bain-marie or a tempering machine (Caloribac). When the chocolate has almost completely melted (only a few solid pistoles should remain)...
... remove from the bain-marie. At this stage, the chocolate is roughly 40°C...
... but the fact that whole pistoles still remain...
... should bring the temperature down to about 34-35°C when totally melted.
Add the Mycryo cocoa butter. This cocoa butter is 100% natural. The supplied dispenser cup contains 10 grams, i.e. the necessary quantity for 1 kg of chocolate. Sprinkle the cocoa butter over the chocolate at 34°C.
Combine. Stop stirring for a little while for the butter to melt slowly. Resume stirring and let the temperature go down to 31°C. The chocolate is now ready.
To monitor the temperature of the chocolate, the use of a thermometer is essential. I recommend using a laser thermometer, as this product provides accurate information without being in direct contact with food.
If you are using white or milk chocolate, the same technique applies, except the temperature must eventually go down to 28°C instead of 31°C.
Using a brush, spread some colouring powder in the cavities.
I used several colours to show the different results you can get.
You can also coat the cavities with colouring spray (I used silver).
Once you've applied the colouring, pour the tempered chocolate in each cavity.
Fill all cavities completely...
... which is why we need to work with large quantity of chocolate. 1 kg of chocolate should make about 12 ball decorations.
Gently tap the sides of the mould with the spatula handle to knock out any air bubbles.
Flip the mould over the bowl to get rid of the chocolate excess...
... and tap on the sides of the mould.
Using a triangular spatula, scrape the surface of the mould to remove any excess.
Place the mould upside down on a sheet of greaseproof paper and let the chocolate crystallize at room temperature.
Repeat the same operation, using a polycarbonate mould for Christmas ball ornaments. Apply some iridescent colouring powder in the cavities first.
Fill the cavities with tempered chocolate, then gently tap the mould to knock out any air bubbles...
... and scrape the surface. Place the mould upside down on a sheet of greaseproof paper.
If the chocolate was tempered correctly, it should take only a few minutes to crystallize and the finish should be glossy.
Release the chocolates from the mould...
... by gently tapping each mould on your kitchen workbench. The chocolate shapes should come off easily. If they are not coming off, twist the mould a little.
Again, if the chocolate was tempered correctly, there should be no problem to release the chocolates.
We now have coloured half spheres...
... and coloured ornament halves.
Place a baking sheet in a hot oven. Place one half sphere on the hot baking sheet to slightly melt the rim...
... and assemble two halves together. Make sure both rims join properly. Let cool.
Repeat the same operation until all the spheres...
...
... and ball ornaments have been assembled.
Heat the blade of a knife, using a blowtorch.
Cut the tip of each ornament...
... to create a hole.
Quickly cool down the melted chocolate with a cooling spray.
Insert an ornament hanger, for example from Christmas ball decorations that you are not using.
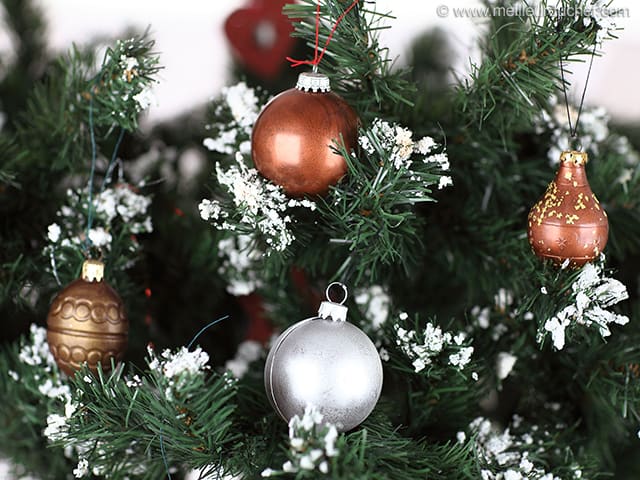
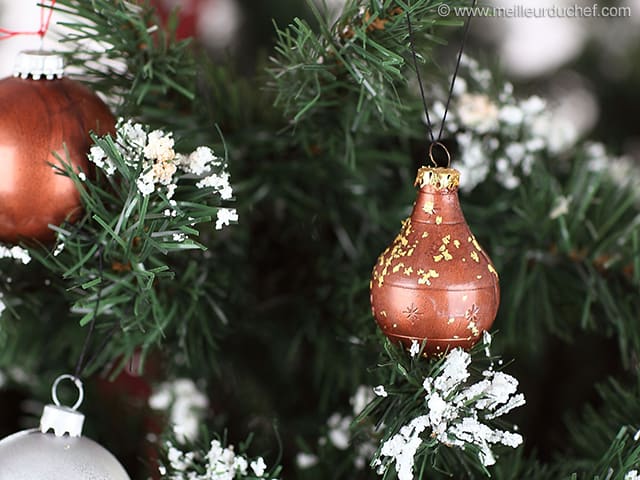
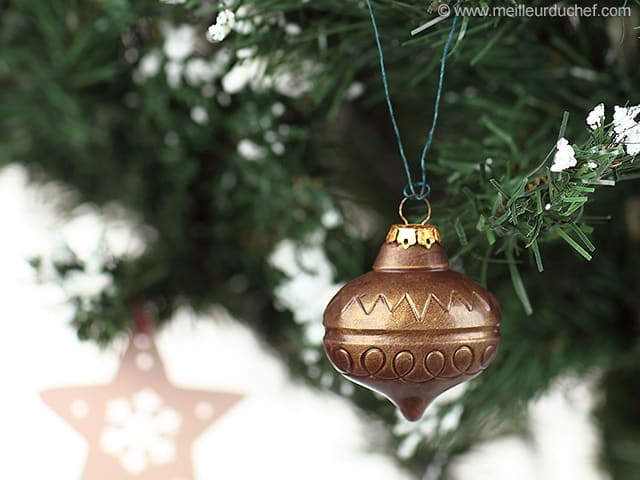
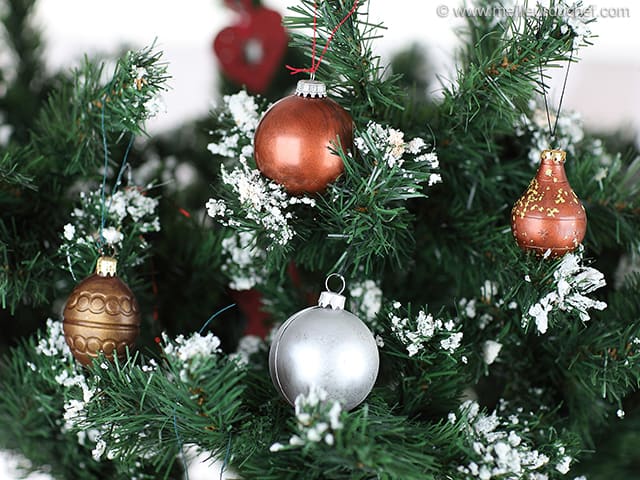
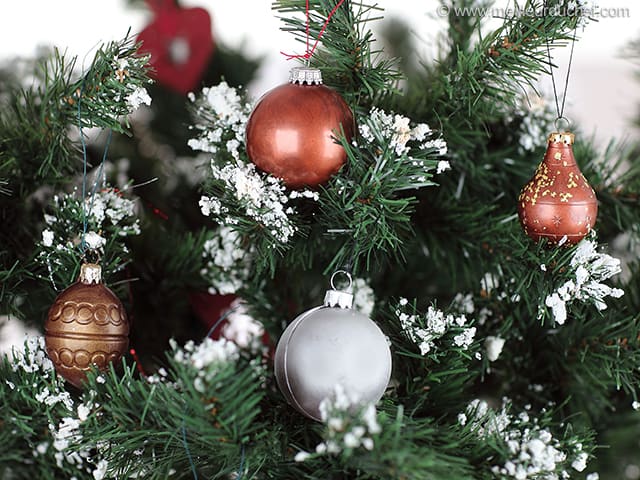
The final result should look like this.
To create a hole in the spheres, heat a stainless steel plain piping nozzle with a blowtorch...
... and gently apply the hot nozzle on the chocolate. Don't put too much pressure not to break the ball.
The hole should be perfectly round and neat.
Quickly cool down the melted chocolate with the cooling spray.
Gently insert an ornament hanger.
The final result should look like this.
Suggestion: Before assembling and sealing two halves together, you can fill them with small treats to surprise your guests.
It is now time to decorate your Christmas tree!
Please login to post a review