You can always send us your messages, comments or suggestions.
In one click, store and find all your favourite recipes.
Add this recipe >To make these Chocolate Christmas Trees with Hazelnut Stuffing, start by preparing the ingredients for the chocolate shells.
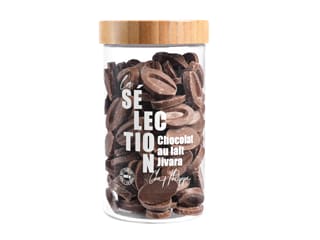
Finely chop the small portion of dark chocolate.
Melt the larger portion of chocolate in the microwave in 20- to 30-second intervals, stirring every time, makign sure the temperature doesn't exceed 50°C. Using an infrared thermometer is recommended at this step.
When the melted dark chocolate reaches 50°C...
...add the chopped chocolate all at once.
Mix with a spatula to gradually incorporate the chocolate. The goal is also to lower the temperature of the melted chocolate to 31°C, which is the ideal working temperature for tempered dark chocolate.
We can observe that the chocolate temperature slowly decreases and the chopped chocolate melts.
Continue stirring with the spatula to further lower the chocolate's temperature.
The dark chocolate reaches 31°C...
...which means it is now tempered.
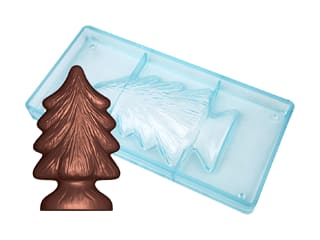
Pour the tempered chocolate into the Winter Joy 3D thermoformed mould.
Tap the mold on the work surface to release any air bubbles...
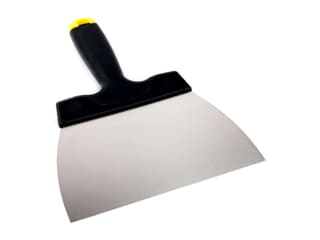
...then flip it over above the mixing bowl with the rest of the tempered chocolate, gently tapping the sides of the mold with a chocolate spatula to allow excess chocolate to flow out.
Scrape the surface of the mould using the chocolate spatula.
Place the mold upside down on the work surface lined with parchment paper.
Repeat with the other half of the mold, filling it with tempered dark chocolate...
...and tapping it on the work surface.
Then flip it over above the container, tapping the side to let the excess chocolate flow out.
Place this second shell upside down on the parchment paper as well, and leave to crystallize at room temperature in a cool room (18°C) for at least 1 hour.
Slide a baking sheet under the parchment paper.
Homemade praliné (make the day before): Gather all ingredients.
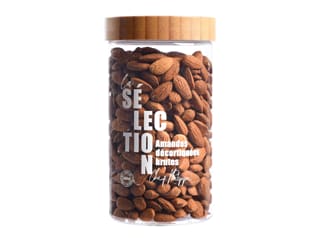
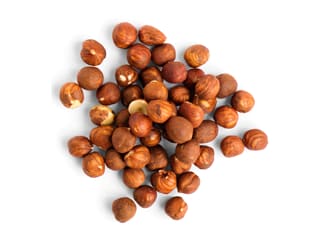
Spread the hazelnuts and almonds on a baking sheet and roast them in a fan-assisted oven, preheated to 150°C, for 15 minutes.
Meanwhile, pour the water into a saucepan...
...and add the caster sugar.
Stir carefully with a spatula and heat.
Bring to a boil and cook the sugar until it reaches 118°C.
When the temperature reaches 118°C...
...add the roasted hazelnuts and almonds...
...and stir until the nuts are coated with syrup.
Gradually, the syrup will become granular, meaning it will solidify and turn white around the hazelnuts and almonds.
Continue cooking and stirring to allow the sugar to caramelize slowly, coating the nuts.
Continue cooking until the hazelnuts and almonds are fully coated with caramel.
Make sure the caramel doesn't brown too much to avoid a bitter praliné.
Transfer the caramelized nuts onto a sheet of parchment paper...
...and spread them out. Leave to cool at room temperature.
Once cooled down, break the caramelized nuts into pieces...
...and place them in a stand mixer bowl.
Then blend thoroughly until a praliné forms.
Initially, the mixture should turn into a powder...
...and eventually become more of a paste.
If the mixture sticks to the sides, stop the mixer, scrape down the praliné, and continue mixing until smooth.
The result is a "wholegrain" praliné, called "old-fashioned praliné." A smoother praliné requires professional-grade equipment for finer grinding. Transfer the praliné to a container and set aside at room temperature until the next day.
Crispy praliné: Gather all ingredients.
Place the dark and milk chocolate in a mixing bowl.
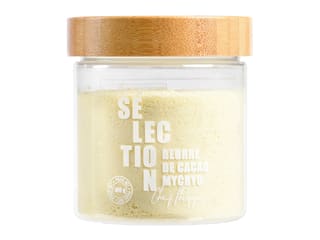
Put the Mycryo cocoa butter (or cocoa butter pistoles) in a saucepan...
...and melt it over very low heat.
Melt the chocolate in the microwave in 20- to 30-second intervals, stirring every time to avoid burning.
When the chocolate is fully melted...
...add the homemade praliné...
...and stir carefully with a spatula.
Then add the melted Mycryo cocoa butter...
...along with the chopped caramelized hazelnuts...
...and the pailleté feuilletine flakes.
Mix all these elements together until homogeneous.
Transfer this crunchy praline onto a shallow tray lined with plastic wrap...
...and cover the surface with a another sheet of cling film.
Leave to cool for 10 minutes (maximum) to avoid hardening.
The crunchy praline should be set but not too firm.
It should be soft enough to press a finger into, like modeling clay.
Transfer into a bowl and knead again with a spatula to make the praline soft.
If the praline is too firm, soften it slightly in the microwave for 10 to 15 seconds. Here, the softened mixture is at 23.6°C.
Release of the chocolate shells: You may observe that some areas of the chocolate are still attached to the mold, while the rest has come off already. This is a sign that the tempering was successful.
Gently twist the mold to release the chocolate shells. If this doesn't work, place the mold in the fridge for 10 minutes and try again.
This is what the result should look like.
Repeat the operation with the second shell...
...and release the chocolate tree.
Place the chocolate shells back in their molds. This will ensure the chocolate tree shells don't break during the filling process.
Place some crunchy praline (at room temperature) inside the chocolate shells.
I recommend wearing a glove for this operation. Spread the crunchy praline over the chocolate shell using your thumb.
The layer of crunchy praline should be even...
...to a thickness of about 0.5 cm.
Repeat the operation with the second half. Be careful not to press too hard to avoid breaking the chocolate.
Finish: Place a small amount of dark chocolate in a bowl...
...and melt it in the microwave in 20- to 30-second intervals, as done previously.
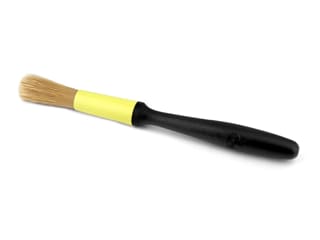
Use a pastry brush to apply the melted chocolate over the crunchy praline layer. If the chocolate shell is too soft, refrigerate the shell briefly beforehand. This will create a thin inner shell to hold everything together.
Once the inside of both shells are coated in chocolate, let them crystallize for 10 to 15 minutes, ideally in a cool room (around 18°C).
Heat an empty baking sheet in a ventilated oven preheated to 100°C for about 10 minutes. Alternatively, you can heat it with a kitchen torch.
Take one half of the chocolate tree and place the flat side on the hot tray to melt the rim of the chocolate.
Assemble both halves together...
...making sure the rims are perfectly lined up...
...as shown in the photo.
Leave to crystallize for a few minutes, then release the chocolate tree and place it upright.
Apply some remaining melted chocolate along the seam, using the brush.
Smooth the edge with your fingertip...
...to ensure the seam is no longer visible.
Repeat the operation for the tree top until smooth. Store the tree in the freezer for at least 30 minutes.
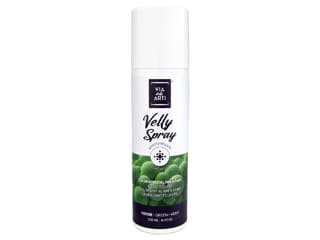
Finish: Shake the spray can vigorously until you can hear the ball inside, and spray the green velvet coating onto the tree just out of the freezer. Place the tree on a baking sheet lined with cling film. A turntable will facilitate the coating process.
The entire surface of the tree should be covered with the velvet spray. Make sure the chocolate tree is freezing cold, or the coating won't stick properly.
Our chocolate Christmas tree with hazelnut stuffing are now ready. For the final touch, dust with a light drizzle of Codineige sugar to give a snowy effect. Store it at room temperature in a cool room (18°C). Enjoy!
I strongly recommend leaving the chocolate to crystallise at room temperature, in a cool room at 18/19°C for several hours, rather than speeding up the process by refrigerating for 10 to 15 minutes. The easiest way is to make the chocolate pieces the day before and unmould them on the day.
Please login to post a review