You can always send us your messages, comments or suggestions.
In one click, store and find all your favourite recipes.
Add this recipe >Before starting this Chocolate & Lemon Tart in Individual Tartlets recipe, organise all the necessary ingredients for the pistachio rich shortcrust pastry.
Placer le beurre pommade into the stand mixer recipient.
Add the salt...
... the ground pistachios (use a small processor)...
... and the icing sugar.
Place in the stand mixer and work to obtain an intimate mixing of the ingredients for the base not to emulsify, which would make the base more difficult to work later in the recipe.
When the butter, ground pistachios and icing sugar are combined, stop the stand mixer. Add the egg yolks.
Resume mixing on low speed, without working the preparation too much.
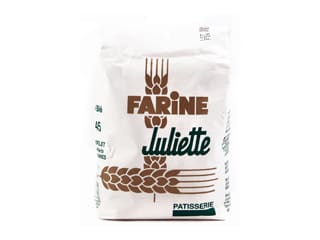
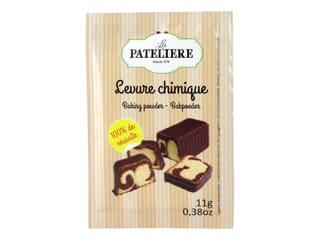
Add the flour and baking powder (sifted together beforehand). It is essential to sift the flour and baking powder together to avoid lumps.
Resume mixing on low speed to avoid flour spatter.
Stop the food mixer when combined.
Wrap the dough with cling film...
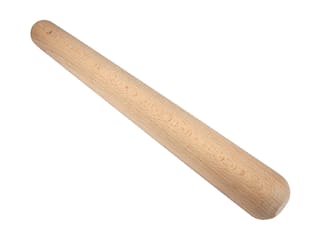
... and refrigerate until firm. The dough which will be easier to work with a rolling pin.
I recommend making this hazelnut shortcrust pastry the day before.
If you wish to prepare this pastry a long time ahead, store in the freezer.
The following day: Flour the kitchen worktop and roll out the pistachio rich shortcrust pastry...
... to a thickness of 3 or 4mm.
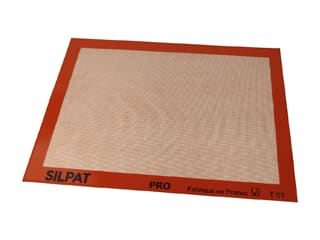
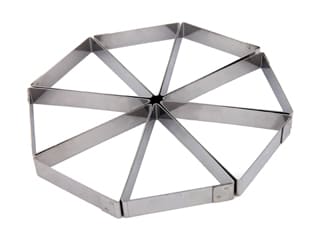
Place the triangle tartlet rings on a Silpat baking mat. Cut the pastry into 8 equal portions and line the tart rings with the pastry. Cut the pastry excess with a knife, sliding the blade along the edge of the ring...
... and repeat the operation with all the triangle rings.
Bake at 170°C (gas 3) for about 15 minutes, in a fan-assisted oven.
When cooked, remove from the oven and let cool at room temperature. This pastry will hold its shape perfectly during baking. The triangle edges will remain perfectly straight.
For the lemon/chocolate ganache: Organise all the necessary ingredients.
In a saucepan, pour the whipping cream and bring to a boil.
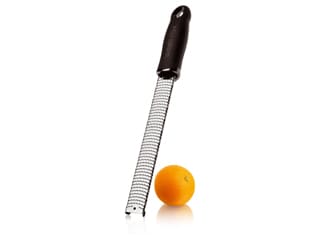
Using a Microplane Classic grater, zest a lemon. Add the lemon zest to the cream.
When the cream starts boiling, pour it over the lemon-flavoured chocolate chunks.
Combine with a whisk until homogeneous.
Add the butter (cut into chunks) and combine vigorously until the butter is completely melted and incorporated.
Transfer the warm ganache into a funnel dispenser.
Fill the pastry cases with the chocolate ganache.
Repeat the operation with all the tart cases and leave to set in the fridge.
Tempering the chocolate for the triangle decorations: Organise all the necessary ingredients.
Melt the chocolate over a bain-marie, stirring gently. You can also melt the chocolate in the microwave, in periods of 20 seconds to make sure it does not burn.
When the chocolate has almost completely melted (only a few solid pistoles should remain), remove the recipient from the bain-marie. At this stage, the chocolate is roughly 40°C. The temperature should not exceed 45°C.
The chocolate will continue melting without exposing it to any source of heat. Let the temperature go down to 34-35°C.
Add the Mycryo cocoa butter. This cocoa butter is 100% natural. The supplied dispenser cup contains 10 grams, i.e. the necessary quantity for 1 kg of chocolate.
Sprinkle the cocoa butter over the chocolate at 34°C and combine.
Stop stirring for a little while and let the powder melt slowly.
Stir again and let the temperature go down to 31°C.
To monitor the temperature of the chocolate, the use of a thermometer is essential. I recommend using a laser thermometer, as this product provides accurate information without being in direct contact with food.
The chocolate is now ready to use.
Pour the tempered chocolate on a transfer sheet. The printed side should be facing up.
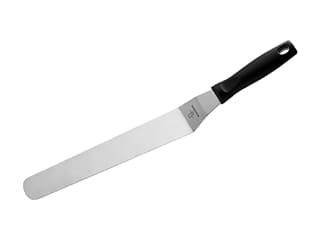
Spread the chocolate with a cranked metallic spatula on the whole surface to an even thickness.
Cover the chocolate with a sheet of acetate.
Flatten a little with your fingers to get rid of air bubbles.
The surface and sides should be coated with icing. Place the transfer sheet over a flat surface (a baking tray flipped over for instance).
Place a chopping board on top to apply weight. This will prevent the chocolate from warping while cooling down. Let set in the fridge.
Remove the tartlets from the fridge...
... and arrange the triangle tartlets into a round shape to recreate a round tart on a serving tray.
Arrange a few nuts on top of each tartlet. You can use hazelnuts or even pistachios as an allusion to the pastry base. Place one hazelnut at the tip of one tartlet, and two hazelnuts at the base of the one next. Repeat the operation...
... alternating the position of hazelnuts.
Remove the chocolate slab from the fridge when set. Remove the chopping board and the acetate sheet.
Using a triangle ring, cut the chocolate into triangles.
Flip the chocolate slab on your worktop surface and gently detach the transfer sheet. The pattern should now be printed on the chocolate.
The chocolate is now printed and pre-cut...
... and the triangles should detach easily.
Place a chocolate triangle on top of each tartlet. The chocolate decoration should create a dynamic effect, with one triangle tip going up, then the triangle base going up on the next one...
... as shown in the photo.
Zest a lime over the triangles to complete the decoration.
If you wish, you can arrange small pieces of gold leaf over the triangles.
Reserve in the fridge until ready to serve. Enjoy!
Please login to post a review