You can always send us your messages, comments or suggestions.
In one click, store and find all your favourite recipes.
Add this recipe >Before starting this Chocolate and Raspberry Entremets recipe, organise the necessary ingredients for the chocolate mousse.
For the chocolate mousse: (make the day before) In a saucepan, pour the sugar and a little water (5 or 10 cl). Bring to a boil.
In the meantime, tip the whole eggs in the stand mixer recipient.
When the boiling intensity starts reducing, check the temperature with a laser thermometer. When the temperature is 121°C, take the pan away from the heat.
Beat the whole eggs in the stand mixer, then reduce the speed and gradually add the boiling sugar.
Increase to maximum speed and continue beating until cooled down completely.
At this stage, the preparation should have at least doubled in volume (this is called 'pâte à bombe'). Set aside.
Beat the cold whipping cream to obtain a whipped cream. Set aside.
Melt the chocolate and add it to the preparation.
Combine gently with a whisk...
... until the chocolate is incorporated evenly. The consistency and colour should be homogeneous: make sure no solid bits remain.
Add the chocolate preparation to the cold whipped cream. Fold gently until homogeneous.
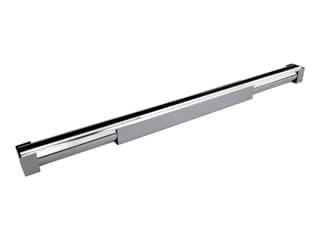
Assemble the cylinder mould kit (diameter 3cm). Place the U-shaped stainless steel tips on both ends of the mould.
Using a piping bag, fill the mould with chocolate mousse.
The use of a nozzle is not necessary.
Even the surface with a metallic spatula.
Cover with cling film and place in the freezer to set.
For the raspberry mousse: Organise all the necessary ingredients.
Soak the gelatine sheets in a bowl of cold water.
Pour the raspberry purée and sugar in a saucepan.
Cook over medium heat.
When the gelatine is soft...
... squeeze with your hands to drain...
... then add to the hot raspberry coulis and incorporate with a whisk. Combine well, then let cool at room temperature.
Place the whipping cream in the stand mixer recipient...
... and beat until you obtain a whipped cream. The whipping cream should be very cold and contain 35% fat.
When the coulis is cold (but not jellified), add to the whipped cream...
... and fold gently. Set aside.
Remove the chocolate insert from the freezer and remove the cling film.
Gently remove the U-shaped stand...
... and both ends.
Gently pull apart both sides of the mould...
... then slide the mould horizontally to release the cake.
Reserve in the freezer.
Fill the cylinder mould kit (6cm) halfway up with raspberry mousse. Make sure you assemble the stainless steel tips and U-shaped stand beforehand.
I recommend using a piping bag for an easier operation.
Add the frozen chocolate insert...
... and arrange so it is perfectly centred.
Pipe the remaining raspberry mousse and fill the mould.
Even the surface with a cranked spatula. Cover with cling film and store flat in the freezer.
For the brownie base: Organise all the necessary ingredients.
Crack the whole eggs into the stand mixer recipient. Add the castor sugar and whisk vigorously until pale and foamy.
Add the warm melted butter. The butter will facilitate the beating process.
Crush the hazelnuts with a rolling pin. Place the hazelnuts in a freezer bag or piping bag and bash with the rolling pin.
Add the crushed hazelnuts to the preparation...
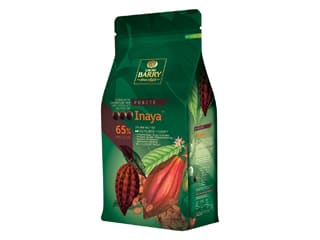
... and the melted Inaya chocolate couverture at 40°C.
Fold gently with a rubber spatula.
The preparation for the brownie base is ready.
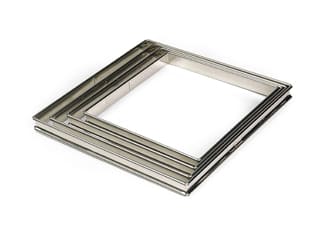
Place a square tart frame (24 x 24cm) on a Silpat baking mat, placed on a SiliChef baking sheet.
Pour the brownie preparation in the square frame (do not grease).
Spread evenly...
... and bake at 180°C (gas 4) for about 20 minutes.
For the pink icing: Organise all the necessary ingredients.
Place the gelatine in 36 grams of water.
Combine well.
Pour the water and sugar in a saucepan.
Add the glucose syrup. (It can be melted in the microwave for a few seconds to give it a liquid consistency that will be easier to work.)
Heat the preparation until the temperature reaches 103°C. This should not take long at all. Basically, the temperature is right after 2 or 3 minutes of boiling.
Pour the sweetened condensed milk in the boiling syrup.
Add the rehydrated gelatine...
... and stir with a spatula until dissolved.
Pour the hot preparation over the white chocolate pistoles.
Mix with a hand blender for a homogeneous consistency.
Add some pink colouring with the tip of a knife.
It will incorporate progressively while mixing with the hand blender. The amount varies according to the flavour intensity you like. It is best to start with a small quantity, then taste the preparation and adjust if needed. Powder colourings are very concentrated. When done, the icing can store for several hours. You make it in advance, the day before for instance.
Before using the icing, make sure the temperature is down to 30°C.
When frozen, remove the log mould from the freezer. Remove the cling film...
... and remove the stand and both ends.
Slightly heat the mould with a blowtorch.
Gently pull apart both sides of the mould...
... then release the raspberry cylinder on a rack.
Reserve in the freezer until you're ready to pour the icing.
For the raspberry marmalade: Organise all the necessary ingredients.
Steep the gelatine sheets in cold water.
Pour the raspberry purée and sugar in a saucepan. Add the castor sugar.
Cook the preparation over medium heat...
... and bring to a boil.
Strain the gelatine by squeezing in your hand to extract as much water as possible.
Add the gelatine to the hot raspberry purée.
Combine with a whisk until the gelatine has dissolved in the hot purée.
Add the fresh raspberries and combine. Due to the heat, the raspberries will break down into small pieces.
Place a square tart frame (24 x 24cm) on a Silpat baking mat, placed on a baking sheet. Fill the frame with raspberry marmalade...
... to a thickness that doesn't exceed 3 or 4mm. Place in the freezer and let set.
Flip the cold brownie onto a sheet of greaseproof paper. Gently detach the Silpat baking mat.
Using a ruler, cut strips of brownie to the same width as the ruler (5cm). Set aside.
For the chocolate icing: Organise all the necessary ingredients.
Melt the chocolate over a bain-marie or in the microwave, working in periods of 20 seconds to make sure the chocolate does not burn.
When melted, add the grapeseed oil...
... and combine with a whisk.
Add the chopped caramelised hazelnuts. Combine and set aside.
Remove the raspberry marmalade from the freezer. It should be frozen. Gently release the marmalade from the frame.
Using the ruler, cut the raspberry marmalade into strips, to a width of 5cm as well.
Gently lift each strip with a cranked spatula...
... and place on top of each brownie strip. Make sure the edges are perfectly lined up. At this stage, the raspberry marmalade should still be frozen.
Place the brownie and marmalade strip on a rack, which has been arranged on top of a deep tray.
Pour the chocolate icing over each strip...
... in one stroke, from one end of the strip to the other.
Even the surface with a spatula. Make sure the sides are evenly coated with chocolate icing.
Leave at room temperature to set. By coming into contact with the frozen raspberry, the chocolate icing will set immediately. Reserve in the fridge or at room temperature.
Icing the cake: Take the raspberry cylinder out of the freezer.
Transfer the cake on a cooling rack, which has been placed on a deep tray.
The pink icing should be at a temperature of 30°C. Just before pouring the icing on the cake, give it a last stir with the hand blender to remove any air bubbles. If you find the icing too thick, reheat it a little to give it a more liquid consistency.
Pour the icing in one stroke, from one end of the cake to the other.
Transfer the cake on a baking sheet while it is still frozen and easy to handle. Store in the fridge to let it defrost slowly.
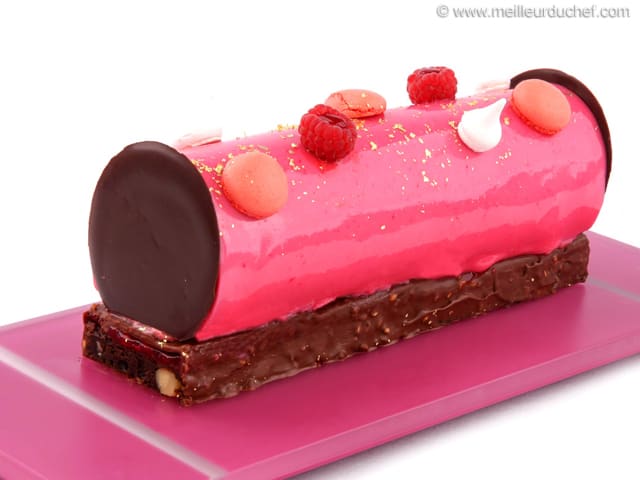
Assembling the cake: Cut the defrosted cake into portions, to the same length as the brownie strips.
Gently lift one portion with a cranked spatula...
... and arrange it on top of a brownie rectangle. Make sure the cake is perfectly centred.
From the chocolate discs (diameter 7cm) that you have prepared beforehand...
... detach 2 of them to make the tips.
If necessary, trim both sides of the cake to create a straight surface...
... and place a chocolate disc on each side. The diameter of the discs should be slightly bigger than the cake.
Decorate the surface of the cake with mini pink macarons a few meringue decorations.
Arrange a few raspberries on the icing (open side facing up)...
... and sprinkle the surface of the cake with gold flakes.
For the finish: In a bowl, mix one tablespoon of clear glaze and one tablespoon of raspberry purée.
Transfer into a decorating bag , then pipe the red glaze into each raspberry.
Transfer the cake on a rectangular serving plate, then reserve in the fridge until ready to serve.
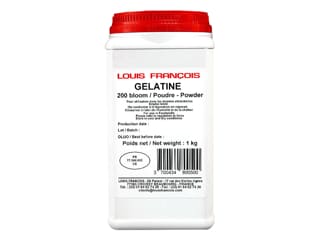
If you don't want to use gelatine sheets, which are of animal origin, you can replace them with agar-agar, a powder extracted from red seaweeds.
Recommended quantity: 1 gelatin sheet (2 grams) = 0.6 grams of agar-agar.
Please login to post a review