You can always send us your messages, comments or suggestions.
In one click, store and find all your favourite recipes.
Add this recipe >Before starting this Caramel & Praliné Christmas Entremets, gather all the ingredients for the vanilla crémeux.
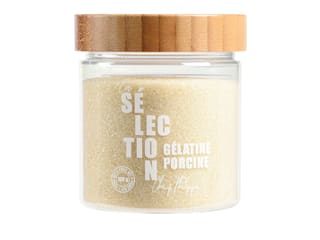
Vanilla crémeux (make the day before): Mix the powdered gelatin with the hydration water (tap or mineral water) and let it hydrate for at least 15 minutes.
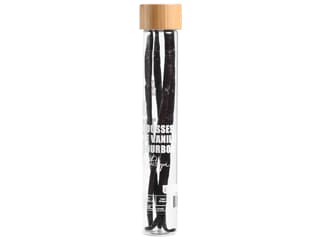
In a saucepan, heat the whole milk and add 3/4 of a Tadoka vanilla bean (or use a vanilla pod).
The solid Tadoka vanilla will gradually dissolve as it heats. If using a vanilla pod, cut it in half, scrape the seeds out add to the milk.
Melt the white chocolate in the microwave, in 20-30 second intervals, stirring every time to avoid burning.
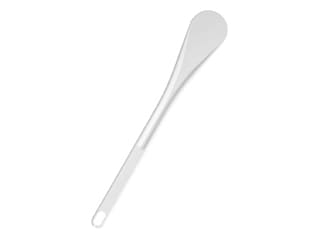
Pour the boiling vanilla-infused milk over the melted chocolate, stirring at the centre with a spatula to create an emulsion.
Continue mixing until the milk is fully incorporated into the chocolate.
Add the hydrated gelatin (melted in the microwave beforehand) and mix again with the spatula.
Blend the mixture using a hand blender.
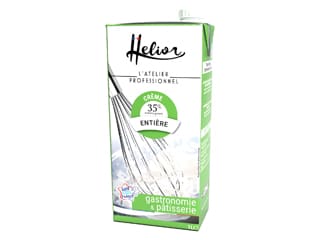
Add the cold whipping cream while continuing to blend.
Cover the surface of the vanilla crémeux with a sheet of cling film and refrigerate until the next day.
Crispy praliné: Prepare the ingredients.
Pour the hazelnut praline paste and the chopped caramelized hazelnuts into a mixing bowl.
Add the crispy feuilletine flakes...
...and mix thoroughly with the spatula.
Add the Mycryo cocoa butter, melted beforehand in the microwave or in a small saucepan over very low heat.
Mix until homogeneous. Set aside at room temperature.
Salted butter soft caramel: Prepare all the ingredients.
Pour the glucose syrup into a saucepan...
...and add almost all the caster sugar, reserving one tablespoon. Place on the heat.
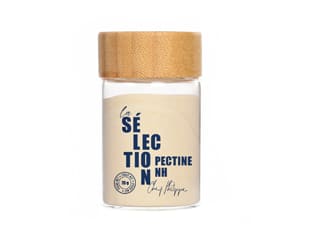
In a separate bowl, mix the pectin NH coating with the tablespoon of caster sugar to prevent lumps. Set aside.
Stir the sugar as it begins to melt. It's crucial that the sugar is fully melted before it starts to colour and caramelize.
Split the vanilla pod in half and scrape the seeds out with a knife.
Add the vanilla seeds and the pod to the melted sugar.
Continue cooking over medium heat so that the colouring happens gradually.
When the caramel is a nice golden brown, add the whipping cream (heated in the microwave beforehand)...
...and stir carefully with the spatula to incorporate the cream and dissolve the caramel.
Add the fleur de sel...
...and stir again.
Once the caramel is homogeneous, incorporate the pectin and sugar mix while stirring with the spatula. Bring to a boil and cook for 1 minute to activate the pectin's properties.
Add the butter in three batches...
...whisking vigorously every time, until fully incorporated.
When the caramel is smooth and homogeneous, give it a strong boil to make it more consistent. It should be soft when tasted, but not runny when sliced. To achieve the right consistency, the preparation must reach 106°C. A digital probe thermometer is recommended.
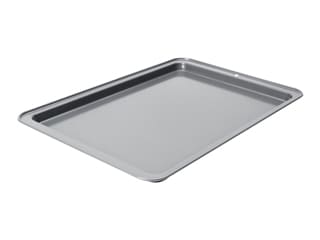
Transfer the salted butter soft caramel onto a baking sheet to cool.
Cover the caramel with a sheet of cling film...
...and let it cool at room temperature. Place the tray on a rack for faster cooling.
Chocolate biscuit: Prepare all the ingredients.
Melt the butter in a saucepan over low heat.
When the butter is completely melted, remove the saucepan from the heat...
...and add the dark chocolate.
Mix with a spatula until the dark chocolate is fully melted in the hot butter.
Meanwhile, pour the egg whites into the stand mixer bowl...
...and whip them into stiff peaks.
During whipping, gradually add the caster sugar.
Transfer the chocolate preparation into a mixing bowl...
...and add the almond flour and wheat flour.
Mix vigorously with a whisk.
Once the meringue forms stiff peaks, stop the mixer.
The result should look like this.
Add the meringue to the chocolate mixture all at once...
...and fold gently with a maryse spatula...
...until the consistency is smooth and homogeneous.
Transfer the chocolate batter into a piping bag. A nozzle isn't necessary.
Draw a pencil outline on a sheet of parchment paper, following the inner rim of a mousse ring Ø 16cm.
Flip the parchment paper over onto a baking sheet...
...and pipe the biscuit batter in a spiral starting from the centre, following the drawing through the paper. It is important to flip the paper so the pencil mark isn't in contact with the batter.
The chocolate biscuit disc is ready.
Place the baking sheet in a fan-assisted oven, preheated to 200°C, and bake for about 8 minutes. The baking time may vary depending on the oven.
When cooked, remove the chocolate biscuit from the oven...
...and let it cool to room temperature.
Assembly of the dessert: Once the salted butter soft caramel has cooled, remove the cling film...
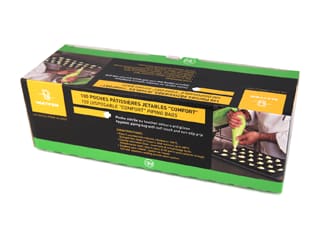
...and place it in a disposable piping bag (no nozzle needed). Cut the tip of the bag to create an opening of 2cm.
Place the insert mold on the work surface.
Fill the bottom of the mold with the salted butter soft caramel, halfway up.
Transfer the crunchy praliné into another piping bag (no nozzle)...
...and pipe the crunchy praliné into the mold, directly in contact with the caramel. Make sure not to fill the mold completely and leave a space of 1/2cm at the top.
Cover the mould with cling film...
...and place in the freezer.
Pour the vanilla crémeux into the stand mixer bowl...
...and mix with the whisk attachment.
The crémeux should have a texture that is creamy but still holds together.
Transfer the vanilla crémeux in a piping bag (no nozzle).
Take the Kaleido silicone mold...
...and fill it up to 3/4 with the crémeux.
Spread the crémeux up the sides of the mold using a small offset spatula...
...as shown in the photo.
Release the caramel/praline insert from the mould by gently pulling on the silicone. The insert should be frozen through for optimal release results.
Arrange the insert carefully in the Kaleido silicone mold, with the rounded side facing down (flat side facing up).
You will need to fold the central part of the silicone mold to arrange the insert...
...and gently press it down with your fingers to bury it a little in the vanilla crémeux.
Spread the excess crémeux over the insert and even the surface with the mini offset spatula.
Take a stainless steel mousse ring Ø 14cm...
...and place it over the chocolate biscuit...
...and cut a disc that is slightly larger than the ring (0.5 cm extra on each side).
Cut a disc in the centre of the chocolate biscuit using a round cutter Ø 9cm.
Flip the chocolate biscuit ring and arrange in the silicone mold, on top of the vanilla crémeux.
Fill the remaining spaces with the rest of the vanilla crémeux.
Smooth the surface with the mini offset spatula.
Wrap the mould with cling film and place in the freezer. Up to this stage, the recipe can be made several days in advance.
Finish: On the day, take the silicone mold out of the freezer and remove the cling film.
Gently pull on the silicone to detach the sides of the mould.
Flip everything over and carefully release the cake from the mould. The cake should be frozen through for optimal results.
Place the dessert on a baking sheet lined with cling film. You can place the baking tray on a turntable for a perfect coating operation.
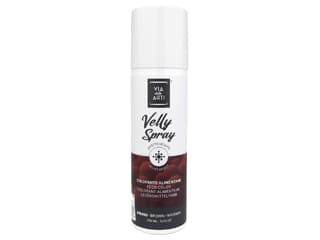
Shake the brown velvet spray until you can hear the ball inside. Spray the surface of the dessert from a distance of 30 to 40cm...
...while spinning the turntable to coat all sides evenly, including the centre of the ring.
This is what the coated dessert should look like. Try not to apply a thick layer of coating, as it might crack during thawing.
Use two offset spatulas to transfer the dessert onto a serving plate.
Dust a light layer of Codineige decorating sugar over the surface of the dessert.
Arrange several strings of red currants over the surface of the ring...
...along with a ribbon bow.
The Caramel & Praliné Christmas Entremets is now finished. Refrigerate for 4 to 5 hours until fully defrosted.
(I recommend decorating the cake once defrosted.)
Enjoy!
Please login to post a review