You can always send us your messages, comments or suggestions.
In one click, store and find all your favourite recipes.
Add this recipe >Decoration: To create this Christmas yule log, start by taking the transfer sheet and cut along the edge of the first red line, as shown in the photo.
Remove the excess transfer sheet.
If you're using this transfer sheet, start by selecting 6 red lines...
...and cut at the sixth line, removing 1 or 2mm. This way, you'll trim the sixth line by cutting the sheet with a knife. You should have a total of 5 lines and 3/4.
Detach this strip of transfer sheet, which is 3.5cm wide.
Remove the transparent part at the end of the strip.
Measure the first rectangle of transfer sheet; it should be 14.6cm long, using a graduated ruler. The smooth side of the transfer sheet should be at the bottom.
Cut this first rectangle with a knife.
From one of the edges of this rectangle, measure 4.7cm in height.
Mark the fold at 4.7cm with the back of a knife. It's essential to only mark the fold without cutting the transfer sheet.
Do the same on the other side, marking it at 4.7cm in height.
Also, mark the fold with the back of a knife...
...and fold both edges towards the centre to create a U-shape. Ensure the fold is marked well without damaging the design on the transfer sheet inside the folds.
This is what the result should look like.
Present this strip of transfer sheet with the decorated side up in the widest part of the Christmas yule log silicone mould...
...to verify if it fits the mould dimensions correctly.
Proceed with the same process to cut another strip of transfer sheet, selecting 5 solid red lines. The width should be 3cm.
Measure the length of this strip, which should be 13.6cm...
...and cut this strip of transfer sheet with a knife.
Then, mark the edges at 4.2cm in height with the back of a knife...
...and fold the strip with the transfer pattern inside...
...making sure to mark the folds with your fingers.
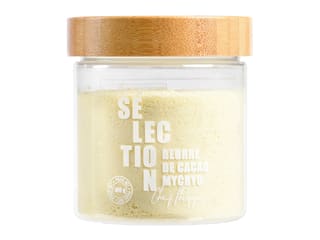
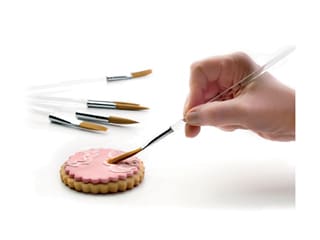
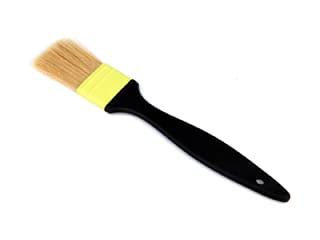
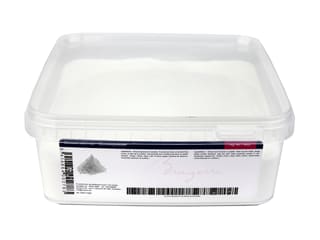
Melt a bit of cocoa butter (or Mycryo cocoa butter) in a pan over very low heat. Once melted, remove the pan from the heat and apply it with a decorating brush on the smooth inside part of the gift mould.
Place the strip of transfer sheet in its designated space, making sure it adheres well to the cocoa butter. The transfer pattern should be on the inside of the mould, not in direct contact with the mould. Gently press it down to make the ribbon adhere without damaging the design (avoid melting the design with the warmth of your fingers).
Repeat the same process with the second strip of transfer sheet, applying a thin layer of melted cocoa butter to the smooth inside of the gift mould.
Position the strip of transfer sheet in the mould. It's crucial that the sheet doesn't extend beyond the edge of the mould to prevent tearing during the assembly of the dessert. The strip should be slightly narrower than the mould width to ease the release at the end of the preparation.
Apply the melted cocoa butter to the four vertical walls of the mould that will be in contact with the two strips of transfer sheet...
...to secure them in place.
This is what the result should look like. Allow the cocoa butter to crystallize, which will set the transfer sheet in place.
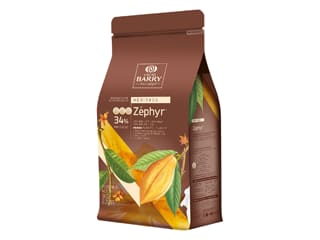
White chocolate shells: Prepare the ingredients for the white chocolate coating, which is essential because the silicone mould is very flexible. The coating will give it rigidity. However, avoid making it too thick to prevent cutting difficulties during serving.
Melt white chocolate in the microwave in 20-30 second intervals until it reaches 35-40°C...
...stirring between each melting step to ensure the chocolate is smooth and does not burn.
Once the white chocolate is completely melted and at 35-40°C...
...add the previously melted cocoa butter. There's no need to maintain a precise temperature for this. It should be warm, not boiling.
You should have a relatively fluid white chocolate mixture with the addition of cocoa butter, which creates a thin coating. Note that this isn't a tempering process for the chocolate; it's done to give rigidity to the mould, which will facilitate the release of the dessert.
When the melted white chocolate reaches 32-33°C, stir it carefully to lower its temperature, and then pour it into the mould.
The quantity of chocolate won't be enough to completely fill the mould, so use a pastry brush to spread the melted white chocolate over the mould walls until it reaches the edges.
Flip the silicone mould upside down over the bowl to allow the excess white chocolate to drip off.
Place the mould upside down on a cooling rack placed over a container.
Carefully tap the grid and mould together to allow the excess white chocolate to drip off and obtain a thin white chocolate shell.
The interior of the mould is covered in white chocolate.
Place the mould upside down on the rack and let the white chocolate firm up in the fridge.
Vanilla crémeux (make the day before): Organise all the necessary ingredients.
Pour whole milk into a saucepan and heat it.
Add the solid Tadoka vanilla.
When the milk comes to a boil, remove the saucepan from the heat.
Cover the saucepan by stretching a sheet of cling film over its edges...
...and let it infuse for 2 hours.
After infusing, weigh the milk again in a separate saucepan.
Add more milk to make it back to the original 40g. The infusion might have caused a slight evaporation of milk, so a slight reduction in quantity is normal.
Return the saucepan to the heat...
...and add the dehydrated glucose while stirring with a whisk.
Place the white chocolate in a bowl...
...and melt it in the microwave in 20-30 second intervals, stirring between each melting step to avoid burning. The chocolate should be entirely melted.
When the milk comes to a boil...
...pour it in three parts over the melted chocolate. Stir using a spatula between each addition of milk.
Add the hydrated gelatine, previously melted in the microwave...
...and blend using a hand blender to fully incorporate the gelatine. Add the whipping cream...
...and blend again with the hand blender until you get a smooth and homogenous mixture.
Cover the vanilla cream with cling film, directly touching the surface with it...
...and refrigerate it overnight. This preparation should be made the day before to ensure it gets cold all night.
For the red berry compote: Organise all the necessary ingredients.
Pour the glucose syrup and raspberry puree into a saucepan.
Add the strawberry puree...
...as well as fresh or frozen red berries and mix. Heat this mixture.
Mix the caster sugar with NH pectin...
...and add to the fruit mixture, which should be around 50°C.
Bring it to a boil, stirring with a spatula, and maintain the boil for at least 1 minute to activate the properties of the pectin.
At the end of cooking, add lemon juice and mix.
Transfer this obtained red berry compote into a food container...
... and cover the surface with cling film.
Refrigerate for gelling.
For the chocolate biscuit: Organise all the necessary ingredients. Ignore the quantities in the photos as they were for a larger batch. Please refer to the ingredient list for accurate amounts.
Place the egg yolks in the stand mixer bowl.
Add the whole eggs...
...as well as a large quantity of caster sugar...
...and mix all these ingredients using the whisk attachment to get a homogeneous mixture without making it rise.
Place the egg whites in a separate bowl...
...and start whisking them.
When they become frothy, add a small quantity of caster sugar and continue whisking...
...until you achieve a soft meringue with stiff peaks.
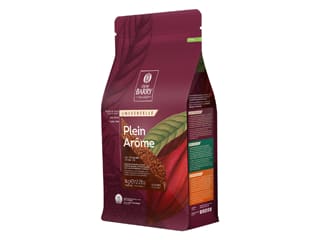
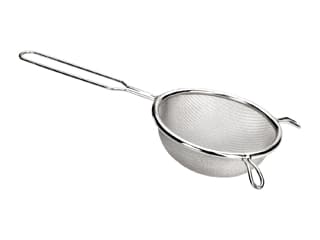
Sift the cocoa powder through a fine sieve over a sheet of greaseproof paper.
Do the same with the flour.
Add half of the meringue to the egg and sugar mix...
...and gently incorporate it with a whisk.
Pour the sifted powders onto this mixture...
...and gently mix with a whisk as well.
Add the remaining meringue...
... and combine gently...
...until you obtain a smooth and homogeneous chocolate preparation.
Place a silicone baking mat on a perforated baking tray. No need to grease it.
Pour the chocolate biscuit mixture over the baking mat. The quantity is perfect for a 40 x 30cm baking sheet.
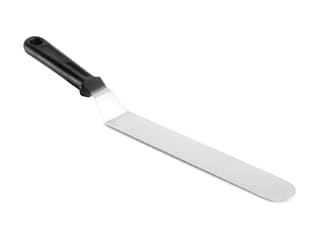
Using a metallic cranked spatula, spread the chocolate preparation over the surface of the baking mat to an even thickness.
The biscuit mixture can be spread to the edges, even if it slightly overhangs the silicone baking mat, as seen in the photo.
Place the baking sheet in a fan-assisted oven preheated to 170°C (gas 3) and bake for 10 to 12 minutes depending on your oven. Avoid overcooking.
At the end of baking, remove the baking sheet from the oven...
... and place it on your kitchen worktop.
Then transfer the biscuit to a cooling rack for optimal cooling. To do this, lift the silicone baking mat with the tip of a knife...
...and grasp the corner with your fingertips...
...to slide it onto the cooling rack. Allow to cool to room temperature.
Once the biscuit has cooled, flip it onto a sheet of parchment paper...
...and gently remove the silicone mat, which should come off very easily.
For the dark chocolate mousse: Organise all the necessary ingredients.
Pour the eggs and caster sugar into a mixing bowl...
...and blanch these two ingredients together with a whisk until you no longer hear the sugar granules rubbing against the bottom of the bowl.
Whip the liquid whole cream into whipped cream with the whisk attachment. You should achieve a soft whipped cream. Set aside. Note that if you're making only one log, it's better to whip the cream by hand since the quantities are very small.
Melt the dark chocolate in the microwave in 20 to 30-second intervals, stirring between each melting step.
Add the melted dark chocolate to the blanched egg and sugar mix...
... and combine carefully with a whisk...
...until you obtain a smooth and homogeneous chocolate preparation.
Pour half of the whipped cream into this chocolate mixture...
...and quickly mix it with a whisk...
...to fully incorporate the chocolate and prevent it from clumping.
Add the remaining whipped cream...
...and gently mix it with a spatula, using an up-and-down motion while turning the bowl.
You should have a smooth and homogeneous dark chocolate mousse.
Transfer this mousse to a piping bag. No nozzle needed. Set aside.
Vanilla crémeux (continued): Take the vanilla cream out of the fridge and pour it into the mixer bowl.
Whip this vanilla cream with the whisk attachment until it reaches the texture of whipped cream or whipped ganache...
... until the texture is right.
Transfer the vanilla crémeux into a piping bag (without a nozzle).
Red berry compote (continued): Remove the gelled red berry compote from the fridge and vigorously whisk it until smooth.
You should achieve a smooth and homogeneous preparation.
Transfer this red berry compote into a piping bag.
A nozzle is not necessary. Set aside.
Take the yule log mould out of the fridge. The white chocolate should be completely set. Gently detach the mould from the grid by running a flexible knife blade between the grid and the mould. You can slightly heat the knife blade to avoid breaking the chocolate.
Flip the mould and trim the edges with a knife to remove any excess chocolate clinging to the edges of the mould.
Here is our yule log mould ready to be filled.
Fill the deepest cavities with the dark chocolate mousse...
... as shown in the photo.
Cut a strip of chocolate biscuit to a width of 6cm.
Create a wide biscuit strip for the wider parts of the mould and a narrower strip (5cm wide) for the narrower sections.
Trim the edge to remove the harder border.
Then cut the biscuit into the desired dimensions. From the smallest gift to the largest, we need two biscuit strips measuring 6 x 2.5cm, another measuring 5 x 3.5cm, two strips measuring 6 x 4.5cm, one measuring 5 x 4cm, and two more strips measuring 6 x 4.5cm. Note that these dimensions may vary slightly depending on the thickness of your chocolate shell, so cut them to fit as needed.
Make a soaking syrup by mixing the cane sugar syrup and Grand Marnier, and dip a piece of biscuit into it.
Place this biscuit rectangle in the mould, directly against the dark chocolate mousse.
Dip a second biscuit into the soaking syrup...
...and place it in the second gift cavity, on top of the mousse.
Finally, dip the third biscuit into the soaking syrup...
...and place it in the cavity of the third gift, on the mousse. The biscuits should be well soaked to add moisture.
Pipe the vanilla crémeux on the parts where the transfer sheets are in order to level it and return it to the level of the chocolate biscuits...
... as shown in the photo. The largest gift will also require levelling with some vanilla crémeux because its cavity is deeper.
Fill the mould with red berry compote directly on top of the chocolate biscuits...
...and on top of the vanilla crémeux for some parts of the dessert.
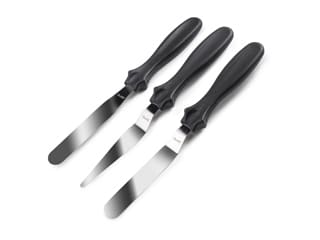
Smooth the surface of the compote with a mini cranked spatula.
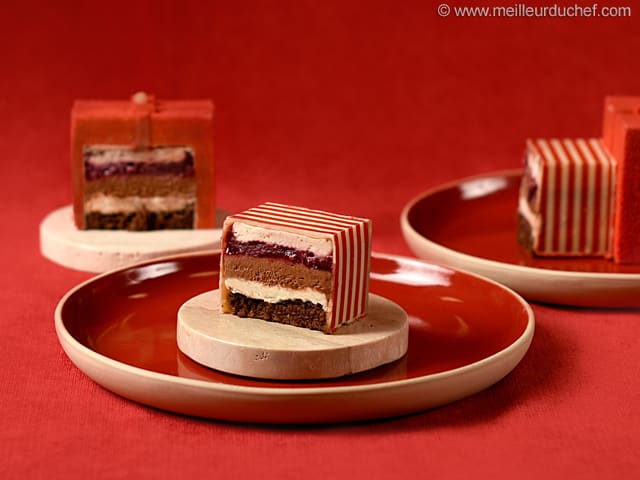
Pipe the dark chocolate mousse on top of the red berry compote. The layers should be approximately 1cm thick (the compote will be about 0.5cm thick)...
...and smooth the surface with the mini cranked spatula.
Pipe a lace of vanilla crémeux on top of the dark chocolate mousse...
... and even the surface with the cranked spatula.
Finish assembling by closing the mould with the strips of dark chocolate biscuit...
...which you have previously dipped in the soaking syrup on one side.
Place the various rectangles of biscuit cut to the right dimensions...
...punching them on one side beforehand. It's the inside of the biscuit that will be punched, the side that will be in direct contact with the vanilla cream.
Continue until the mould is completely sealed.
Cover the surface with cling film...
...and place it in the freezer. You can make this yule log up to this point several days in advance. To achieve a smooth base, I recommend placing a blue-steel pastry sheet on top of the mould. The weight will help compress and smooth the surface.
Finish: We will use ready-to-use red velvet effect spray without prior heating.
Protect your work surface with parchment paper or newspaper and shake the spray vigorously until you hear the beads inside.
Remove the silicone mould from the freezer and remove the cling film.
Gently detach the mould sides, being careful not to break anything.
Flip the mould onto a baking sheet lined with parchment paper and release the cake from the mould carefully.
The yule log is now released from the mould. It should be frozen throughout for optimal results.
Place a baking sheet covered with cling film on a cake turntable. Place the dessert on the plate.
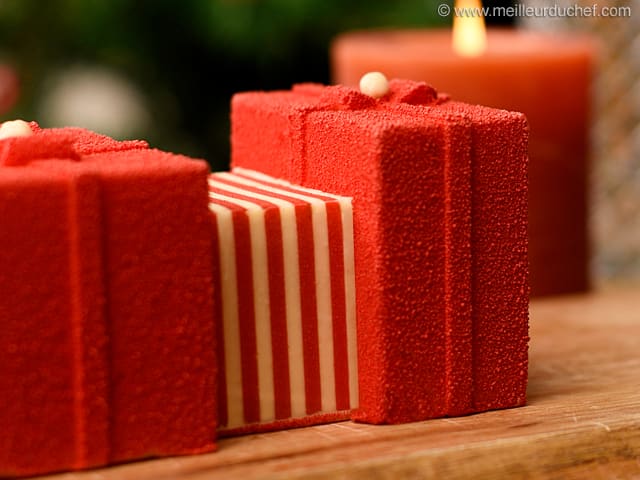
Spray the red colouring from 40 to 50cm away from the yule log to create a very light flocking.
Turn the rotating plate to colour all sides of the yule log. You will need to press the spray valve several times for a non-continuous spray...
...until the surface is fully covered.
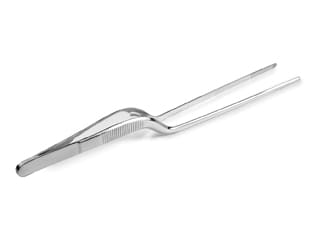
Grab the base of the transfer sheet with precision tongs and gently remove it without rubbing the sides of the flocked gifts.
This is what the result should look like.
If crumbs land on the coloured parts, remove them immediately and with a very light brush.
Do the same with the second transfer sheet...
... to achieve this result. Remove any crumbs if necessary.
Lift the yule log with two cranked spatulas...
...and transfer onto a serving plate while it is still frozen.
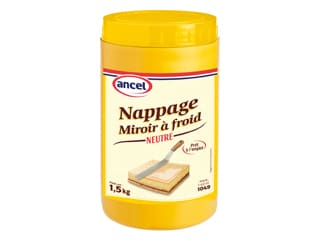
Place the neutral mirror glaze in a decorating cone and pipe a small drop in the centre of each bow.
Place a crispy white chocolate pearl on each drop of glaze using the decorating tweezers.
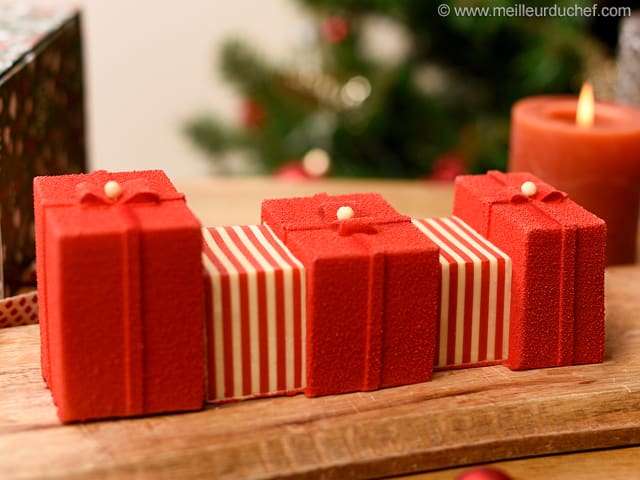
The gift yule log is now ready. Let it thaw in the fridge for 3 to 4 hours before serving. Enjoy this delicious dessert!
If you use a different transfer sheet to the one used in this recipe, you need to cut a 14.6 x 3.5cm strip (with 4.7cm rises to form the U) and a 13.6 x 3cm strip (with 4.2cm rises to form the U).
The printed decorations on the transfer sheet (i.e. the rough part) must not be in contact with the mould.
Please login to post a review