You can always send us your messages, comments or suggestions.
In one click, store and find all your favourite recipes.
Add this recipe >Did you know? The Christmas yule log seems to originate from a Nordic tradition. Yule is the name of the old Winter Solstice festivals in Scandinavia, and people used to burn a log as a celebration.
Before starting this Three-Fruit Mousse Yule Log recipe, organise the necessary ingredients for the biscuit base.
For the biscuit base: Tip the soft brown sugar in the stand mixer bowl.
Add the castor sugar...
... and the softened butter.
Add the egg yolks...
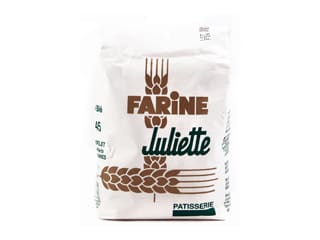
... the flour...
... and the caramel bits.
Add the liquid vanilla extract.
Place the flat beater accessory on the mixer.
Combine gently...
... until the consistency is homogeneous and slightly crumbly.
Shape the dough into a ball, then transfer on a sheet of greaseproof paper.
Using your hands, shape the dough into a rectangle.
Fold the baking parchment over the dough, then roll out to a thickness of 2 or 3mm.
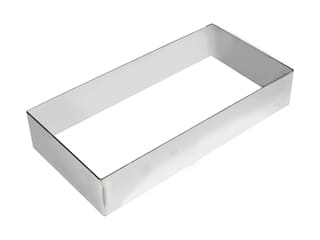
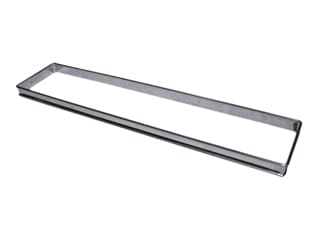
The rectangle should be slightly bigger than the rectangle ring we're going to use to cut the base (20 x 10cm).
Refrigerate the dough for at least 30 minutes.
When firm, remove the dough from the fridge and open the greaseproof paper.
Place the rectangle ring on top of the dough.
Using the stainless steel ring as a guide, cut the dough along the rim with a knife.
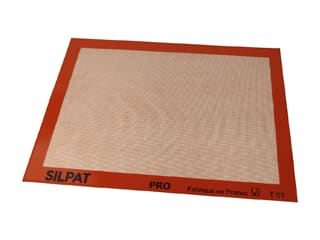
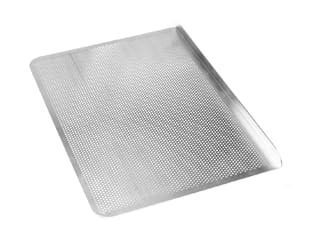
Transfer the dough rectangle on a Silpat baking mat, placed on top of a Silichef XL perforated baking sheet. Place the stainless steel frame around the dough.
Bake at 160°C (gas 3) for approximately 20 minutes.
When cooked, remove the tray from the oven. The surface of the biscuit should be regular and slightly golden.
Leave to cool at room temperature.
While the biscuit is still hot, drizzle some Mycryo cocoa butter on top in order to make it resistant to moisture released by the fruit mousse that will be placed on top.
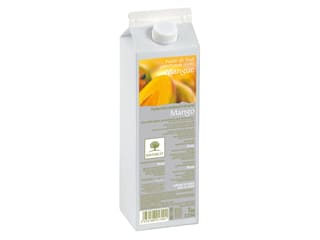
For the fruit mousses: Organise the necessary ingredients for the mango mouse...
... for the raspberry mousse...
... and for the redcurrant mousse.
Heat the mango purée in a saucepan.
In a separate saucepan, heat the raspberry purée...
... and heat the redcurrant purée in a third saucepan.
Add the castor sugar to the mango purée.
Add the castor sugar to the raspberry purée...
... and so on for the redcurrant purée.
Make sure the fruit purées are heated slowly until they reach a gentle boil to allow the sugar to dissolve completely.
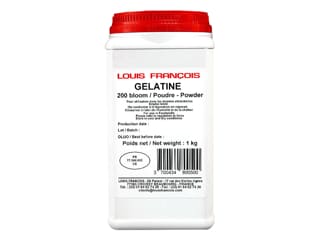
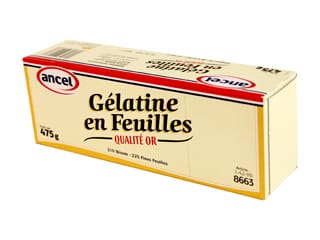
While the fruit purées are heating, place the gelatin in three separate bowls filled with cold water.
When the gelatin is soft, squeeze with your hands to drain as much water as possible...
... and add to the hot mango purée. Combine well until the gelatine has dissolved completely.
Repeat the operation with the second batch of gelatin and add to the hot raspberry purée. Mix until the gelatine is completely dissolved.
Repeat the operation with the last batch of gelatin and add to the hot redcurrant purée. Mix until the gelatine is completely dissolved.
Pour the mango purée into a large baking sheet with raised edges so it cools down faster.
Make sure you do not refrigerate the preparation, as it should jellify. The purée should be left to cool at room temperature.
Repeat the operation with the raspberry purée, using a separate baking sheet.
Repeat the operation with the redcurrant purée, using a third baking sheet.
While the fruit purées are cooling down, beat the whipping cream until you obtain a whipped cream.
Given the large quantities of whipping cream, I recommend preparing the whipped cream in 2 or 3 batches. Even with a Kitchenaid mixer, beating all the cream in one go will take a long time.
Reserve the whipped cream in the fridge.
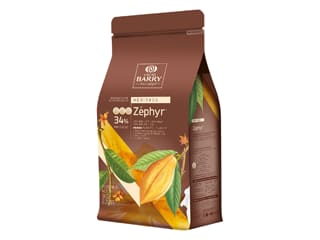
Melt the Zéphyr white chocolate over a bain-marie or in the microwave, working in periods of 20 seconds to make sure the chocolate does not burn.
Pour the melted chocolate on a polyethylene sheet...
... and spread it with a small cranked spatula into a large rectangle frame, to a thin layer.
The dimensions of the white chocolate rectangle should be at least 35 x 11cm. The thickness should not exceed 1 or 2mm.
Place the rectangle frame over the chocolate to check whether it is big enough, then let it set at room temperature.
Repeat the operation with a second polyethylene sheet. We need a total of two white chocolate rectangles for this recipe.
Transfer the three fruit purées at room temperature into three separate mixing bowls.
Add 300 grams of whipped cream to the mango purée.
Fold gently with a whisk or spatula.
The mango mousse is now ready.
Add 300 grams of whipped cream to the raspberry purée.
Fold gently with a whisk or spatula.
The raspberry mousse is now ready.
Add 300 grams of whipped cream to the redcurrant purée.
Fold gently with a whisk or spatula.
The redcurrant mousse is now ready.
We're now ready to mould the fruit mousses in rectangular frames.
In one of the stainless steel rectangles placed on top of a thin layer of white chocolate, pour the redcurrant mouse...
... and fill completely.
Even the surface with a cranked metallic spatula.
Cover the surface of the mousse with cling film and place in the freezer.
In the second stainless steel rectangle placed on top of a thin layer of white chocolate, pour the mango mousse and fill completely.
Even the surface with a cranked metallic spatula.
Cover the surface of the mousse with cling film and place in the freezer.
The last rectangle frame will be filled with raspberry mousse, without any white chocolate at the base. Place the rectangular frame on a baking sheet lined with cling film. Fill with raspberry mousse.
Even the surface with a cranked metallic spatula and cover with cling film. Store in the freezer.
The fruit mousse rectangles can be prepared in advance, as long as they are stored in the freezer and well wrapped in cling film so they don't absorb smells from other ingredients.
The day before assembling the log: Remove the three mousse rectangles from the freezer and remove the cling film.
For the two rectangles with a thin layer of white chocolate at the bottom, slide the blade of a knife along the rim of the frame to discard the chocolate excess.
Start with the redcurrant mousse rectangle and transfer onto a sheet of greaseproof paper.
Repeat the operation with the mango mousse rectangle.
When lifting the frame, you can clearly see the white chocolate base. Place next to the redcurrant rectangle on the sheet of baking parchment.
The third rectangle (raspberry mousse) doesn't have any white chocolate base. Place it next to the other 2 rectangles on the baking parchment.
Release each fruit mousse rectangle from the stainless steel frame.
Using a blow torch, heat all sides of the frame very slightly, making sure the mousse doesn't melt.
Gently slide the ring upwards to release the raspberry mousse rectangle.
Return the raspberry mousse to the freezer.
Slightly heat the frame of the redcurrant mousse...
... and gently slide the ring upwards to release the redcurrant mousse rectangle. Return to the freezer.
Slightly heat the frame of the mango mousse...
... and gently slide the ring upwards to release the mango mousse rectangle. Return the mango mousse to the freezer.
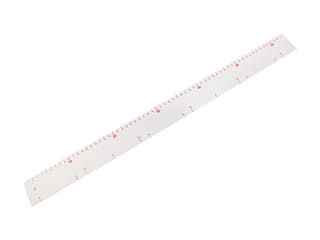
Using a graduated pastry ruler, cut the mango mousse rectangle to a width of 8 cm.
For an easier operation, dip the knife blade in hot water, then cut the rectangle lengthwise.
Cut the mango rectangle to a length of 20 cm (i.e. the length of the frame used for the biscuit base).
Cut the redcurrant mousse rectangle to a width of 5.5 cm (or cut in half lengthwise)...
... making sure to dip the knife blade in hot water beforehand.
Cut the redcurrant rectangle to a length of 20 cm.
Cut the raspberry mousse rectangle to a length of 20 cm.
You should now have 4 mousse rectangles. To assemble the log, you'll need the raspberry rectangle, the mango rectangle and one redcurrant rectangle.
The remaining pieces shown in the photo won't be used in this recipe, but it is very difficult to provide exact quantities.
For the mirror icing: In a saucepan, pour the water, castor sugar and glucose.
Bring to a boil and cook until the temperature reaches 103°C. I recommend using a digital probe thermometer for an accurate reading of the temperature.
When the preparation reaches 103°C, add the unsweetened condensed milk.
Combine well.
Add the powder gelatin (hydrated in 120 grams of water beforehand). The gelatin should take about 10 or 15 minutes to hydrate. Combine well.
Pour the hot preparation over the white chocolate pistoles.
Let the chocolate melt without stirring for 2 or 3 minutes...
... then combine with a whisk until homogeneous.
Divide the preparation into 3 separate bowls in order to create 3 different colours.
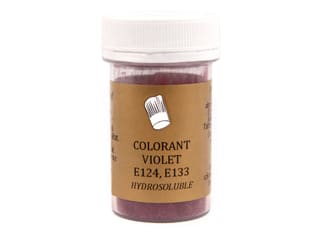
With the tip of a knife, add some purple colouring powder in the first bowl.
Mix with a Bamix hand blender until homogeneous.
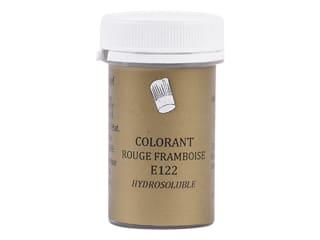
In the second bowl, add some raspberry red colouring powder...
... and combine with a hand blender...
... until you obtain the desired colour intensity.
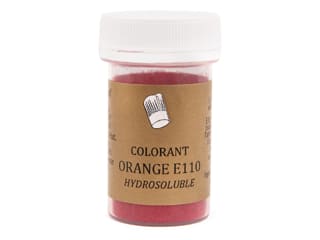
In the third bowl, add some orange colouring powder...
... and combine with a hand blender until you obtain the desired colour intensity.
The amount of colouring varies according to the colour intensity you wish to obtain. It is best to start with a small quantity, then blend the preparation and adjust if needed.
Set aside to cool until each preparation goes down to a temperature of about 30°C. If you're making the mirror icing the day before (recommended), you will need to mix it again with the hand blender, then reheat it up to 30°C over a bain-marie or in the microwave.
Place the biscuit base on a serving plate.
Take the raspberry mousse rectangle out of the freezer and transfer onto a rack, placed on top of a deep tray.
Gently whisk the red icing until homogeneous. If a skin has formed on the surface of the icing, make sure you remove it with a spoon before mixing again.
Pour the icing in one stroke, from one end of the rectangle to the other.
The rectangle is now coated with red mirror icing. Gently tap the rack on your worktop to let the excess drip off.
Using a cranked spatula, lift the frozen rectangle and slide it sideways to get rid of any icing strings at the base.
Arrange the rectangle on top of the biscuit. This operation is very delicate, arrange the rectangle carefully so it is well centred.
Place the serving plate in the fridge to allow the cake to start defrosting. It should defrost slowly.
Take the mango mousse rectangle out of the freezer, then transfer onto a rack, placed on top of a deep tray.
As mentioned earlier, skim the surface of the yellow icing if necessary, then reheat it up to 30°C and mix again with a hand blender until smooth and homogeneous. Pour the yellow icing in one stroke, from one end of the rectangle to the other...
... making sure the whole surface and the sides are coated.
Using a cranked spatula, lift the frozen rectangle and slide it sideways to get rid of any icing strings at the base.
Carefully arrange the yellow rectangle on top of the raspberry rectangle. Make sure you don't create marks over the mirror icing. The yellow rectangle should be perfectly centred.
The final result should look like this. Reserve in the fridge.
The purple mirror icing is for the redcurrant mousse rectangle. If needed, skim the surface of the purple icing, then reheat it up to 30°C and mix again with a hand blender until smooth and homogeneous.
If you reheat it excessively, like what I did in the photo, let the icing cool down to 30°C before using it.
Transfer the redcurrant rectangle onto a rack, placed on top of a deep tray.
Pour the purple icing in one stroke, from one end of the rectangle to the other...
... making sure the whole surface and the sides are evenly coated.
Using a cranked spatula, lift the frozen rectangle and slide it sideways to get rid of any icing strings at the base. Carefully arrange the purple rectangle on top of the mango rectangle. It should be perfectly centred. Store the cake in the fridge until ready to arrange the decorations.
You can prepare small meringue decorations, then apply some gold colouring spray for a festive look!
Over the red and yellow edges, arrange a few meringue decorations, fresh fruit (blueberries, raspberries, white and red currants) and mango paste cubes.
Alternate between different shapes and colours for a harmonious result. Don't hesitate to customise this dessert following your inspiration.
When the red and yellow levels have been decorated, the result should be similar to what is shown in the photo.
Arrange a few decorations on the top purple layer. I prepared white chocolate spheres, then sprayed them with white chocolate spray for a velvety effect.
Sprinkle a few gold flakes over the cake to enhance its festive look.
Celebrate Christmas and the festive season with this colourful fruit log.
Please login to post a review