You can always send us your messages, comments or suggestions.
In one click, store and find all your favourite recipes.
Add this recipe >To make this Cocoa Christmas Yule Log recipe, start by preparing all the ingredients for the cocoa streusel.
Cocoa streusel: Place the soft butter in the stand mixer bowl.
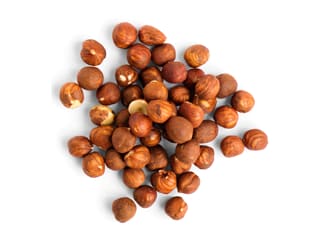
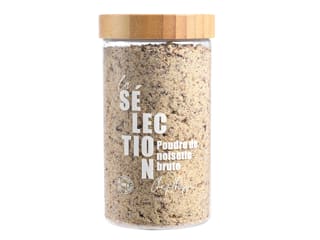
Add the ground hazelnuts...
... cocoa powder...
...and fleur de sel from Guérande...
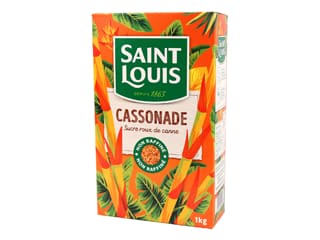
... rice flour and soft brown sugar.
Mix all these elements with the flat beater attachment of the mixer until you obtain a homogeneous dough.
Transfer the cocoa streusel dough to a work surface covered with parchment paper.
Shape the dough into a ball.
Cover the dough ball with a second sheet of parchment paper...
... and roll out to a thickness of 3mm using a rolling pin.
Transfer the whole thing onto a baking sheet and remove the top parchment paper.
Place the baking sheet in a preheated fan-assisted oven at 180°C (gas 4) and bake for 10 to 12 minutes, depending on your oven.
At the end of baking, remove the baking sheet from the oven...
... and leave to cool at room temperature.
For the cocoa Dacquoise biscuit: Organise all the necessary ingredients.
Pour the egg whites in the stand mixer bowl...
... and begin to whip them with the whisk attachment.
When they begin to foam, add the caster sugar and continue mixing...
...until stiff peaks form.
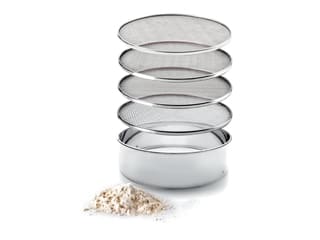
Sift the hazelnut powder into a sieve over the egg whites.
Add the rice flour to the sieve...
...as well as the cocoa powder...
... and the caster sugar.
Incorporate all these powders into the egg whites...
... using a rubber spatula...
...until you have a smooth and homogeneous mixture.
Pour the cocoa biscuit batter onto a perforated baking sheet covered with a silicone mat...
...and spread it into a rectangle about 1cm thick. Do not spread it over the entire baking sheet.
Roughly chop some whole hazelnuts...
...and bury them into the cocoa dacquoise biscuit.
Place the baking sheet in a preheated, fan-assisted oven at 170°C (gas 3) and bake for 12 minutes. The baking time may vary from one oven to another.
At the end of baking, remove the baking sheet from the oven...
...and let the cocoa dacquoise biscuit cool to room temperature.
For the cocoa crunchy biscuit: Organise the necessary ingredients.
Place the cooled cocoa streusel, previously broken into pieces and weighed, in the stand mixer bowl.
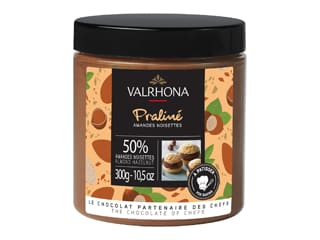
Add the almond/hazelnut praline...
...the melted dark chocolate...
...and the melted cocoa butter.
Chop the whole hazelnuts with a knife...
... and transfer into the stand mixer recipient.
Mix all these ingredients with the flat beater.
Spread this cocoa crunch onto the cooled cocoa dacquoise biscuit...
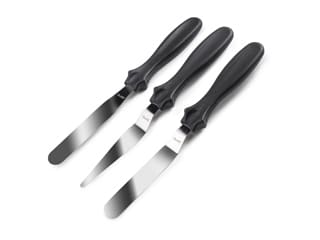
...and spread it using a mini cranked spatula across the entire surface of the biscuit in a thin and even layer.
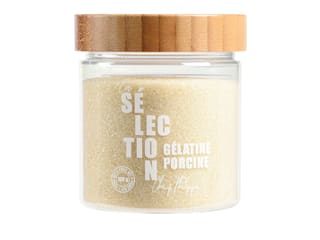
For the soft caramel: Organise the necessary ingredients. Mix the powdered gelatine with the hydration water (tap water or mineral water) and let it hydrate for 15 minutes.
Pour the glucose syrup and caster sugar into a saucepan.
Cook these two elements together over moderate heat while stirring with a spatula until you have a syrup.
Continue cooking until you have a light caramel. Be careful not to overcook it because too dark a caramel can make it bitter.
Deglaze it with the preheated heavy cream in the microwave...
...and mix it quickly with the spatula to dissolve all the caramel into the cream. Be cautious about splatters and burns. Then add the fleur de sel and mix again.
Transfer this caramel into a measuring glass (a narrow and tall container).
Add the rehydrated gelatine...
...and the unsalted butter.
Blend everything with a hand blender until you have a smooth and homogeneous tender caramel. Set it aside and let it cool to room temperature.
For the Tonka chocolate crémeux: Organise the necessary ingredients. Hydrate the gelatine powder with water for 15 minutes.
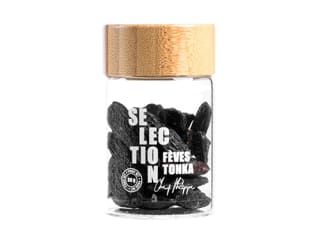
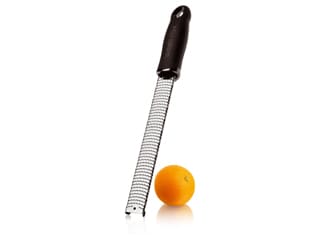
Pour the milk into a saucepan and grate a Tonka bean over the milk using a Microplane Classic zester grater.
Heat the milk...
... and bring it to a boil.
Stop the cooking and cover the saucepan with cling film, stretching it over the edges. Let it infuse for 15 minutes.
While the milk is infusing, pour the egg yolks into a bowl and add the caster sugar.
Blanch with a whisk.
After 15 minutes of infusion, reheat the milk, and when it reaches a boil, pour the boiling milk over the just-whisked mixture...
... while stirring with a whisk.
Transfer the preparation into the saucepan used to boil the milk...
... and cook 'à la nappe' (i.e. until the consistency is thick enough to coat the back of a spoon).
Remove the saucepan from the heat and add the melted cocoa butter over very low heat. Mix with the rubber spatula.
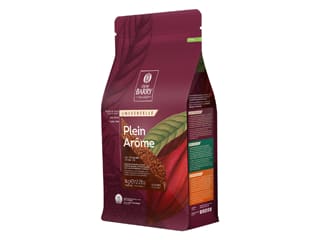
Then add the cocoa powder while mixing with the spatula.
Add the caster sugar...
... and the rehydrated gelatine. Combine vigorously.
Pour this chocolate mixture into a measuring glass...
...and blend it with the hand blender.
Take the yule log insert mould and trim it with scissors to the correct size.
Fit the two parts into each other...
...so that the whole length is 22cm.
Then tape the two parts of the mould together to hold them in place.
Pour the Tonka chocolate cream into one of the two cavities, filling it up to 3/4.
Tap the insert mould on the work surface to smooth the surface of the preparation and obtain a flat surface.
Place it in the freezer for a minimum of 30 minutes for crystallization.
When the Tonka chocolate cream is set, remove it from the freezer and pour the caramel, warm or cold, over it. The cavity should be completely filled.
Cover the surface with cling film...
...and place it in the freezer. This insert can be made several days in advance.
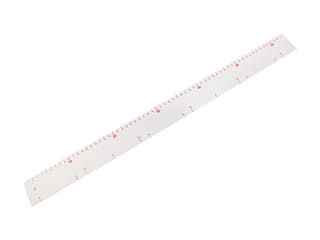
Assembling the log: Take the cocoa dacquoise biscuit covered with cocoa crunch and trim one side lengthwise with a knife and a graduated ruler.
Measure the width of your mould. I'm using the silicone log mould, which is 8cm wide.
Measure a strip of cocoa dacquoise biscuit to a width of 8cm...
...and cut this strip with a knife without breaking the biscuit.
Cut the ends of this strip into a round shape (the mould has a round edge).
This is what the result should look like. Keep this biscuit sole in the fridge or freezer.
For the dark chocolate mousse: Organise all the necessary ingredients. Hydrate the powdered gelatine with the hydration water, as we did before.
Heat the milk in a saucepan.
Add the cocoa powder to the cold milk...
... and combine carefully until the cocoa is completely incorporated.
In parallel, melt the dark chocolate in the microwave in 20 to 30-second intervals, stirring between each melting to prevent burning.
When the chocolate milk is warm, around 50°C, add the hydrated gelatine and whisk vigorously.
Add this chocolate milk to the melted chocolate...
...and mix thoroughly with a spatula...
...until you have a homogeneous mixture.
Mix the preparation with a hand blender...
...to get rid of any possible lumps.
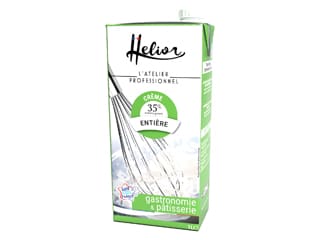
Pour the whipping cream into the stand mixer recipient...
...and whip it into a soft whipped cream using the whisk attachment. You should get a flexible whipped cream.
Pour the whipped cream onto the chocolate mixture...
...and gently mix with a spatula until you have a smooth and homogeneous mixture.
Transfer this intense dark chocolate mousse to a piping bag. The use of a tip is not necessary. The mousse is soft and fluid.
Assembling the log (continued): Place the log mould on a baking sheet.
Pipe the intense dark chocolate mousse into the silicone mould halfway up.
Remove the insert from the freezer and release it from the mould. The preparations should be frozen solid for optimal results. Place the insert in the centre of the mould, with the rounded part on the bottom and the flat part on top...
... as shown in the photo.
Finish filling the mould with the remaining intense dark chocolate mousse, leaving a gap of 0.5 to 1cm for the biscuit base.
Then place the cocoa dacquoise biscuit base covered with the cocoa crunch on top. The crunchy side will be on the bottom, directly in contact with the mousse.
Cover the surface with cling film.
Place a heavy baking sheet (such as a blue steel one) on the mould and put it in the freezer. The baking sheet ensures a flat base. This log can be prepared up to this point several days in advance, making sure it is sealed in the freezer.
Carbon Black mirror glaze: Organise all the necessary ingredients. Start by hydrating the powdered gelatine with the hydration water.
Pour the caster sugar in a saucepan.
Add the water...
...mix these two elements together using a spatula, and bring it to a boil.
Once it reaches a boil, maintain it until the sugar is completely dissolved (boil for an additional 1 to 2 minutes).
Pour the cocoa powder into a mixing bowl.
Pour the boiling syrup over the cocoa...
... and combine vigorously with a whisk...
...until you have a smooth and homogeneous mixture.
Pour the whipping cream into a saucepan (you can use the same saucepan used for the syrup).
Bring the whipping cream to a boil.
Once it reaches a boil, remove the saucepan from the heat and add the hydrated gelatine.
Stir the cream vigorously to dissolve the gelatine.
Then pour this hot cream into the chocolate mixture while stirring with a whisk.
Use the hand blender until you have a smooth and homogeneous glaze, without lumps.
Transfer the Carbon Black mirror glaze to a food container for quick cooling.
The ideal temperature for using this glaze is 35 to 40°C. The use of a laser thermometer is recommended at this stage.
Pour the chocolate mixture into a pouring pitcher (or a measuring glass)...
...and blend it again with the hand blender to remove any air bubbles and achieve a perfectly smooth glaze.
Cover this glaze with cling film, pressing it directly onto the surface...
... and refrigerate.
The next day, take the glaze out of the fridge and remove the cling film. Reheat this glaze in the microwave in 20 to 30-second intervals, mixing between each melting, and check its temperature.
Remove the log mould from the freezer and remove the cling film.
Place the mould on a cooling rack...
...and release the cake from the mould. The cake should be frozen solid for optimal results.
Place the rack on a deep tray and pour the Carbon Black mirror glaze at the right temperature over the frozen log, starting from one end and moving from right to left to cover the entire dessert without leaving any gaps on the surface.
Make sure to pour the glaze from end to end in a single pour to avoid drips and excess thickness.
The yule log is now glazed. Let the glaze drip off. It will instantly gel upon contact with the frozen dessert. Take the tray and rack in your hands and tap them on the work surface to let excess glaze flow away.
Use two cranked spatulas to rotate the log on the rack to break the glaze threads at the base.
Transfer the log onto the serving plate.
Finish: Finish the decoration with gold flakes applied using a precision tweezers on top of the log in a line in the centre. Gold leaf sheets are very thin and volatile, so make sure there is no air draft in your kitchen.
The Cocoa Christmas yule log is now ready. Place it in the fridge for 4 to 5 hours to thaw. Enjoy this exceptional chocolate dessert!
Please login to post a review