You can always send us your messages, comments or suggestions.
In one click, store and find all your favourite recipes.
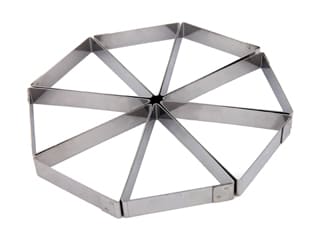
Add this recipe >48 hours in advance: Before starting this Crunchy Strawberry Tartlet recipe, stretch cling film over the stainless steel triangle rings. I recommend using the set of 8 triangle tartlet rings.
Close one side of each triangle ring...
... making sure it is stretched tight. Don't hesitate to use two layers of cling film if needed.
It doesn't matter if there are folds on the cling film...
... but make sure the film is safely in place.
Arrange the triangle ring on your workbench, side with cling film facing down.
Repeat the above steps with all triangle rings. This takes a bit of time but this will make things a lot easier later in the recipe.
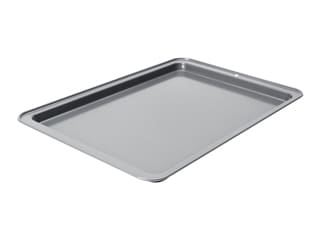
Arrange all 8 triangle rings in a deep baking sheet and fill each of them with cold water. Place a block in the four corners of the baking sheet. The blocks should be slightly higher than the triangle rings.
Water might be leaking a little from the triangles; this is not a problem.
Place a perforated baking sheet on top of the 4 blocks...
... and insert wooden picks in the perforations. Insert two picks per triangle, then store in the freezer. The wooden picks should be perfectly vertical.
The next day: Remove the tray from the freezer.
The water should be frozen. As shown in the photo, a little water has leaked out of the triangles. In that case, fill the gaps with water and return to the freezer. Don't try to release the ice blocks from the rings.
The following day: The triangle ice blocks are ready. Remove the cling film and rub the sides of the ring with your fingers to facilitate the release.
The triangle ice block should come off easily. Set aside.
Repeat with the remaining triangles.
Return the triangle ice blocks to the freezer.
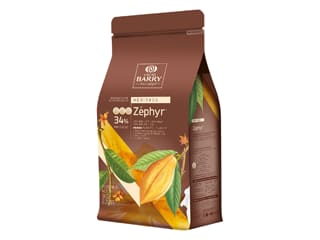
For the white chocolate shells: Melt the white chocolate in the microwave, working in periods of 20 seconds to prevent the chocolate from burning. Combine well every time.
Repeat until the chocolate has melted completely.
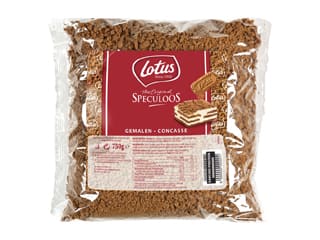
Sift the crushed speculoos cookies to get rid of the fine crumbs. We want whole chunks, as shown in the photo.
Add cookie chunks to the melted chocolate.
Combine well with a rubber spatula.
When the preparation has a temperature of 30°C...
... and the grape seed oil.
Combine again.
Remove the triangle ice blocks from the freezer. Hold the triangle by the two wooden picks and dip the base carefully in the white chocolate. Make sure only the base and sides are immersed.
Remove the triangle The white chocolate should set immediately. The triangles should be completely frozen for this operation, straight out of the freezer, with no melted parts or water.
Place the triangle on a sheet of greaseproof paper.
Repeat with the other triangle ice blocks.
Release the white chocolate shells from the ice blocks, in the order they were made.
The ice blocks should start melting at this stage and the chocolate shell will come off easily. Simply ease the chocolate with your fingers to release it.
Repeat with all chocolate shells...
... then flip them on paper towel to absorb any residual water from the ice blocks. These white chocolate shells are an original alternative to a traditional pastry base. Reserve in the fridge.
For the vanilla crème chiboust: Organise all the necessary ingredients.
Soak the gelatine sheets in a big bowl filled with cold water. Immerse the gelatine sheets one at a time to prevent the formation of a block.
Pour the milk in a saucepan and start heating.
Add the vanilla powder (amount depends on desired flavour intensity).
In a mixing bowl, place the egg yolks and castor sugar.
Blanch the ingredients using a whisk.
Add the corn starch...
... and combine again.
When the milk starts boiling, add to the preparation. Combine with a whisk.
Transfer the preparation into the saucepan used to boil the milk.
Cook the cream over medium heat, whisking constantly...
... until thick.
Bring to a boil and cook for another minute over medium heat.
Drain the gelatine with your hands and add to the preparation.
Whisk until the gelatine has dissolved completely.
Transfer the cream into a large dish and spread.
Cover the surface of the cream with cling film. Leave to cool at room temperature. Do not refrigerate!
For the Italian meringue: Organise all the necessary ingredients.
Pour the water and sugar in a saucepan.
Add the glucose syrup (melt beforehand in the microwave for a few 20 seconds until smooth).
Place the pan over medium heat.
In the meantime, start beating the egg whites at low speed.
The sugar should start boiling at this stage.
Cook the sugar until the temperature reaches 121°C. I recommend using a thermometer.
Increase the speed of the mixer gradually.
Add 30 grams of sugar to the egg whites. Prepare both preparation simultaneously so that when the sugar reaches 121°C, the egg whites are already beaten and firm.
When the sugar is 121°C, take the pan away from the heat and wait until there are no more bubbles.
While mixing on low speed, pour the cooked sugar over the eg whites.
Increase the speed and whisk until completely cold.
The Italian meringue is now ready.
For the vanilla crème chiboust (continued): Transfer the cold cream into a mixing bowl.
Whisk vigorously until smooth.
Add 1/4 of the meringue and combine with a whisk.
Add the rest of the meringue...
... and fold gently with a rubber spatula.
If there are lumps of meringue, give the preparation a couple of whisks to get rid of them.
Transfer the vanilla into a piping bag. The use of a nozzle is not necessary.
Assembling the tartlets: Remove the white chocolate shells from the fridge.
Flip them on a baking sheet so the hollow side is facing up. Cut the tip of the piping bag to obtain a diameter of about 1 cm.
Fill the chocolate shells with vanilla crème chiboust, making sure to leave a small gap on top.
Repeat with all shells and refrigerate. You will have vanilla cream leftovers in this recipe. I recommend piping it in verrine cups for your next meal.
It is difficult to reduce quantities in this case as results wouldn't be as good.
For the red berry jelly: Organise all the necessary ingredients.
In a saucepan, place the red fruit purée and half of the castor sugar.
Combine with a whisk and start heating the ingredients.
In a separate bowl, combine the sugar and pectin NH.
This is important to avoid lumps.
Add the sugar and pectin mix to the hot red berry purée, whisking constantly...
... and bring to a boil.
Once the preparation starts boiling, continue cooking for 2 or 3 minutes over medium heat to activate the pectin.
Transfer into a bowl and refrigerate.
When the red berry purée has a jelly consistency...
... transfer into a food processor.
Mix until fine and smooth.
Scrape the preparation on the sides of the bowl and mix again.
Assembling the tartlets (continued): Remove the tartlets from the fridge.
Transfer the red berry jelly into a piping bag.
Cut the tip of the bag and pipe a thin layer of red berry preparation over the vanilla cream.
Even with a small palette knife.
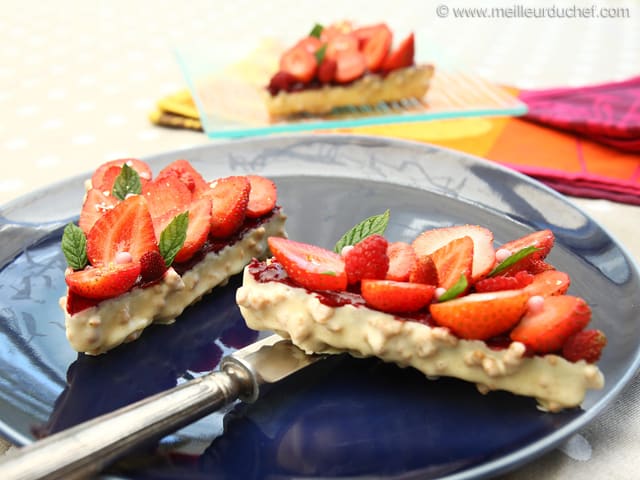
The result should look like this.
Stem the strawberries...
... and cut them in half.
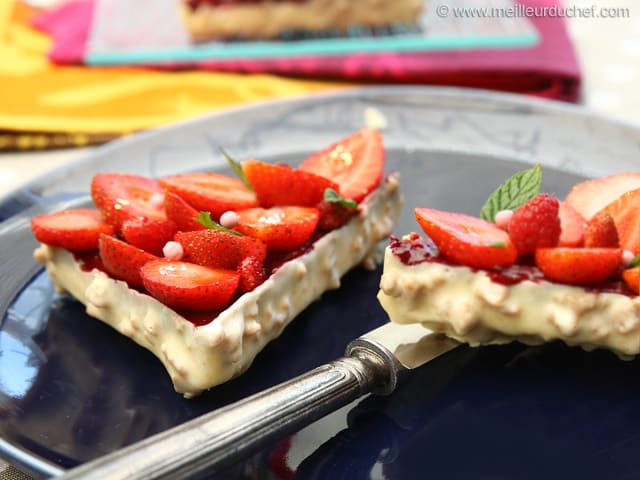
Arrange the strawberries carefully on the surface of the tartlets. Alternate between strawberries, raspberries and wild strawberries.
Arrange a few mint leaves...
... and white chocolate pearls.
Sprinkle a few gold flakes over the tartlets.
Reserve in the fridge until ready to serve. Given how delicate the chocolate shells are, I recommend taking these tartlets out of the fridge just before serving.
Please login to post a review