You can always send us your messages, comments or suggestions.
In one click, store and find all your favourite recipes.
Add this recipe >Before starting this Vanilla and Salted Caramel Easter Cakes recipe, organise all the necessary ingredients for the salted caramel.
In a small saucepan, pour the castor sugar and water. Always pour the water prior to the sugar to avoid clusters of sugar at the bottom of the saucepan.
Bring to a boil.
Grab a silicone mould for 6 mini spheres. Using a pastry brush, grease the cavities of both parts of the mould with a little grape seed oil. If you're using another type of mould, make sure the spheres have a diameter of roughly 3 cm.
Press down firmly on the top part of the mould to assemble both parts together.
The caramel should start to brown slightly on one side of the pan. Stir the sugar by tilting the pan to ensure homogeneous cooking. Give the saucepan a rotating motion to combine the sugar. Do not use a spatula! You should not incorporate air to the caramel in order to avoid sugar clusters.
The caramel will continue to brown. When the caramel has a blonde colour...
... add the soft butter. Don't wait until the caramel turns dark, which will give a bitter taste to the caramel.
Combine carefully with an rubber spatula to incorporate the butter...
... until homogeneous.
Add the whipping cream...
... and combine with the spatula until homogeneous.
Cook for a further 1 or 2 minutes.
Add 2 pinches of fleur de sel for a delicious salted effect.
When cooked, remove the caramel from the stove and set aside until there no more bubbles.
Using a piston funnel, fill the sphere cavities with the salted caramel.
Fill the sphere cavities completely up to the top. Reserve in the freezer until set. These soft caramel spheres can be prepared in advance (a few days or weeks) and stored in the freezer. The quantities listed in this recipe allow you to make 12 caramel spheres.
For the white chocolate mousse: Organise all the necessary ingredients.
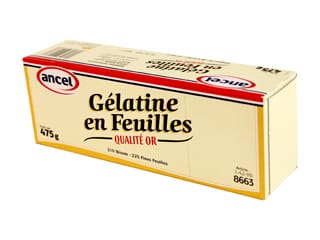
Steep the gelatine sheets in cold water. Make sure you add the gelatin sheets one at a time in cold water.
Beat the cold whipping cream with the stand mixer...
... until firm. Reserve in the fridge.
Pour the water and sugar in a small saucepan. Add 4 or 5 cl of water, or just enough to humidify the sugar. If you add more water, the result will be exactly the same but cooking will take longer.
Bring to a boil and cook until the temperature reaches 121°C. I recommend using a digital thermometer. Take the pan away from the heat at 119°C, that way the sugar will still reach 121°C without exceeding it.
Place the egg yolks in the stand mixer bowl. Start the mixer at low speed and pour the cooked sugar against the inner side of the bowl to avoid splashes of hot sugar on the whisk wires. This would alter the recipe proportions listed above.
Increase to maximum speed and beat until cooled down completely. The preparation should be pale and double in volume (it is called "pâte à bombe").
When the gelatine has been soaking for 10-15 minutes, strain with your fingers...
... and melt it in a small ramekin in the microwave for a few seconds.
When the pâte à bombe is cold...
... add the melted gelatine and combine at low speed.
With the tip of a knife, add vanilla seeds to the preparation.
Transfer the preparation into a mixing bowl. At this stage, the pâte à bombe should be used immediately before the gelatin kicks in and the preparations sets.
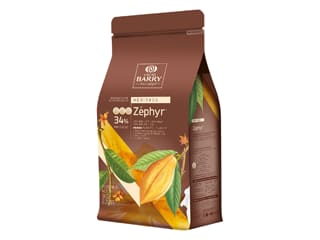
Melt the white chocolate in the microwave and add to the preparation. The chocolate should be warm.
Combine carefully with the spatula until homogeneous.
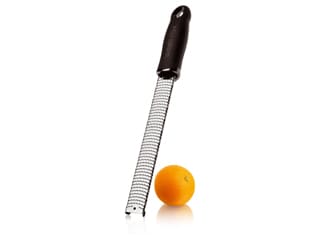
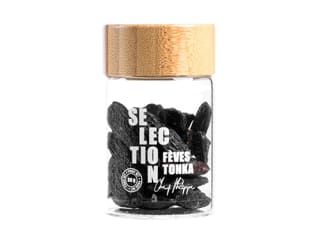
Zest the dried bitter mandarin (or Tonka bean) over the preparation, using a Microplane Classic grater.
Adjust the quantity to your taste. Make sure you incorporate the zest well into the preparation before tasting. Tonka beans have a powerful flavour so you won't need much at all.
Combine carefully until incorporated.
Add 1/4 of the whipped cream to the preparation...
... and combine vigorously until homogeneous.
Add the remaining whipped cream...
... and combine gently with a rubber spatula in a vertical, rotating motion...
... until homogeneous.
Transfer the white chocolate mousse into a piping bag. Cut the tip of the bag with scissors to obtain a hole with a 2cm diameter. Grab the silicone mould for 5 spheres with curved lines. Place the mould inside the plastic tray to make sure it is stable.
Fill the cavities with chocolate mousse halfway up. Tap the mould on your worktop surface to get rid of air bubbles. Slide a small palette knife along the edges to press the mousse filling inside the cavities.
Remove the frozen caramel spheres from the freezer and release them gently from the mould. These caramel inserts need to be used immediately.
Place a frozen caramel sphere inside each cavity, burying them in the white chocolate mousse.
Fill up the rest of the cavity with chocolate mousse.
Even the surface of the mould with the palette knife.
Cover with cling film and store in the freezer overnight. Place in the deep-freezer if you have one. This will reduce freezing time to less than 2 hours. Up to this stage, the recipe can be prepared in advance and stored in the freezer.
For the crunchy cereal biscuit: Organise all the necessary ingredients.
Crush the cornflakes with a rolling pin.
Make sure you grind them finely with no whole bits of cornflakes.
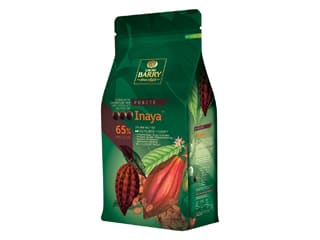
Melt the dark chocolate in the microwave then add it to the ground cornflakes...
... and combine carefully until the cornflakes are coated with chocolate.
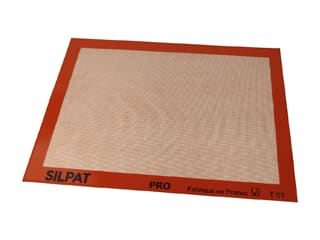
Place the preparation on a Silpat baking mat...
... creating a compact pile in the centre of the mat.
Place another Silpat silicone mat on top, then spread to a thickness of 2 or 3mm with a rolling pin.
Lift the top silicone mat to check whether the layer is regular and compact.
Slide the mat onto a baking sheet, then place in the freezer.
Coating the biscuit with chocolate: In the meantime, melt the dark chocolate. Add the Mycryo cocoa butter to the warm chocolate.
Combine with the spatula to incorporate the cocoa butter.
Take the frozen cereal biscuit out of the freezer and spread the chocolate over the surface with a brush. Proceed quickly while the biscuit is still frozen. The chocolate will set immediately.
The result should look like this.
Flip the biscuit and coat the other side with chocolate.
Using an Exoglass pastry cutter Ø 6cm, cut 5 discs of chocolate biscuit...
... and arrange them on a baking sheet lined with a sheet of greaseproof paper.
Remove the frozen spheres from the freezer and remove the cling film.
Gently release the spheres from the silicone mould, starting by detaching the sides then pushing from the bottom making sure not the break the pointed tips. Release the spheres from the mould immediately after taking them out of the freezer, making sure they haven't already started to defrost.
At this stage, you should have 5 spheres with curved lines.
Arrange the frozen spheres on a sheet of greaseproof paper...
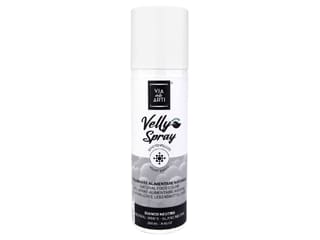
... and spray them with velvet pearl chocolate. For a regular, thin layer, spray the chocolate from a distance of 20 or 30cm.
Make sure all sides of the spheres are evenly coated with velvet chocolate.
Gently lift the spheres with a cranked spatula and arrange them carefully over the crunchy cereal biscuit discs. The spheres should be perfectly centred on the biscuits.
Sprinkle gold flakes over the chocolate spheres. Gold leaf sheets are very thin and volatile, so make sure there is no air draft in your kitchen.
Using small Easter eggs (sugar, liqueur or chocolate)...
... brush gold colouring powder over their surface.
Place a golden Easter egg decoration on the tip of each sphere.
Defrost the spheres in the fridge for at least one or one and a half hours. Serve when defrosted. Enjoy!
Please login to post a review