You can always send us your messages, comments or suggestions.
In one click, store and find all your favourite recipes.
Add this recipe >Before starting this Morello Cherry, Lime & Coconut Entremets recipe, organise all the necessary ingredients for the coconut and cherry Dacquoise.
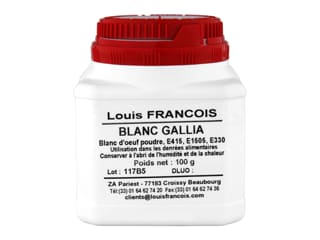
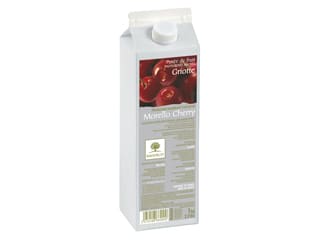
For the cherry and coconut Dacquoise (can be made the day before): Place the cherry purée, castor sugar and egg white powder in the stand mixer recipient.
Beat with a whisk.
After a few seconds, stop the mixer and scrape the sides of the bowl with a spatula.
Beat again at high speed.
Beat for a few minutes until you obtain a cherry meringue.
Remove the recipient from the mixer.
Sift the almond powder, grated coconut and icing sugar together, then add to the bowl and incorporate gently.
Add the powders in 2 or 3 batches...
... to facilitate the incorporation.
Combine carefully with the spatula.
Fold a few times to make sure there are no clusters of powder in the preparation.
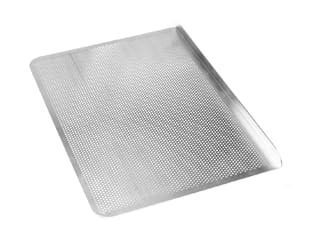
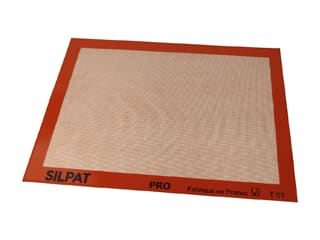
Place a Silpat baking mat over a Silichef XL perforated baking sheet.
Transfer the preparation on the silicone mat (quantities in this recipe are given for a mat with dimensions 40 x 30 cm).
Spread with a cranked spatula, starting from the corners...
... and spread over the whole surface of the mat to a thin layer (between 0.5 and 1 cm).
The result should look like this.
Bake in a fan-assisted oven preheated at 170°C (gas 3)...
... for 16 minutes.
When cooked, the biscuit should really soft but dry on the surface.
Remove from the oven and leave to cool.
For the morello cherry crémeux (can be prepared ahead): Organise all the necessary ingredients.
Place the whipping cream over medium heat.
Combine the castor sugar and potato starch together, then add to the cream.
Increase to high heat and whisk constantly...
... until the cream thickens (consistency similar to a béchamel).
When cooked, turn the heat off. We'll use the stove turned off for the rest of the recipe. The stove has stored enough heat to use during the recipe.
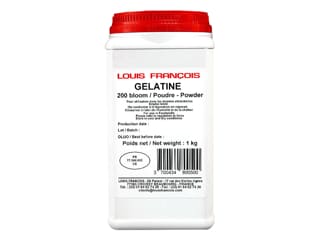
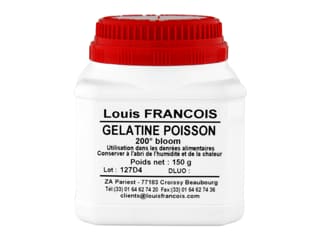
Add the gelatin mass (mix the fish gelatin and water 15 minutes beforehand).
Combine with a whisk until dissolved completely.
Add the butter cut into cubes and combine...
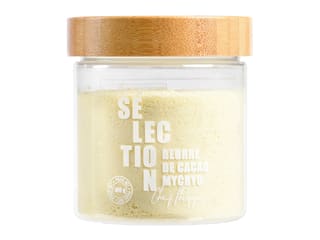
... and add the cocoa butter (melted a little in the microwave beforehand).
Combine well with a whisk.
Add the cherry purée in two batches.
Combine with a whisk...
... then add the remaining purée and combine again.
Mix with a Bamix hand blender, making sure not to incorporate any air. The preparation should be smooth and homogeneous.
Set aside at room temperature.
For the lime crémeux: Organise all the necessary ingredients.
In a saucepan, heat the lime juice.
Add the whole eggs and whisk...
Combine the potato starch, castor sugar, almond powder and lime zest together, then add to the saucepan.
Cook over medium/high heat, whisking constantly.
The cream should thicken quickly.
When the preparation starts boiling, cook for a further 1 or 2 minutes (like pastry cream). Remove the pan from the heat.
Add the fish gelatin (hydrated in water beforehand).
Combine well with a whisk.
Away from the heat, add the butter cut into cubes...
... and combine until completely melted.
We want to create an emulsion while the butter is melting.
Transfer the cream into a bowl...
... and cover the surface with cling film. Reserve in the fridge.
For the biscuit: The biscuit should have cooled down by now. Place it on your workbench.
Flip the biscuit onto a sheet of greaseproof paper.
Carefully remove the silicone mat...
Using the red plastic cutter from the Symphony silicone mould kit (small side)...
... cut the biscuit by pressing on the cutter.
This will serve as the base of the entremets. Keep the rest of the biscuit for later. You can freeze the leftover biscuit for a later use.
Cut a few strips from the leftover biscuit. We will use them in the cherry insert.
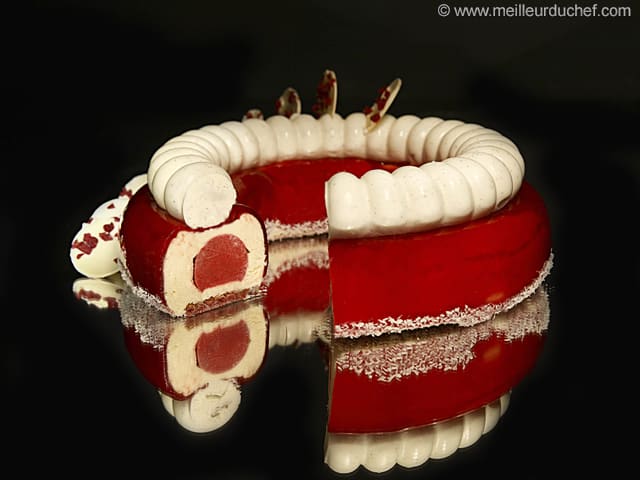
For the cherry insert: Pour the cherry crémeux into the insert silicone mould from the same kit.
Fill up to 2/3.
Bury a few biscuits strips in the cherry cream.
Fill with the rest of cherry crémeux.
Reserve in the freezer. This cherry insert can be prepared several days in advance and stored in the freezer.
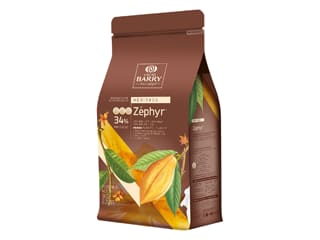
For the crispy decorations: Place the cherry crispy cubes in a bowl and melt the Zephyr white chocolate in a separate bowl. The chocolate should be melted but not tempered.
Add a teaspoon of white chocolate over the crispy cubes.
Combine so the crispy chunks are coated with white chocolate.
The chocolate will slowly crystallize around the crispy cubes to form a hard shell. This hard shell will help preserve the crispiness of the cherry cubes. Repeat this operation twice (3 times in total).
You can observe the crystallization when the crispy cubes have lost their glossy aspect and when there is a thin white layer forming inside the bowl. Time to achieve this can vary according to room temperature and humidity.
Once the chocolate has crystallized, add a second teaspoon of white chocolate...
... and stir until the chocolate crystallizes a second time. This coating technique is the one traditionally used in confectionery except it is applied at an industrial scale. This is an easy artisanal coating method.
The result should look like this after the second layer.
Add another teaspoon of melted chocolate (third batch).
This is what you should get after the last batch. The crispy cubes are now resistant to moisture and their crunchiness is preserved.
For the white chocolate disc decorations: Pour tempered white chocolate over a polyethylene or acetate sheet.
Spread with a cranked spatula into a thin layer.
Sprinkle crispy cherry cubes over the chocolate before it sets.
Let the chocolate crystallise at room temperature.
This should take a few minutes, depending on room temperature.
When the chocolate is almost crystallized, use a plain cutter to create disc shapes and set aside. Reserve in the fridge if room temperature is too hot.
For the cherry icing: Combine the sugar and pectin NH coating together and add to the glucose syrup. We used a corn glucose syrup, which explains the yellow colour. You may use a wheat-based glucose syrup that contains less than 20mg / kg to comply with gluten-free requirements.
Add the water.
Place the saucepan on the stove and combine gently with a whisk.
Heat the preparation up to 60°C (temperature at which sugar starts to dissolve).
Add the morello cherry purée...
... and slowly bring to a boil. Increase the heat gently to make sure the ingredients don't burn.
When the preparation starts boiling...
... mix with the hand blender.
Transfer into a mixing bowl.
Cover the surface with cling film. The scum on the surface is not a problem. It will stick to the film and will stick to it when you remove it later.
Reserve in the fridge to set.
For the lime crémeux (continued): Place the cold whipping cream in the food mixer recipient.
Beat until you obtain a whipped cream.
Remove the cling film from the lime cream.
Beat with a whisk until smooth.
When the cream is fluffy and smooth...
... add 1/3 to the lime cream.
Combine well with a whisk.
Pour the preparation over the remaining whipped cream...
... and fold gently in a vertical motion so the preparation does not collapse.
Transfer into a piping bag. The use of a nozzle is not necessary.
Assembling the cake: Fill the silicone mould with lime cream.
Using a spoon, create a volcano shape so that the crème goes all the way up the outer ring sides. This will get get rid of any air bubbles.
This will get rid of air bubbles.
Remove the cherry insert from the freezer.
Gently release the ring from the mould. The insert should be completely frozen. (Clean and dry the mould now as we're going to use it for the vanilla Chantilly later.)
Bury the cherry insert in the lime cream.
Fill the mould with the rest of the lime cream.
Spread evenly with the back of a spoon.
Take the biscuit ring...
... and arrange over the lime cream. Handle the biscuit very gently as is it really fragile. It it breaks, simply recreate the ring shape in the mould. You can make the biscuit and store in the freezer to make it more resistant.
Place a rack on top of the cake and press hard to bury the biscuit in the lime cream.
Even the surface. Place in the freezer.
For the vanilla Chantilly cream: Organise all the necessary ingredients.
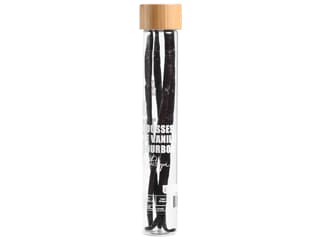
Cut the vanilla pod lengthwise and scrape the seeds out...
... and place the vanilla seeds in the stand mixer bowl with the crème fraîche.
Add 3/4 of the fromage blanc.
Add the castor sugar.
Mix for 2 or 3 minutes. In the meantime, hydrate the gelatin and melt in the microwave.
Make sure you don't beat the cream excessively to avoid a grainy consistency.
Add the melted gelatine to the remaining fromage blanc. Combine well.
Add the fromage blanch and gelatin mix to the whipped cream.
Combine carefully.
The consistency should be smooth. (If you would like to use this Chantilly cream for piping on top of a dessert, you will need to reserve in the fridge, then stir with a spatula so the cream is stiff enough to hold together.)
Transfer into a piping bag (no nozzle).
Fill the insert silicone mould with the Chantilly cream, halfway up.
Using a spoon, create a volcano shape so the cream goes all the way up the mould sides.
This will get rid of air bubbles.
Sprinkle the crispy cherry cubes coated with white chocolate over the cream.
Spread evenly.
Fill with the remaining cream.
Place in the freezer.
Up to this stage, this recipe can be prepared in advance and stored in the freezer. On the day, follow the steps below before serving.
For the icing: Take the icing out of the fridge and melt in a saucepan.
Melt over low heat slowly. Temperature shouldn't exceed 40°C.
Release the frozen cake from the mould...
... and place on a rack. Elevate the rack on top of a stainless steel ring.
Transfer the icing into a graduated jug and mix again until homogeneous.
Pour the icing in one stroke over the whole surface of the cake. The icing will set almost instantly when coming in contact with the frozen cake.
Important: If the icing is too hot, it will drip along the cake. Make sure it doesn't exceed 40°C!
This operation would be easier if our cake was perfectly round but this mould has a groove on top where we will place the Chantilly ring later.
This is a makeshift method, but I used a small spoon to carefully scoop out the red icing from the groove
Proceed very carefully and cut the icing with a palette knife first before removing the icing with a spoon.
The icing should be already set. Lift the cake gently and stick desiccated coconut on the underside...
... on both outer and inner sides.
This is what the result should look like.
Remove the Chantilly cream from the freezer and release it carefully from the mould. It should be completely frozen.
Arrange the Chantilly on top of the groove.
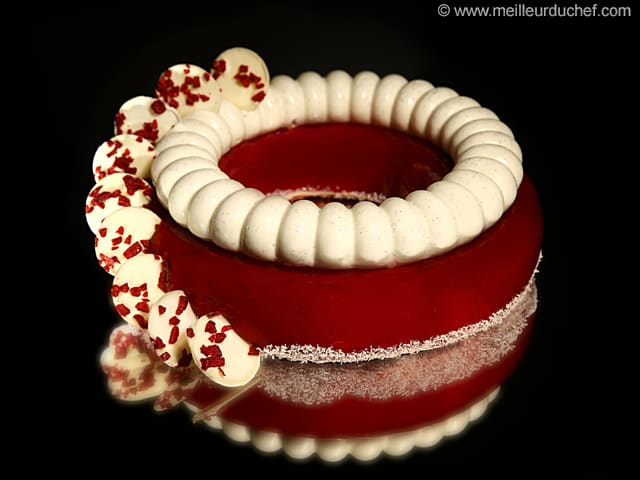
You should obtain this nice finish.
Transfer the cake on a serving plate. (We used a square mirror plate.)
Defrost at room temperature for 15 minutes before adding the decorations.
For the chocolate discs: (continued): Detach the white chocolate discs gently...
... making sure not to break them.
For the finish: Prick the white chocolate deep on the side of the cake...
... starting from the bottom upwards, creating a layered effect.
This will add an elegant finish to your cake.
Leave to defrost in the fridge for 3 or 4 hours before serving.
For best results with fish gelatine, I recommend mixing it with water first (5 to 6 times the weight of gelatine powder used), then melt it in the microwave and refrigerate until set.
Just before use, I melt it again in the microwave before adding it to my preparation.
Please login to post a review