


Cookies 🍪
By clicking "Accept", you authorize Meilleur du Chef to store cookies on your device to personalize site content, analyze our traffic, and provide social media functionality.
Favourites


In one click, store and find all your favourite recipes.
Add this recipe >
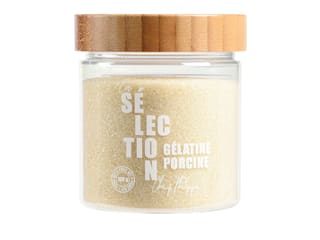
Vanilla crémeux (make the day before): Start by gathering all the ingredients for the vanilla crémeux. Mix the powdered gelatin with the hydration water (tap or mineral water) and let it hydrate for 15 minutes.

Here we will need 3 grams of Tadoka vanilla bean.

Pour the whole milk into a saucepan. Add the Tadoka vanilla bean, which will melt and disperse into the hot milk. Bring everything to a boil.

Pour the boiling milk over the white chocolate (melted beforehand in the microwave in 20 to 30-second intervals, stirring every time).

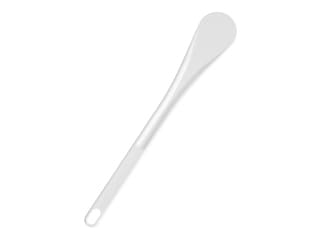
Mix with a rubber spatula to create an emulsion.

When the mixture is smooth, add the hydrated gelatin, melted in the microwave, while stirring with the spatula.

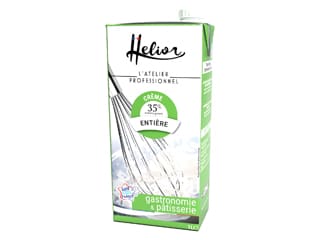
Add the cold whipping cream and mix using a hand blender, until smooth and homogeneous.

Cover the surface of the vanilla crémeux with plastic wrap and refrigerate. This preparation should be made the day before.

Raspberry/ginger confit: Gather the ingredients.

Pour the raspberry purée along with 105 grams of fresh raspberries into a saucepan.

Add 90% of the caster sugar (about 30g).

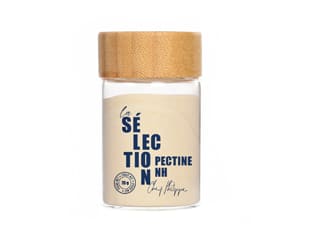
The remaining caster sugar will be mixed with NH pectin to prevent lumps.

Heat the raspberry mixture while stirring with a spatula, until it reaches 50 to 60°C.

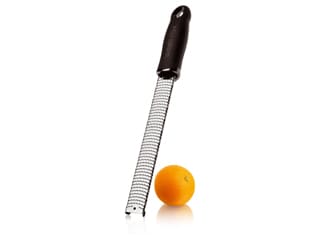
In the meantime, peel the ginger with a knife to remove the skin...

...and grate it with the Microplane Classic grater until you get 3 grams of ginger. Ginger is very fibrous, so we will need a fairly large piece to extract enough pulp.

This will give you an idea of what we need.

When the raspberry mixture reaches 50 to 60°C...

...add the pectin and sugar mix while stirring with a whisk.

Bring the mixture to a boil and maintain it for at least 1 minute to activate the pectin's properties.

Add the glucose syrup (softened in the microwave beforehand). Stir vigorously with the whisk.

Add the freshly grated ginger...

...and mix with the hand blender until smooth and homogeneous.

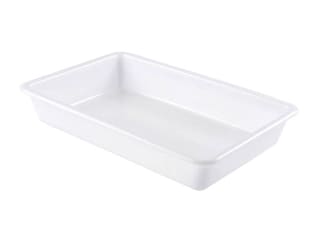
Transfer the raspberry/ginger confit into a food container...

...and cover the surface with plastic wrap. Refrigerate.

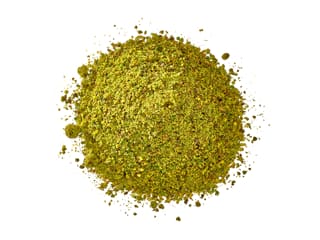
Pistachio Dacquoise biscuit: Gather all the ingredients.

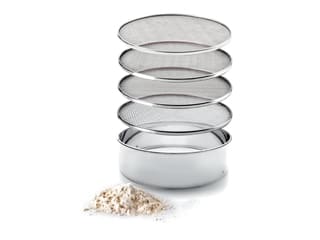
Pour the almond powder, pistachio powder, and icing sugar into a sifter...

...and sift the powders onto a sheet of parchment paper, using your hand.

This is what the result should look like.

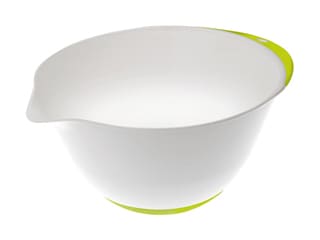
Pour the egg whites and caster sugar into a mixing bowl...

...and whip the mixture into a meringue.

Scrape the sides of the mixing bowl with a rubber spatula during the whipping process to gather everything in the centre.

At this stage we have a meringue.

Add the sifted powders to this meringue...

...and gently fold with a rubber spatula...

...until smooth and homogeneous.

Transfer this batter into a piping bag. A nozzle is not necessary.

Place a mousse ring on a sheet of parchment paper, and trace the inner rim of the ring with a pencil.

Then turn the parchment paper over onto a baking sheet so the pencil drawing ends up underneath.

This way, the graphite from the pencil won't be in contact with the batter.

Pipe the pistachio dacquoise batter inside the ring drawing, forming a spiral from the outside in, or from the centre outwards. The disc should be perfectly round.

Place the baking sheet in a ventilated oven, preheated to 180°C, and bake for about 12 minutes. Baking times may vary depending on the oven.

Once baked, remove the sheet from the oven and let the biscuit cool at room temperature.

Raspberry/ginger confit: When the confit is completely set, remove the plastic wrap and transfer into a mixing bowl. Stir vigorously with a whisk until smooth.

Transfer the confit into a piping bag (no nozzle).

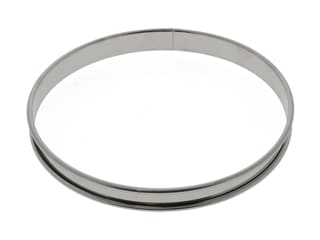
Place a tart ring Ø 14cm on a baking sheet lined with a silicone mat.

Pipe the raspberry/ginger confit into the ring, leaving a gap of 0.5cm on top...

...as shown in the photo.

Smooth the surface with a mini offset spatula.

Arrange the rest of the fresh raspberries on the surface of the confit.

The raspberry/ginger confit is now finished...

...cover the surface with plastic wrap.

Place the tart ring in the freezer. This preparation can be made several days in advance.

Pistachio crunchy insert: Gather the ingredients.

Melt the white chocolate in the microwave in 20 to 30-second intervals, stirring every time to prevent burning.

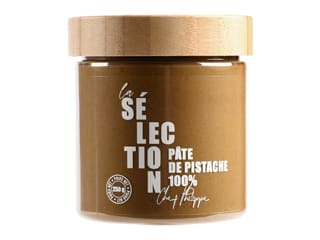
Add the pistachio paste...

...and mix thoroughly with a rubber spatula.

Then add the crispy feuilletine flakes...

...and mix again to fully coat the crispy feuilletine with melted white chocolate and pistachio paste.

Place the pistachio crunchy insert on the pistachio dacquoise biscuit disc...

...and spread it with the small offset spatula...

...covering the entire surface of the biscuit in an even layer.

This is what the result should look like. Refrigerate until set.

Vanilla crémeux (continued): Take the vanilla crémeux out of the fridge and transfer into the mixer bowl.

Whip the crémeux using the whisk attachment for a few minutes...

...until thick and creamy, reaching a whipped cream texture. Be careful not to overwhip, as the crémeux might curdle. The crémeux should remain soft but light (the whisk marks should stay visible on the surface).

Transfer the vanilla crémeux into a piping bag (no nozzle).

Assembly: Take the biscuit base covered with the pistachio crunchy insert and trim it using a mousse ring.

Place the stainless steel ring on the biscuit and cut around the rim with a paring knife to remove the excess.

Remove the mousse ring.

Carefully detach the pistachio dacquoise biscuit from the parchment paper using an offset spatula and set it aside.

Place the Eros silicone mould on a baking sheet.

Cut the tip of the piping bag containing the vanilla crémeux to create an opening of about 1 to 1.5cm, then pipe the preparation into the bottom of the silicone mould.

Press the crémeux down with the small offset spatula to ensure it fills all the cavities and to get rid of air bubbles.

If needed, add more vanilla crémeux and spread over the entire surface so it rises up the sides, as shown in the photo.

Take the raspberry-ginger confit insert out of the freezer and remove the plastic wrap.

Lightly warm the tart ring with a kitchen blowtorch to facilitate the release.

Gently slide the stainless steel ring upward to release the insert.

Flip the insert so that the whole raspberries are facing down...

...and place it over the vanilla crémeux with your fingertips. Be careful not to press it down too much—the insert should be centred.

Fill in the gaps by piping the remaining vanilla crémeux over the raspberry-ginger confit insert, then smooth the surface with the small offset spatula.

Place the pistachio dacquoise biscuit over the vanilla crémeux, with the pistachio crunch side facing down.

Press lightly on the biscuit to bury it a little into the crémeux. The top of the dacquoise should be level with the top of the mould.

Smooth the crémeux along the edges with the small offset spatula to fill any empty spaces.

Clean the edges of the mould with a paper towel and cover the surface with plastic wrap.

Place the mould in the freezer. This entremets can be made up to this stage several days in advance and stored in the freezer.

Raspberry jelly: Mix the powdered gelatin with the hydration water and let it bloom for 15 minutes. Place the fresh raspberries into a blender...

...and mix until you get a smooth purée. I used fresh raspberries in addition to raspberry purée to have a jelly with seeds. If you prefer a smoother texture, you can make the jelly using only raspberry purée.

Pour the raspberry purée into a saucepan.

Add the caster sugar and start heating.

Here is our hydrated gelatin.

When the raspberry mixture reaches a temperature of 40-50°C...

...add the hydrated gelatin, previously melted in the microwave. Stir vigorously with a spatula until the gelatin is fully incorporated.

Transfer this mixture into a bowl...

...and add the raspberry purée.

Mix until homogeneous.

Pour the raspberry jelly into a piping bag (no nozzle). Let it cool to room temperature. The ideal working temperature for this jelly is between 20 and 25°C. It should feel cool to the touch but not yet set.

Finish: Remove the mould from the freezer and take off the plastic wrap.

Gently peel back the sides of the silicone mould.

Carefully detach the silicone mould in order to release the entremets. For optimal results, the cake must be frozen through.

Place the cake on a baking sheet lined with plastic wrap. This sheet can be placed on a turntable for an easier coating operation.

Shake the red velvet spray well before use, until you hear the mixing bead rattle inside. Spray the red coating evenly over the entire surface of the entremets from a distance of 20 to 30cm.

The colour should be applied in a thin layer over the top and sides, as shown in the photo. Ensure that all cavities and small recesses are fully coated. Place the entremets in the fridge for 5 or 6 hours, until fully defrosted.

Once the entremets is fully thawed, remove it from the fridge. Carefully fill the heart-shaped cavities with the raspberry jelly, which should be between 20 and 25°C. Cut a very small opening in the piping bag to control the flow of the jelly.

Use a wooden skewer to push the jelly into the edges of the cavities.

Continue filling the heart cavities...

...and finish with the wooden skewer for a neat result.

This is what the finished entremets should look like.

Take a medium-sized raspberry and cut it in half with a knife.

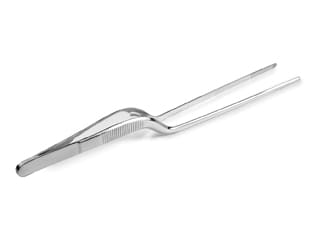
Using precision tweezers, place one raspberry half in the centre of the cake.

Finish the decoration with a small piece of gold leaf placed on top of the fresh raspberry. Transfer this Valentine's Day dessert onto a serving platter and keep in the fridge until ready to serve. Enjoy!
Please login to post a review