You can always send us your messages, comments or suggestions.
In one click, store and find all your favourite recipes.
Add this recipe >Before starting this Pear Mousse Yule Log recipe, make sure you have organised all the necessary ingredients for the preparation of the Joconde biscuit.
In the stand mixer recipient, place the whole eggs and the tant pour tant.
Beat the ingredients, preferably with a stand mixer...
...until foamy and doubled in volume.
In a separate bowl, beat the egg whites until stiff peaks are formed.
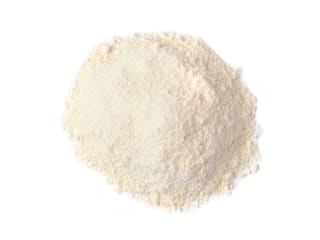
Sift 35 grams of flour over the eggs and tant pour tant mixture.
Gently combine to incorporate the flour.
Add the egg whites...
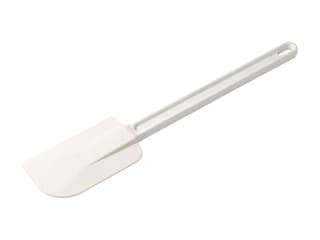
...and the clarified butter. Combine gently with a rubber spatula. Make sure the preparation does not collapse.
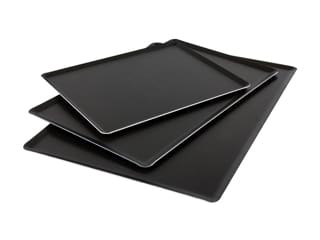
Pour the preparation on a baking sheet, lined with a 'Versailles' transfer sheet. I used 2 transfer sheets to line one baking sheet. Make sure both sheets are properly lined up.
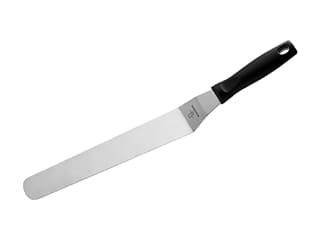
Spread the preparation with a cranked metallic spatula...
...over the whole surface of the transfer sheets, making sure the thickness is even.
Bake at 180-200°C (gas 4-6)...
...until thoroughly cooked (10-12 minutes).
When cooked, flip the biscuit on a sheet of greaseproof paper...
...and remove the transfer sheet gently by lifting.
The pattern on the transfer sheet...
...is now on the biscuit. Let cool.
For the pear mousse: Organise all the necessary ingredients.
Soak the gelatine sheets in a bowl of cold water for a few minutes until soft.
Add the strained gelatine...
...to the pear purée, which has been heated beforehand.
Combine and transfer to a cold recipient (mixing bowl) so that the preparation quickly cools down to room temperature. Make sure you do not refrigerate the preparation!
Add the Italian meringue to the cold pear purée.
Combine well.
Add the whipped cream...
... and combine gently with a rubber spatula. Set aside.
For the garnish: Strain the pears and cut into cubes.
Place the pear pieces on a paper towel to absorb the water excess.
For the assembly stage: Line a yule log mould with greaseproof paper, which has been cut to the dimensions of the mould. There should extra paper on both sides.
Using a knife, cut the decorated Joconde biscuit to the dimensions of the log mould.
The biscuit should perfectly line the mould and be cut right on the edge.
The printed side should be facing down, or in contact with the mould.
Pour the pear preparation into a piping bag. The piping bag does not need to be fitted with a nozzle (the existing hole will be fine).
Pipe some pear preparation in the mould, halfway up.
Distribute half of the pear pieces over the mousse.
Bury them with a spatula and even the surface.
Pipe the remaining pear preparation.
Even the surface with a spatula...
...and add the rest of the pear cubes.
Place a strip of Joconde biscuit on top (use the trimmings). The printed side should be facing down.
Press for the biscuit to stick to the mousse.
Fold back the greaseproof paper on both sides...
...and cover the entire mould with cling film.
Reserve in the fridge to set. Up to this stage, this dessert can be prepared ahead and stored in the freezer. On the day, simply defrost and proceed to the finishing operation.
For the poached pears: (To make the day before) Pour the sugar in the water.
Cut the vanilla pods in half, lengthwise. Add to the saucepan and bring to a boil.
Peel the pears. I used small pears for this recipe. If your pears are too big, use a peeler until you obtain the desired size.
Gently immerse the pears in the boiling syrup...
...and cook at a gentle boil for 10-15 minutes, depending on how firm the pears are.
When cooked, stop the heat and let the pears cool down in the syrup.
For the finish: Remove the cling film.
Remove the log from the mould and place on a yule log cake board...
...and remove the greaseproof paper. The printed side of the biscuit is now facing up.
Place the poached pears on a paper towel to absorb the water excess.
Melt the blond glaze with 5cl of water.
The glaze should be runny. Stir with a whisk to get rid of any lumps.
Steep a poached pear in the blond glaze.
Let the glaze excess drip off and place on a Silpat mat to cool.
Using a brush, apply the remaining glaze on the log to give it a shiny appearance.
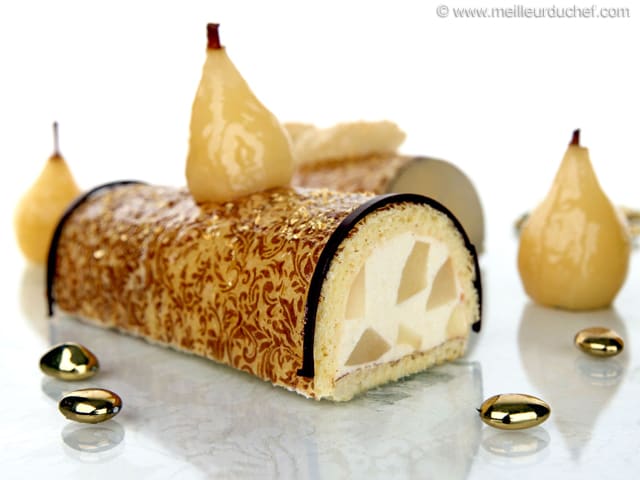
Place a whole pear on the surface of the log (hence the importance to use small pears...).
If necessary, cut the base of the pear to allow it to stand stable on the log.
Sprinkle the whole surface with gold flakes. As shown on the photo, I also placed two chocolate arches at both ends of the yule log for a more sophisticated finish.
Alternatively, you can cut a poached pear in half, then slice it finely.
Apply some blond glaze on the pear slices.
Gently place the pear slices on top of the log, in the shape of a fan.
Finish by sprinkling a few gold flakes on top. Reserve in the fridge until ready to serve.
Please login to post a review