You can always send us your messages, comments or suggestions.
In one click, store and find all your favourite recipes.
Add this recipe >Before starting this Ultimate Fraisier Cake recipe, organise all the necessary ingredients for the sponge fingers.. Pour the egg whites in the stand mixer and beat at low speed until foamy.
When the egg whites start to to get a foamy consistency, add the castor sugar (except a little bit which you should keep to the side.
Increase the speed and beat until firm.
Increase to maximum speed...
... and add the rest of the castor sugar and beat again until stiff.
Using a mousse ring Ø 16cm, draw two circles with a pencil over a sheet of greaseproof paper.
Beat the egg yolks and castor sugar to a ribbon stage.
The egg yolks should be foamy, pale and doubled in volume.
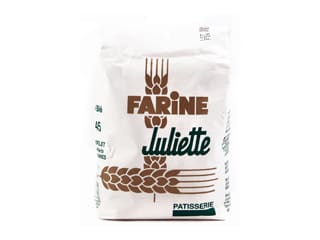
In a large bowl, combine the flour and potato starch.
Add the egg yolks to the egg whites...
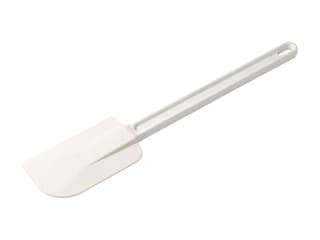
... and fold gently with a rubber spatula, making sure the preparation doesn't collapse.
Fold the preparation, making sure to go right down the bottom of the bowl with the spatula. Rotate the bowl with the other hand.
When homogeneous, sift the flour and potato starch over the preparation using a fine sieve. Add the dry ingredients in two or three batches. The preparation should remain light and foamy.
Combine gently with the spatula until homogeneous. This preparation should be piped and baked immediately.
Transfer into a piping bag fitted with a plain nozzle Ø 10mm.
Take the sheet with the two circles drawn over it. Flip the baking paper so the drawings are not in contact with the preparation. Pipe the preparation into a spiral pattern, starting from the centre.
Repeat the operation with the second disc. Don't hesitate to go over the edge of the drawing, since the biscuit will be trimmed later.
The result should be as shown in the photo.
Sprinkle icing sugar over the two biscuit lines before baking. Tiny pearls of sugar will appear on the surface to form a sort of crust.
Bake in a fan-assisted oven preheated at 170°C (gas 3) for 13 minutes. Baking time might vary according to the type of oven. When cooked, remove from the oven. Cover with another sheet of greaseproof paper and flip. The bottom piece of paper should detach easily. Let cool.
The result should be as shown in the photo. The biscuits can be prepared in advance and stored in the freezer, making sure to wrap them in cling film.
For the red berry and kirsch coulis: Organise all the necessary ingredients.
Pour the red berry purée in a saucepan.
Pour the castor sugar...
... when the preparation comes to a boil...
... then remove from the heat and mix the preparation with a Bamix hand blender.
Pass through a fine sieve and transfer in a food tray until cooled down completely.
Wash the strawberries, then stem carefully.
Sort the strawberries by size, then cut into halves.
Arrange a mousse ring Ø 18cm on a baking sheet.
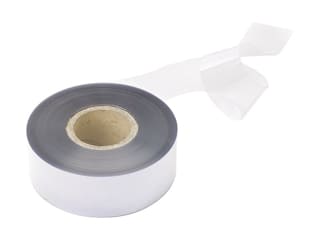
Line the inside of the mousse ring with a strip of acetate cut to a width of 4.5 to 5.5cm. Leave both ends overlap a little.
Place a round cake board Ø 18cm...
... at the bottom of the ring.
Arrange the strawberries vertically around the acetate strip, with the flat side against the mould. Make sure to arrange them into a tight row.
Trim the biscuit discs with the mousse ring Ø 16cm...
... as shown in the photo.
Check whether the biscuit fits inside the ring with the strawberries. Depending on how big the strawberries are, you might need to trim the biscuit a bit more.
Use a knife to trim if needed so the biscuit fits perfectly inside the strawberry border.
Add the kirsch liqueur to the red berry coulis. Combine with a whisk.
Dip the biscuit in the red berry coulis...
... on one side only.
Flip the biscuit and place it at the bottom of the ring (side with coulis facing up).
The result should be as shown in the photo. Set aside.
For the crème mousseline: Organise all the necessary ingredients.
Pour the whole milk in a saucepan and add the vanilla. I used vanilla powder for this recipe, but of course you can use a vanilla pod. If using liquid vanilla extract, add it once the cream is finished.
Heat the vanilla milk.
Place the egg yolks in a bowl...
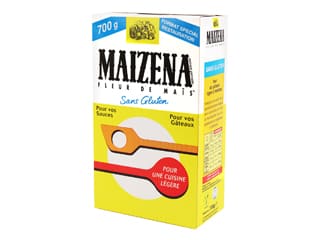
... add the castor sugar and crème pâtissière powder (or corn starch)...
... and combine carefully...
... until smooth and homogeneous.
When the milk starts boiling, pour it over the preparation and whisk.
Transfer the preparation into the recipient used to boil the milk...
... and cook over medium heat, whisking constantly...
... until the crème pâtissière thickens, then continue cooking for a couple of minutes while whisking.
Transfer into a food prep tray and spread to a thin layer. Cover the surface of the cream with cling film and leave to cool at room temperature, then refrigerate.
Place the soft butter in the stand mixer recipient and beat for 3 or 4 minutes until pale and creamy.
Add the cold crème pâtissière in 7 or 8 batches and incorporate gradually.
The result should be perfectly smooth. Beat for a few minutes to incorporate air to the preparation.
Trim the second biscuit disc with the mousse ring Ø 16cm.
Make sure the biscuit isn't too big, otherwise trim if needed.
Chop a few strawberries and add a tablespoon of red berry coulis. Combine until coated.
Fill a piping bag with the crème mousseline. The use of a nozzle is not necessary.
Pipe the cream over the biscuit, making sure you don't leave any gaps. This will help to maintain the strawberries stable.
Then pipe into a spiral to fill the centre.
Using a small cranked spatula, create a volcano shape so that the mousse covers the strawberries.
Place the diced strawberries over the crème mousseline...
... and bury them slightly with a tablespoon.
Pipe the rest of the cream over the strawberries, piping into a spiral.
Even the surface with a cranked spatula.
Dip the second biscuit disc in the red berry coulis on both sides.
Place the biscuit over the cream, burying it gently with your fingers.
There should be a small gap (0.5cm) between the biscuit and the top of the ring. The cream should come up the sides a bit.
Fill the top with crème mousseline to cover the biscuit.
Even the surface with a spatula, going from the centre outwards.
The result should be as shown in the photo.
Wrap with cling film and reserve in the fridge for several hours. Make sure you don't store the cake in the freezer as the strawberries won't handle freezing temperatures.
For the finish: Take the cake out of the fridge and remove the cling film. Place a mousse ring Ø 12cm in the centre of the cake.
Around the ring, coat the surface of the cake with chopped pistachios (prefer pistachio chunks to powder). You can toast the pistachios beforehand.
The pistachio layer should be even and cover the mousse completely, however it shouldn't be too thick.
Arrange strawberry halves inside the ring, making them overlap.
Remove the ring carefully so the strawberries don't collapse.
Place some chopped pistachios at the base of the strawberries.
Arrange strawberry quarters vertically in the centre.
Add a few red berries...
... including raspberries, blackberries and redcurrants. Reserve in the fridge.
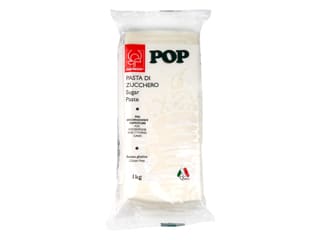
For the sugar paste flowers: Take a small chunk of white sugar paste...
... and roll with a rolling pin.
Using a daisy plunger cutter, cut the sugar paste and release the flower shapes carefully.
The sugar paste daisies are done.
Don't hesitate to cut flowers to different sizes.
Use a wooden pick to lift the flowers...
... and place them in the cavities of a half sphere silicone mould (Ø 3cm)...
... as shown in the photo. Leave to dry at room temperature for 30 minutes.
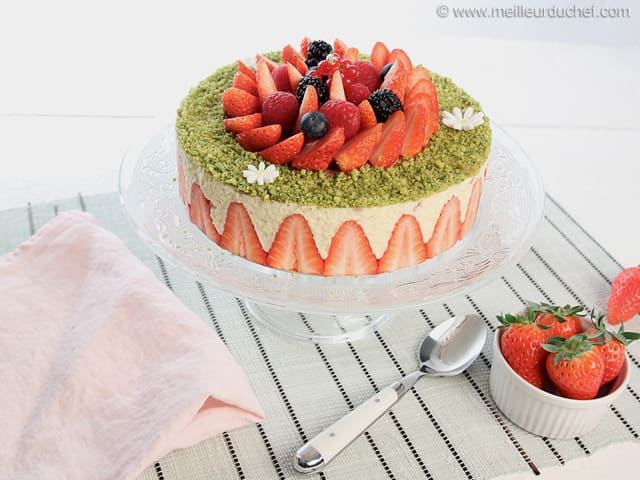
When the flowers are dry, remove the cake from the fridge and arrange the flowers gently over the pistachios. In the centre of each flower, pipe a drop of clear mirror glaze coloured with water-soluble yellow colouring.
Gently slide the stainless steel ring upwards to release the cake. This operation should be easy, thanks to the acetate strip placed around the cake.
Remove the acetate at the last minute, when ready to serve. If you need to carry the cake, use some sticky tape to stick both ends of the acetate strip. Reserve in the fridge until ready to serve. Enjoy!
Please login to post a review