You can always send us your messages, comments or suggestions.
In one click, store and find all your favourite recipes.
Add this recipe >Before starting this Yule Log with Granny Smith Apple Mousse recipe, make sure you have organised the necessary ingredients for the spiced biscuit.
In the stand mixer bowl, tip the whole eggs and tant pour tant (powder mix made from equal amounts of icing sugar and almond flour).
Beat until foamy.
In a separate recipient, whip the egg whites with the salt.
Beat into stiff peaks.
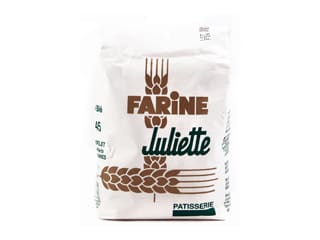
Sift the flour over the eggs and tant pour tant preparation.
It is essential that you sift the flour to remove any lumps.
Add some four spice mix. The amount varies according to the desired flavour intensity.
Combine gently with a spatula.
Add the beaten egg whites.
Combine gently.
Add the melted butter, combined with a little amount of preparation beforehand...
... to make sure it incorporates well to the preparation.
Place a Silpat baking mat (40 x 30cm) on a Silichef® baking sheet.
Pour the preparation on the baking mat.
Using a spatula, spread the preparation to an even thickness.
Bake at 180°C (gas 4) for 10 or 15 minutes.
For the caramelized apples: Organise all the necessary ingredients.
Peel the Granny Smith apples.
Cut them in half and remove the cores.
Cut the apple halves in half to obtain quarters.
Melt the butter in a non-stick frying pan.
When the butter starts melting, add the cassonade.
Let caramelize until you obtain a light caramel.
Arrange the apple quarters in the pan.
Sprinkle with vanilla sugar. Let the apples caramelize over very low heat to make sure the apples don't disintegrate.
Flip the apples to cook them evenly on all sides.
You can cover the pan with a lid to steam cook the apples for a more tender result.
For the apple paste tube insert: Organise all the necessary ingredients.
In a bowl, tip the yellow pectin powder and castor sugar.
Combine with a whisk. This step is very important: the yellow pectin and castor sugar should be combined together before adding the fruit purée to avoid any lumps.
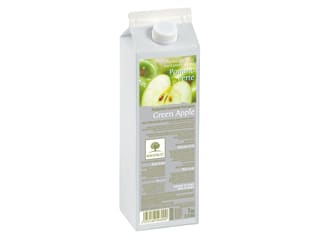
Heat the Granny Smith apple purée in a saucepan.
Heat the preparation to 40°C. The use of an infrared thermometer (or digital thermometer) will facilitate the operation.
When the purée reaches 40°C, add the yellow pectin and castor sugar mixture.
Combine with a whisk. Cook the preparation until it reaches 106°C (76 degrees Brix).
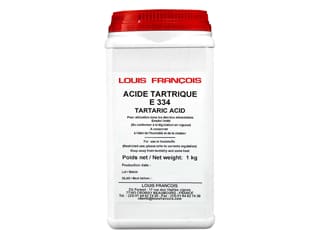
Dilute the tartaric acid in 1.5 grams of water, then add to the preparation.
When the consistency of the purée starts to jellify, transfer into a piping bag.
Using a sheet of polyethylene or acetate, create a tube shape with a diameter of 2 or 2.5cm. Stick both sides with adhesive tape.
Put some tape on one end to seal it. Pour the hot apple purée in the tube. Fill the tube completely, making sure there are no air bubbles. Reserve the remaining purée.
Place in the freezer...
... arranging it in a stable, vertical position.
Place a sheet of cling film on a baking sheet.
With the remaining apple purée, pipe small drops and set aside to cool. At this stage, the apple paste is still warm and easy to work with.
The spiced biscuit is nearly ready.
When cooked, remove the biscuit from the oven.
Flip the baking mat onto a sheet of greaseproof paper.
Gently remove the baking mat by lifting while the biscuit is still warm. If the biscuit is no longer hot, you'll need to refrigerate or freeze it for a few minutes before removing the mat. Set aside.
For the Granny Smith apple mousse: Organise all the necessary ingredients.
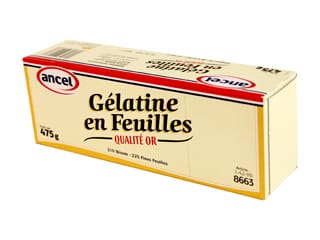
Soak the gelatine sheets in cold water.
Pour the Granny Smith apple purée in a saucepan...
... then add the castor sugar and heat the preparation.
When the gelatine sheets are soft, drain to extract as much water as possible.
Add the gelatine to the hot apple purée.
Combine with a whisk until the gelatine has dissolved completely. Remove from the heat, then let cool at room temperature. (Do not refrigerate!)
When the apple purée is nearly cold, but not completely jellified, whip the whipping cream to obtain a whipped cream.
Add the whipped cream to the cold apple purée.
Combine gently with a rubber spatula...
... until homogeneous, without lumps.
In a non-stick yule log mould, place a polyethylene sheet cut to the right dimensions.
Preferably, cut the polyethylene sheet with an extra 1cm on each side.
Pipe the apple mousse in the yule log tin. There is no need to use a nozzle, simply cut the end of the bag to a diameter of about 2 cm.
Using a palette knife, spread the mousse evenly at the bottom and create a volcano shape, so that the mousse goes all the way up the rim. This will ensure a finish with a neat pattern, especially when cutting slices.
Arrange the caramelized apple quarters over the mousse, in a row.
Pipe a thick lace of apple mousse over the apple quarters.
Remove the fruit paste tube from the freezer. It should now have an opaque aspect. It will go back to a translucent state while defrosting.
Cut the tape and unroll the acetate sheet to remove the tube gently.
Place the apple paste tube in the centre of the log.
Fill the rest of the mould with apple mousse.
Even the surface with a spatula.
Cut the spiced biscuit into a rectangle, to the exact dimensions of the yule log mould.
Place it on top of the apple mousse. Press gently to make it stick to the mousse. Place in the freezer. This operation should be performed quickly to avoid the tube from defrosting while assembling the cake.
For the chocolate decorations: Organise all the necessary ingredients.
Melt the dark chocolate over a bain-marie. Use any dark chocolate of your choice. I selected the Ocoa dark chocolate couverture with 70% cocoa content.
Melt the chocolate until it reaches 40°C. The use of a laser thermometer will facilitate the operation.
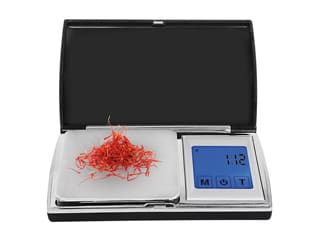
Then stir the chocolate until the temperature goes down to 35°C. Add the Mycryo cocoa butter (1% of the total weight of chocolate used, i.e. 2 grams of cocoa butter). I recommend using a digital kitchen scale for optimal accuracy. For reference, the measuring spoon supplied contains 10 grams.
Combine with a spatula until the cocoa butter is completely melted.
Continue stirring, until the temperature goes down to 31°C. The chocolate is now tempered and ready to use.
Pour the chocolate in the star-shaped cavities of a silicone mould.
When all the cavities are filled...
...even the surface with a spatula. Gently tap the sides of the mould to knock out any air bubbles.
Even the surface again. Let the chocolate crystallize at room temperature. This should only take a few minutes.
For the green icing (make the day before): Organise all the necessary ingredients.
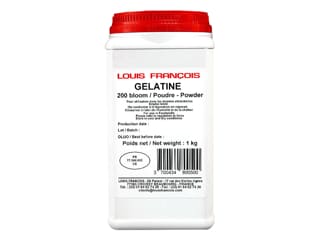
Rehydrate the powder gelatine by adding water (120g). Reserve.
In a saucepan, place the glucose syrup. If you find it too thick, you can melt it in the microwave for a few seconds.
Add the water (150g)...
... and castor sugar.
Stir with a spatula to incorporate all ingredients.
Heat the preparation to a temperature of 103°C. Basically, the temperature is reached shortly after the preparation comes to a boil.
Remove from the heat and add the condensed milk. Combine well.
In a mixing bowl, pour the hot preparation over the white chocolate pistoles.
Add the rehydrated gelatine.
Using a hand blender, mix until homogeneous. Make sure not to incorporate air in the preparation.
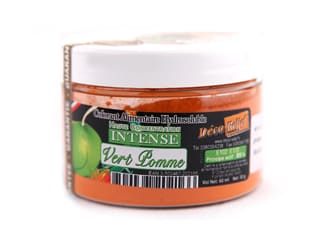
Add the green colouring powder with the tip of a knife.
The powder has a rust colour, but it will turn green when in contact with a moist preparation.
Mix until the colouring powder is dissolved...
... and incorporated completely...
... and the preparation has an apple green colour. The colour should be identical to a Granny Smith apple. Gradually add more colouring until you get the desired shade, but always start with a small amount.
By now, the chocolate stars should be set. They are ready to be released from the mould. Gently fold the silicone sheet to detach each star. The chocolate stars are very thin and can break easily. Proceed with care!
One by one...
... place the stars on a sheet of greaseproof paper...
... until all of them have been removed from the mould.
Apply some gold colouring spray on half of the chocolate stars.
With the other half, spray some silver colouring.
At this stage, the log should be frozen. It is now time to remove it from the mould and proceed to the finish. Take the frozen log out of the freezer.
Gently remove from the mould. To facilitate this operation, slide the blade of a knife along the edges.
Remove from the mould and onto a cooling rack.
Gently remove the acetate sheet by lifting.
Thanks to the acetate, the surface of the log should be perfectly smooth.
Get the green icing prepared the day before, and mix it to get a smooth consistency. Preferably, the icing should have a temperature of 28°C.
Pour the icing in one stroke, from one end of the log to the other, making sure to coat the whole surface...
... to create an even layer of icing. By coming into contact with the frozen log, the icing will set immediately.
If you have some icing left over and the layer is not regular, repeat the operation.
Refrigerate the log to let it defrost slowly.
For the decorated tips: Roll out the white sugarpaste icing to a thickness of 2mm.
Using a snowflake cutter...
... create two shapes.
With a knife, cut the bottom of each snowflake to create a flat base.
Set aside at room temperature.
Take the fruit paste drops out of the fridge...
... and coat them with granulated sugar.
Remove the sugar excess and set aside.
This operation should be done just before serving.
Cut the log in half for serving.
Gently lift each half with a cranked spatula...
... and place on a rectangular cake board. This operation is very delicate!
Using decorating tweezers, arrange the fruit paste drops on the surface of the logs. Arrange them on the top preferably, otherwise they might fall off.
On top of each drop, arrange a chocolate star, alternating between the gold and silver ones.
Stick a white snowflake on each end with green icing.
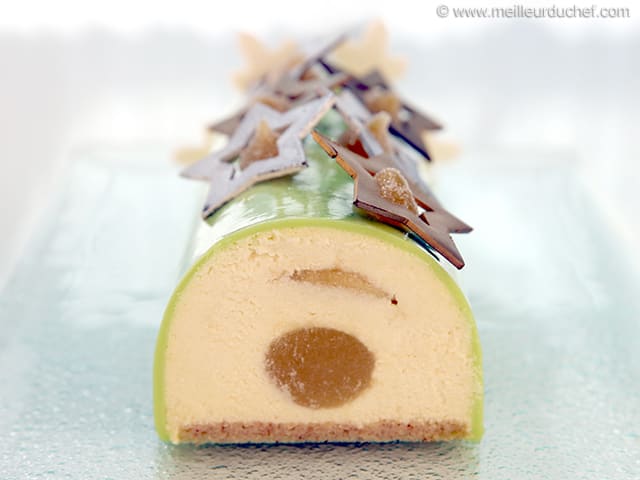
On the cross-section of the log, we should clearly see the tube of apple paste, which went back to the perfect colour and consistency after defrosting. At the bottom, the spiced biscuit, and the caramelized apples on top.
Enjoy this delicious dessert and have a sweet Christmas!
Please login to post a review