You can always send us your messages, comments or suggestions.
In one click, store and find all your favourite recipes.
Add this recipe >Did you know? The Christmas yule log seems to originate from a Nordic tradition. Yule is the name of the old Winter Solstice festivals in Scandinavia, and people used to burn a log as a celebration.
Before starting this Pear and Chocolate Mini Yule Logs recipe, make sure you have organised all the necessary ingredients.
Roll out the rich shortcrust pastry to a thickness of 4 mm. Vanilla or hazelnut rich shortcrust pastry will be a great base for this recipe.
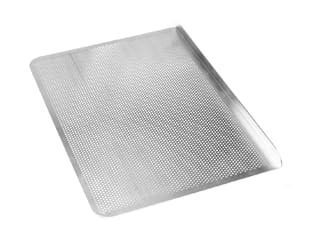
Using the Mozaïk Finger rounded oval tartlet rings, cut the pastry bases from the rolled out dough. Arrange the oval pastry bases on a Silpat baking mat, placed on top of a Silichef XL perforated baking sheet...
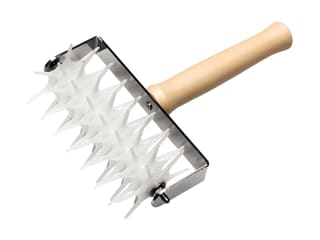
... and prick the pastry with a roller docker to prevent it from puffing up while baking. If you wish, you can prick the pastry prior to cutting the oval shapes.
Bake at 170°C (gas 3) for 20 minutes.
When cooked, remove the pastry from the oven and leave to cool.
Cut a PVC texture chocolate sheet into 3 strips, to the same height as the oval rings (2 cm).
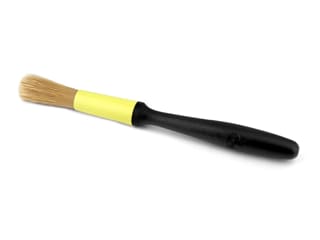
Using a dry brush, apply some iridescent gold colouring powder...
... on the strips of PVC plastic.
Melt some dark couverture chocolate and temper it, preferably using Mycryo cocoa butter. This tempering technique using Mycryo cocoa butter is the easiest and most efficient method for tempering chocolate at home. Pour the chocolate over the plastic strips.
Using a cranked metallic spatula, spread the chocolate to a thickness of 2 mm.
Lift the strips and place them on a clean sheet of greaseproof paper to obtain neat edges.
Let the chocolate crystallize in a cool room. Do not place the chocolate in the fridge, simply let it set at room temperature.
For the chocolate mousse: Organise all the necessary ingredients.
Beat the cold whipping cream to obtain a whipped cream. The whipping cream should be very cold and contain between 30 and 35% fat.
In a saucepan, heat the water and castor sugar.
Strain the pears, then cut them into dices. Place the pear dices on paper towel in order to absorb as much moisture as possible.
At this stage, the whipped cream should be ready. Stop the mixer and reserve in the fridge.
When the sugar starts boiling, check the temperature with a probe or laser thermometer. The sugar should reach a temperature of 121°C.
Place the eggs in the stand mixer recipient. Place the recipient in the stand mixer.
Gradually add the cooked sugar to the eggs, pouring it against the inner side of the bowl. Set the mixer on low speed.
Once the sugar is fully incorporated, increase the mixing speed and beat until cooled down completely. This preparation is called 'pâte à bombe'.
Melt the chocolate over a bain-marie or in the microwave, working in periods of 20 seconds to make sure the chocolate does not burn.
Add the melted chocolate to the pâte à bombe...
... and incorporate the mixture to the whipped cream. The preparation should be homogeneous. Fold gently with a rubber spatula.
Pour the chocolate preparation into a piping bag. The use of a nozzle is not necessary.
Place the oval pastry bases on a baking sheet...
... and arrange the oval rings around the pastry bases.
Fill the rings with the chocolate preparation up to 3/4.
With a small palette knife, create a volcano shape, so that the crème goes all the way up the rim. This will get rid of any air bubbles.
Add a few pear cubes and bury them in the chocolate mousse.
Fill with chocolate mousse up to the top.
Even the surface with a cranked metallic spatula. The surface should be perfectly flat. It doesn't matter if you can see pear dices on the surface.
Repeat the same operation for all the tartlet rings.
Cover the surface with cling film...
... and place in the freezer. Up to this stage, this recipe can be prepared the day before or several days ahead.
By now, the chocolate should be set on the strips of PVC texture sheets.
Quickly detach one plastic strip from the chocolate. This should be really easy. One side of the strip should have one side with a metallic golden effect.
The result is a chocolate strip with a waved pattern and metallic golden effect.
Repeat the same operation with the remaining chocolate strips.
Cut the strips to the same length as the tartlet rings. These chocolate strips will be used as decorations for the sides of each tartlet. Set aside.
For the chocolate mirror icing: Organise all the necessary ingredients.
In a saucepan, heat the water and castor sugar.
Soak the gelatine sheets in cold water.
Sift the cocoa powder over a separate bowl.
Use a whisk for this operation to ensure the cocoa powder is lump free.
When the syrup starts boiling and the sugar is completely melted, remove the pan from the heat...
... and pour over the sifted cocoa powder.
Combine with a whisk...
... until homogeneous.
Bring the whipping cream to a boil.
When the gelatin is soft, squeeze with your hands to drain as much water as possible.
Add the gelatin to the hot whipping cream.
Whisk well until the gelatine is completely dissolved.
Add the hot cream to the chocolate preparation.
Combine well with a whisk. The icing is now ready. Make sure you don't use the icing before the temperature goes down to 30 or 35°C.
When the chocolate mousse ovals are frozen, remove from the freezer. The oval logs should be thoroughly frozen, down to the centre (-18°C).
Gently remove the logs from the rings. For an easier operation, rub the sides of the stainless steel ring with the palm of your hand to reheat then slightly, then slide the ring upwards. The ring should come off easily.
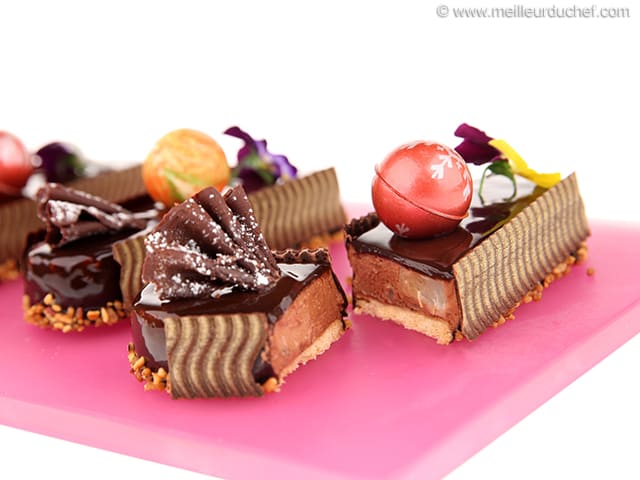
You can clearly see the biscuit at the bottom and the chocolate and pear filling on top. At this stage, the oval logs should still be frozen.
Arrange the mini logs on a rack, placed on top of a deep tray. Pour the icing (at 35°C) over the oval logs in one stroke, from one end to the other.
Make sure the sides are coated as well. The chocolate mousse should not be visible.
Repeat the operation with the rest of the logs...
... and so on, until all 8 logs are coated with icing.
The logs should still be frozen at this stage. Reserve in the fridge. By coming into contact with the frozen logs, the icing will set immediately.
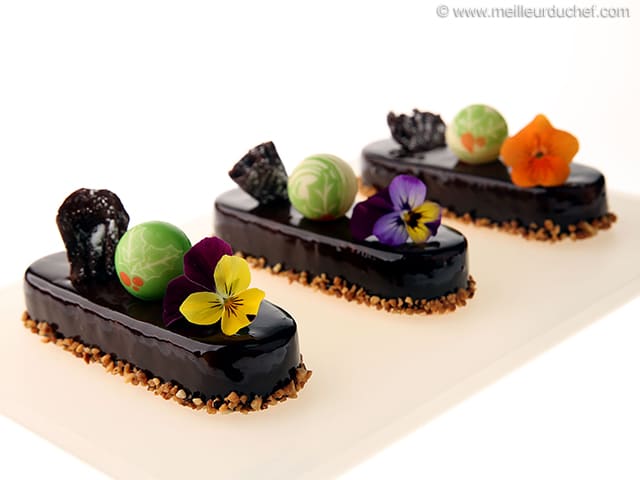
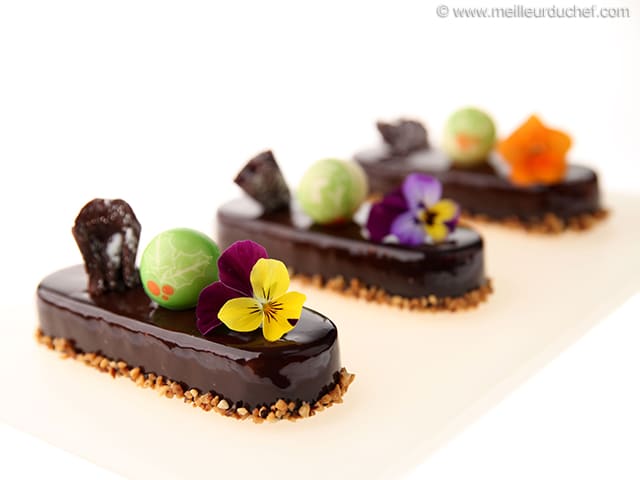
To decorate the mini logs, I used 3D chocolate balls.
Gently remove the chocolate balls from the cavities. They are ready-to-use, packaged in a plastic mould that is easy to carry.
Use the pattern of your choice for the chocolate balls. Count one chocolate ball per mini log.
When the icing has set, lift one log gently with a cranked spatula...
... and place it in the centre of a baking sheet. Spread some caramelized hazelnuts on the edges of the sheet. Leave the log on the spatula so you can easily lift it later.
Stick some chopped hazelnuts all around the base of the cake to create a trim to a height of 1 or 2 cm.
Make sure the chopped hazelnuts adhere well, all around the oval log.
Gently lift the mini log with the hazelnut base trim...
... and arrange it on a Mealplak serving plate.
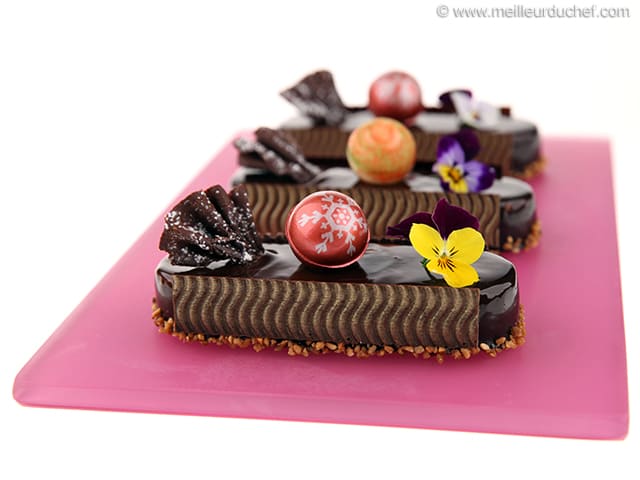
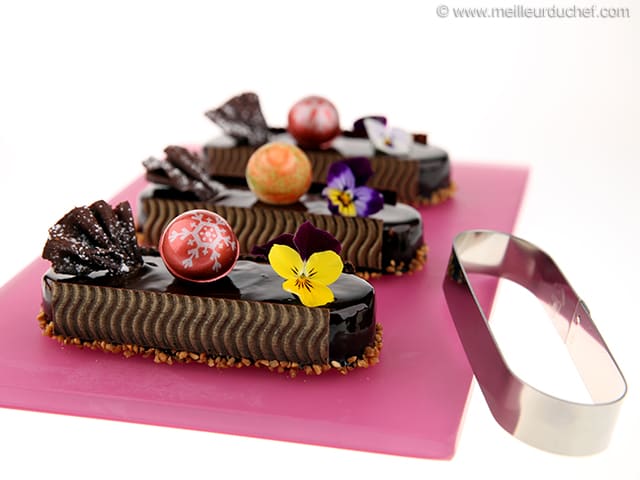
Place a chocolate strip on both sides of the mini log. They should adhere easily on the mirror icing.
Repeat the same operation with all the mini logs.
Using a brush, remove any hazelnut bits that might have come away from the base to get a perfect result on the serving plate.
Using decorating tweezers, place one edible flower (I used pansies for this recipe) on the mini log...
... then arrange a printed 3D chocolate ball, as well as a fan-shaped chocolate decoration. You can find them in stores...
... or make them yourself if you wish. Repeat the operation for all the mini logs. Reserve in the fridge to allow the logs to defrost slowly (at least one hour).
Please login to post a review