You can always send us your messages, comments or suggestions.
In one click, store and find all your favourite recipes.
Add this recipe >Before starting this Blueberry Mousse Entremets recipe, make sure you have organised the necessary ingredients for the pistachio Dacquoise.
For the pistachio Dacquoise: Pour the egg whites in the stand mixer recipient...
... the castor sugar...
... and the light brown sugar. Add both sugars before staring to whisk.
Beat on medium speed for a few seconds...
... then increase to high speed until you obtain a stiff meringue.
In the meantime, sift the almond flour (which has been slightly roasted beforehand), ground pistachios and castor sugar.
Sift on top of a sheet of greaseproof paper. This operation is important to get rid of clusters of sugar or almond powder.
If some bits of pistachios remain...
... they will be added later to the sifted preparation. This will add a nice crunchy effect.
Pour the sifted mix into a thin stream over the meringue and combine with a rubber spatula...
... folding gently with rotating, vertical motions. Make sure the preparation does not collapse!
When ready, the meringue must be used immediately, hence the need to sift the powders while beating the egg whites. When the Dacquoise preparation is ready...
... transfer into a piping bag fitted with a plain nozzle (diameter 9-10mm).
Pipe into a spiral in 16-cm tart rings...
... starting from the centre towards the edge of the ring.
Make a total of 4 Dacquoise biscuits...
... and bake in a fan-assisted oven at 200°C (gas 6) for 12 to 15 minutes.
When cooked, remove from the oven...
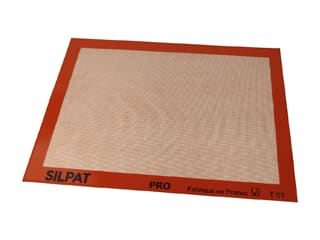
... and slide a knife blade along the ring to release the biscuit. Make sure you do not damage the silicone mat with the knife.
Leave to cool. For an easier operation, remove the biscuits from the rings while they are still hot or warm.
For the coconut nougatine: Organise all the necessary ingredients.
Place the butter in a saucepan.
Add the castor sugar and glucose syrup.
Heat the ingredients to 40°C.
Add the pectin NH, combined to 5 grams of castor sugar, to the hot preparation. It is essential to combine the pectin NH with sugar first, in order to avoid a grainy consistency. The temperature is also essential to get the right consistency, 40°C being the ideal temperature.
Cook over medium heat for a few minutes, stirring constantly until it starts to thicken.
When the consistency is similar to a white roux (base for béchamel)...
... and large bubbles form...
... add the grated coconut.
Continue cooking over medium heat, stirring constantly.
Pour the preparation onto a sheet of greaseproof paper.
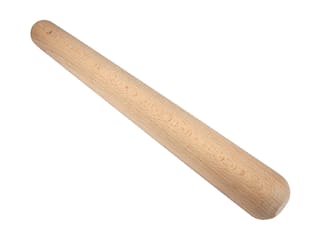
Cover with another sheet of greaseproof paper and spread with a rolling pin.
The nougatine should be thin and regular.
Remove the top sheet of greaseproof paper...
... and transfer onto a baking sheet and bake at 170°C (gas 3) for 10 minutes...
... until golden. Set aside.
For the raspberry marmalade: Organise all the necessary ingredients.
Combine the pectin NH with a little castor sugar. As mentioned earlier, this will avoid lumps due to a poor incorporation of the pectin.
Pour the raspberry purée in a saucepan.
Add the remaining castor sugar...
... and heat up the preparation between 40 and 60°C.
Using a whisk, add the pectin mix and incorporate. Bring to a boil.
Stretch some cling film on 4 tart rings (the ones you used for the Dacquoise biscuit). Do this operation on one side of the ring only.
Pour the marmalade into the 4 rings.
Using a small palette knife, spread into a thin layer.
This operation should be done immediately, before the jelly sets.
Place the 4 rings in the freezer.
For the blueberry mousse: Organise all the necessary ingredients.
Start by making the meringue. Tip the water in a saucepan.
Add the castor sugar.
Cook the sugar until it reaches 121°C. I recommend using a digital thermometer.
In the meantime, pour the egg whites in the stand mixer recipient.
Add the castor sugar. This will facilitate the incorporation of the cooked sugar.
The sugar is ready when the bubbles have a diameter of about 1cm before bursting.
Start whisking the egg whites and pour the cooked sugar in a thin stream.
Beat until cooled down completely. We will use the meringue later to make the blueberry mousse.
Tip the Mycryo cocoa butter in a mixing bowl.
Add the white chocolate chips. Set aside.
Dilute the crème pâtissière powder and castor sugar with about 20% of the blueberry purée.
Combine well with a whisk until homogeneous.
Heat up the remaining blueberry purée in a saucepan.
When the purée is hot, add the crème pâtissière mix.
Cook over medium heat until thick, stirring with a whisk. The operation is exactly the same as for a normal pastry cream, except here milk has been replaced with fruit purée.
When the cream is thick, pour over the cocoa butter and white chocolate.
Combine well with a whisk until the ingredients are completely incorporated.
Leave to cool at room temperature down to 25°C.
Place the meringue into a mixing bowl...
... and add the whipped cream. Combine with a whisk.
Transfer a small amount of meringue cream into the blueberry preparation at 25°C...
... and combine vigorously with a whisk. This will facilitate the incorporation of all the ingredients.
Add the blueberry preparation to the remaining meringue.
Whisk vigorously, making sure the preparation does not collapse.
Assembling the cake: Scoop the blueberry mousse into a piping bag fitted with a plain nozzle (diameter 7-8mm).
Place a Dacquoise biscuit at the bottom of a mousse ring (diameter 18cm).
Pipe a lace of blueberry mousse along the edge of the ring.
To remove any air bubbles, spread with a palette knife and create a volcano shape.
Cover the biscuit with a layer of blueberry mousse.
Arrange pieces of coconut nougatine over the blueberry mousse, which will give a nice crunchy effect to the cake.
Pipe a second layer of blueberry mousse.
Gently detach the raspberry jelly from the ring and place it on top of the mousse.
Gently press on the jelly disc from the centre outwards to remove any air bubbles in the mousse underneath.
Finish with a layer of blueberry mousse on top.
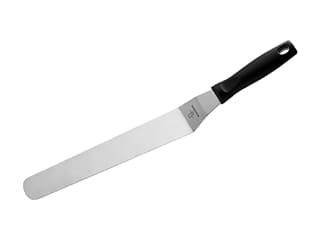
Even the surface with a cranked spatula.
Reserve in the freezer. This will allow you to release the cake from the mousse ring easily, simply by heating the sides with a blowtorch.
Up to this stage, this recipe can be made in advance and stored in the freezer. On the day, simply remove the cake from the freezer and continue with the steps below.
For the purple icing: (make the day before) Organise all the necessary ingredients.
Pour the water and sugar in a saucepan...
... then add the glucose syrup. (It can be melted in the microwave for a few seconds to give it a liquid consistency that will be easier to work.)
Heat the ingredients until the temperature reaches 103°C. This should be very quick. Basically, the temperature is right when you reach a gentle boil.
Pour the sweetened condensed milk in a separate recipient.
When the preparation reaches 103°C, pour over the condensed milk and combine.
Add the white chocolate chips...
... and combine well with a whisk until melted.
Add the rehydrated gelatine last. It will melt quickly in the warm icing.
Add some purple colouring powder with the tip of a knife...
... and combine well with a whisk. Colouring powders are very effective. I recommend working with very small quantities, then adjust the colour by adding more powder if needed.
Combine vigorously with a whisk. You will obtain the final colour after whisking for a few minutes.
Refrigerate overnight.
The following day, process the purple icing, using a hand blender (such as Bamix). You should use a deep, narrow recipient.
This will allow to remove any air bubbles and obtain a smooth consistency.
Place the cake on a cooling rack. The grid should be placed on a deep baking tray in order to collect the icing excess.
Pour the icing in a thin stream on the surface of the centre, starting from the centre outwards.
The sides should be coated with an even layer of icing.
Let the excess icing drip down in the tray.
You may use a palette knife to even the surface.
Make sure this operation is very gentle, as you don't want to go through the icing.
Place in the fridge for the icing to set and for the cake to defrost slowly.
For the sugarpaste decorations: Work the sugarpaste with your fingers to soften it.
Add some iridescent pink colouring powder with the tip of a knife.
Work with the fingertips until homogeneous.
Using a rolling pin, roll out the paste to a thickness of 2mm.
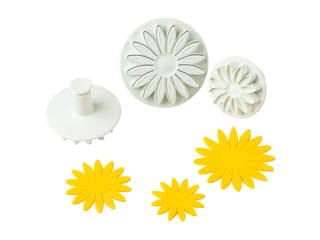
Create sugarpaste flowers. Use any flower-shaped cookie cutter for this operation. We used a sunflower pattern for this recipe. Press firmly on the cutter...
... then gently detach the flower.
Repeat this operation with the remaining sugarpaste until you have 2 flowers per cake.
Discard the sugarpaste excess...
... and place the flowers in the cavities of a half-sphere mould to give them a curved shape.
Leave to set at room temperature for 24 hours. (These flower decorations can be prepared ahead.)
For the finish: Prepare all the elements for the decoration.
Martin Diez provides more details and explanations about the preparation of chocolate decorations at the end of the video.
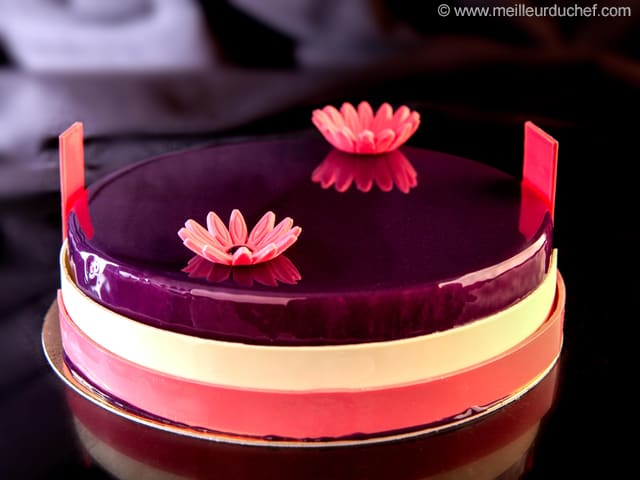
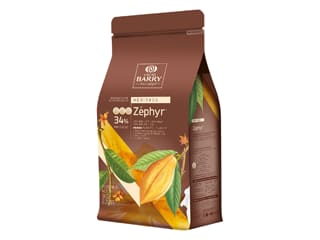
Place a white chocolate strip, made with tempered Zéphyr white chocolate and crystallized on a mousse ring. Beforehand, spread the chocolate on a strip of acetate for an easier handling and release.
Repeat the same operation to make a second chocolate strip, using white chocolate coloured in pink. Make the pink chocolate circle overlap a little the white circle. Take extra precautions, as these chocolate circles are very fragile.
Arrange two sugarpaste flowers on the surface of the cake.
In the centre of each flower, pipe a drop of purple icing, using a decorating bag.
Reserve this fabulous cake in the fridge until ready to serve.
Please login to post a review