You can always send us your messages, comments or suggestions.
In one click, store and find all your favourite recipes.
Add this recipe >To make these Chocolate and Mascarpone Tartlets, start by preparing all the ingredients for the hazelnut rich shortcrust pastry.
Hazelnut rich shortcrust pastry: Place the softened butter in the stand mixer bowl.
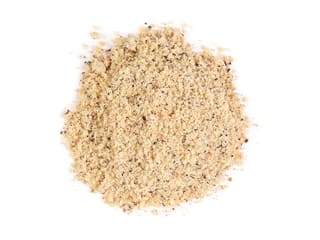
Add the hazelnut powder...
...and the icing sugar.
Mix all these ingredients together using the flat beater.
When you get a smooth consistency...
...add the egg yolks while mixing.
Add the flour...
...as well as the baking powder and fine salt.
Knead everything until homogeneous.
Transfer the dough onto the work surface using a scraper...
...and knead quickly with your hand until homogeneous.
Transfer onto a baking sheet lined with a sheet of cling film...
...and cover the dough with a second sheet of cling film.
Flatten the dough with the palm of your hand to a thin layer for optimal cooling.
Place the hazelnut rich shortcrust pastry in the fridge. You will end up with less dough that what's shown in the photo (I made a bigger batch for photo shoot purposes.)
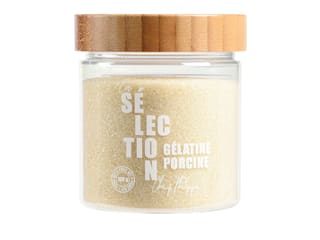
Mascarpone cream (make the day before): Prepare all the ingredients. Mix the powdered gelatin with the hydration water (tap water or mineral water), and leave to hydrate for 15 minutes.
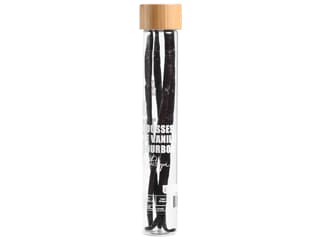
Split the vanilla pod in half...
...and scrape the seeds out with the tip of a knife.
Pour the eggs and vanilla seeds into a mixing bowl.
Add the granulated sugar...
...and whisk the mixture until pale.
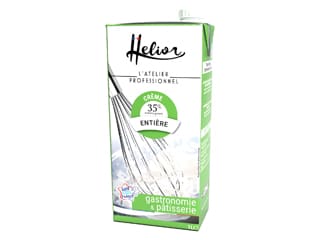
Then add the cold liquid heavy cream...
...and the mascarpone...
...and mix everything together with a whisk. It's normal for the mascarpone to be hard to dissolve into the mixture and form lumps.
You can use an immersion blender to achieve a smooth, homogeneous mixture.
Add the hydrated and melted gelatin from the microwave, continuing to blend to incorporate it well.
Pour everything into a saucepan...
...and add the split vanilla bean.
Heat this mixture on low heat, stirring constantly with a spatula...
...until the temperature reaches about 50°C (maximum 60°C).
When the mixture reaches this temperature, transfer the mascarpone cream into a mixing bowl.
Remove the vanilla bean...
...and blend again to obtain a perfectly smooth and homogeneous mixture.
Cover the surface with plastic wrap...
...and let cool at room temperature before refrigerating. This mascarpone cream must be made the day before.
Take half of the hazelnut shortcrust pastry and place it on a sheet of parchment paper.
Cover this dough with a second sheet of parchment paper...
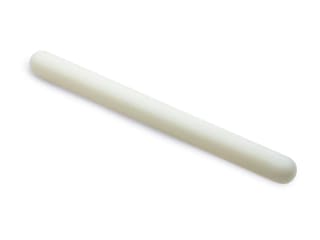
...and roll it out with a rolling pin.
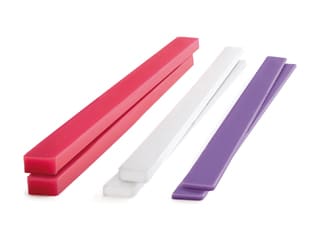
You can use leveling strips to achieve an even 3 mm thickness.
The hazelnut shortcrust pastry should be rolled out both lengthwise and widthwise. Slide the dough, still between the two sheets of parchment paper, onto a baking sheet and refrigerate for 1 hour. Make sure to prepare two identical sheets of dough.
Once the dough has firmed up, take the first sheet out of the fridge...
...and remove the top sheet of parchment paper.
Flip everything over onto a silicone mat...
...and remove the second sheet of parchment paper. The goal is to free the dough from both sheets.
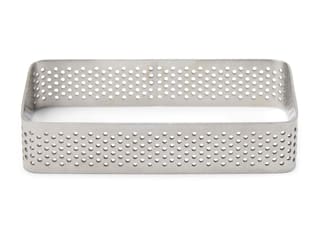
Grease the insides of 9 rectangular perforated stainless steel tart frames of 10 x 6 cm with a release spray before use. Then place them on the hazelnut shortcrust pastry.
Use these stainless steel frames as cutters to cut out the tartlet bases.
Cover everything with plastic wrap and refrigerate for 1 hour.
Once the dough is well chilled, remove the tray from the fridge and prepare a second tray lined with a silicone mat.
Carefully remove the rectangular pastry bases from the frames and place them on the silicone mat.
The pastry bases should stay fixed to the stainless steel frames, as shown in the photo.
Take the second sheet of hazelnut shortcrust pastry, chilled, and peel off the top sheet of parchment paper.
Using a knife and a ruler, cut strips of dough about 2 cm wide.
Place a sheet of parchment paper on top of these strips and flip everything over...
...and remove the bottom parchment paper that is now on top, taking care not to damage the strips.
Line the sides of the tart frames with the strips of dough...
...to form a border around the tart bases. Make sure the vertical dough strip adheres to the horizontal base to create a seal.
Trim off the excess dough with a paring knife, cutting from the inside out.
This is what the result should look like. Refrigerate for at least 1 hour or up to 24 hours, or freeze the tartlet shells.
Mascarpone cream (continued): The next day, remove the cream from the fridge and remove the cling film.
Transfer the preparation into the mixer bowl...
...and whip with the whisk attachment.
Whip until the cream gains texture. You should achieve a consistency softer than whipped cream.
Transfer the mascarpone cream into a piping bag. Using a nozzle is not necessary.
Place the spring silicone mold on a baking sheet...
...and pipe the mascarpone cream into all 9 cavities.
Tap the mold on the work surface to ensure the preparation fills all the gaps and to get rid of air bubbles.
Smooth the surface using a cranked spatula.
Cover the entire mould with cling film and freeze.
Once the tartlet shells are firm, bake them in a fan-assisted oven, preheated to 170°C, for 12 to 14 minutes. This baking time may vary depending on the oven.
If the tart shells are frozen, bake them directly and add a further 2 to 3 minutes (until golden).
When cooked, remove the tart shells from the oven and release them carefully from the mould while they are still warm. Set aside.
Crunchy praliné: Prepare all the ingredients.
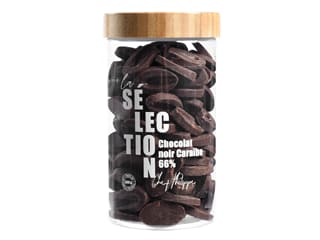
Place the milk chocolate in a mixing bowl...
...along with the dark chocolate.
Melt these chocolates in the microwave in 20 to 30-second intervals, stirring every time to prevent burning.
Add the hazelnut praline and mix thoroughly.
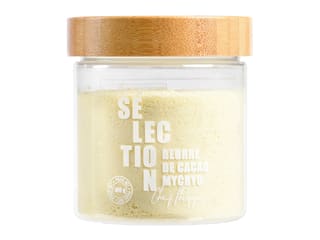
Melt the Mycryo cocoa butter (or cocoa butter pistoles) in a saucepan.
Add the melted cocoa butter to the chocolate and praline preparation.
Add the caramelized hazelnut chunks...
...and mix all ingredients with a spatula until homogeneous.
Transfer the preparation into a piping bag (no nozzle).
Chocolate crémeux (make the day before): Gather all the ingredients.
Pour the milk and whipping cream into a saucepan and bring to a boil.
In a separate bowl, combine the egg yolks and sugar...
...and blanch these two ingredients with a whisk until pale.
When the milk and cream come to a boil, remove the saucepan from the heat...
...and pour the boiling preparation over the blanched mix, whisking continuously.
Then transfer the mixture back into the saucepan...
...and cook like a custard, until the texture is thick enough to coat the back of a spoon, making sure the temperature doesn't exceed 82°C.
Once the cream is cooked, pour it slowly over the previously melted chocolate, stirring with a spatula from the centre to create an emulsion.
Mix with a hand blender until perfectly smooth and homogeneous.
Cover the chocolate crémeux with cling film in direct contact with the surface and refrigerate. This should be prepared several hours in advance, or the day before.
Assembly: The next day, remove the chocolate crémeux from the fridge and take off the plastic wrap. The mixture should be set but still easy to work.
Transfer the crémeux into a piping bag (no nozzle needed)...
...and tie a knot at the end of the bag.
Fill the bottom of the cooled tartlet shells with the crunchy praline. Pipe the preparation in a zigzag pattern...
...as shown in the photo.
Spread the crunchy praliné evenly with a mini cranked spatula to a thickness of 3 to 4mm.
Then fill the cavity with the chocolate crémeux up to the top...
...and smooth the surface with a cranked spatula...
...using the edges of the tartlets to level the preparation. The hazelnut rich shortcrust pastry is delicate, so proceed gently.
This is what the result should look like. Refrigerate the tartlets.
Finish: When the tartlet shells have cooled, remove the silicone mold from the freezer and release the mascarpone cream rectangles.
Arrange them on a baking sheet lined with cling film. The mascarpone cream must be frozen solid for optimal release. Put the baking sheet on a turntable to facilitate the icing operation.
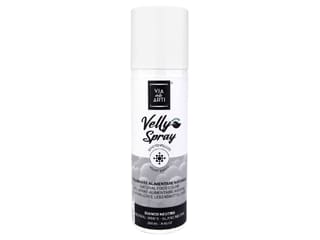
Shake the white velvet spray vigorously until you can hear the ball inside the bottle.
Spray the white velvet colouring from a distance of 30/40 cm over all sides of the frozen rectangles...
...to create a uniform velvet layer that isn't too thick.
Carefully lift the velvet rectangles with a cranked spatula and arrange them on top of each tartlet, making sure they are perfectly centered...
...as shown in the photo.
Pour the caramelized hazelnut chunks into a container...
...and add gold powder colouring.
Mix with a teaspoon.
This is what the result should look like.
Put on a glove to avoid damaging the hazelnut pieces, and carefully arrange them around the white velvet rectangles to create a border.
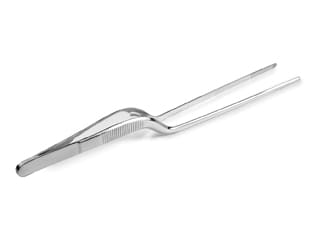
Finish the decoration with a precision tweezers if needed.
The chocolate and mascarpone tartlets are now ready to serve. Refrigerate for 1 to 2 hours until completely defrosted. Enjoy!
Please login to post a review