You can always send us your messages, comments or suggestions.
In one click, store and find all your favourite recipes.
Add this recipe >Before starting this Chocolate Mendiant Christmas Tree recipe, temper the milk chocolate. Place 2/3 of the chocolate (666g) in a bowl.
For the tempered milk chocolate: Melt the chocolate in the microwave and stir every 30 seconds to make sure the chocolate doesn't burn.
The chocolate should start to melt...
... continue melting while stirring regularly until the chocolate is completely melted. At this stage, the chocolate has a temperature of 38°C (temperature should not exceed 45°C). The use of a laser thermometer is recommended for this operation.
The chocolate should be melted and homogeneous.
At this stage it has reached a temperature of 45°C.
Add the rest of the milk chocolate (333g). This tempering technique is called the seeding method: 2/3 chocolate melted in the microwave and 1/3 raw chocolate.
Combine with a rubber spatula to incorporate the hard chocolate quickly into the melted mass.
The temperature should reduce really quickly. Depending on the quantity of chocolate, you might need to reheat it a little. At this stage the chocolate is 32°C.
I used a heat gun on the surface of the chocolate to speed up the melting process. You can also reheat the chocolate from underneath the bowl.
Combine the chocolate again until all the pistoles have melted.
Reheat the chocolate again if needed.
Now we want the melted chocolate to cool down to 28°C (+/- 1°C).
At this stage the chocolate is 32.6°C.
Two possibilities to cool down the chocolate: Dip the recipient into a bigger bowl filled with water at room temperature, or transfer the melted chocolate into a cooler recipient. Make sure the chocolate doesn't cool down too abruptly.
At this stage the chocolate is 30.3°C.
Repeat the operation and transfer the melted chocolate into a mixing bowl...
... and combine carefully while the temperature continues to cool down.
The temperature at this stage is 28°C, the perfect temperature for milk chocolate. The chocolate should be kept at this temperature during the whole recipe. Continue using a heat gun or place the bowl over a bain-marie at 28°C, or pour the chocolate in a tempering machine.
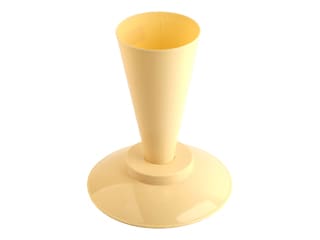
Place the main cone of the Christmas tree chocolate mould on a base (I used a piping bag holder) to keep it in a vertical position.
Pour the tempered milk chocolate in the mould and fill completely.
Tap the sides of the mould with a spatula to get rid of air bubbles.
Tip the mould over the bowl to empty the chocolate...
... and tap the sides of the mould with the spatula so the chocolate excess drips off.
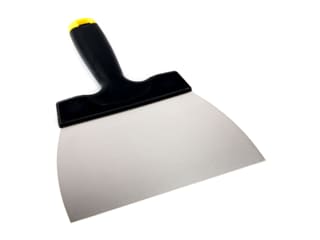
Scrape the surface of the mould with a chocolate spatula to create perfectly neat edges.
Place the cone on a sheet of greaseproof paper and leave to crystallize. Set aside in a cool room (17/18°C) until crystallized completely. Do not refrigerate.
Maintain the rest of the milk chocolate at 28°C (using a heat gun, bain-marie or dipping machine).
Transfer the milk chocolate into a piping bag.
Get the trays with the star-shaped rings that will serve as the tiers on the Christmas tree. This Christmas tree is composed of tiers made of milk or dark chocolate. I marked some trays with a black dot: these will be used for milk chocolate.
Take the trays marked with a black spot and fill the cavities with milk chocolate. Fill up to the top, but not excessively.
Tap the tray with the spatula to even the chocolate.
Repeat the operation with all cavities...
... and tap on the mould to even the chocolate.
Continue to fill the cavities...
... making sure to tap on the mould every time.
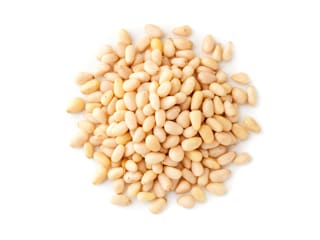
For the fillings: Place all necessary ingredients and the trays with milk chocolate on your worktop surface. Arrange the dried fruits over the milk chocolate shapes. The combinations are endless, use any nuts or dried fruits of your choice. I used caramelized pine nuts, crispy raspberry cubes, green pistachios, candied lemon or orange slices... Make sure you arrange the fillings while the chocolate hasn't crystallized yet.
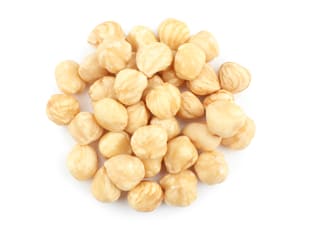
I started with caramelized hazelnuts. (Mix hazelnuts with a small amount of caramel straight in the saucepan, then transfer on a sheet of greaseproof paper and leave to cool.)
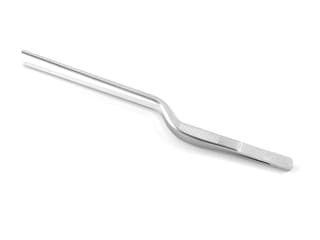
Arrange the pistachios with decorating tweezers for a neater operation.
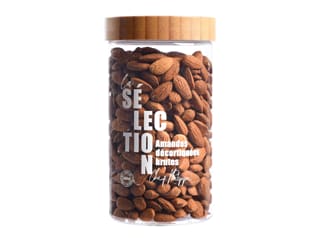
Arrange caramelized pine nuts, cranberries, crispy raspberry cubes, chopped raw almonds, raisins, etc.
Make sure the whole surface of the chocolate is coated with dried fruits. Repeat the operation with all the milk chocolate shapes.
Unless you're keeping the chocolate in a bain-marie or dipping machine, reheat it with a heat gun until the temperature goes back up to 28°C again.
Take the cone mould. The chocolate should be crystallized by now. The chocolate should crystallize quickly if the tempering was done correctly. Place the cone upside down again in the piping bag holder.
Pour the chocolate inside the mould and fill up completely.
Tap on the sides of the mould with the spatula to get rid of air bubbles.
Flip the mould over the chocolate bowl to empty the cavity...
... and tap the sides of the mould with the spatula to let the excess chocolate drip off.
Scrape the surface of the mould with the spatula to create neat edges.
Place the mould back on the greaseproof paper and leave to crystallize in a cool room. Two layers of chocolate will ensure the cone is solid enough to support the tiers. I would recommend three layers for a bigger piece.
For the tempered dark chocolate: The method is the same as the milk chocolate, except for the temperatures. Melt 2/3 of the dark chocolate (333g) in the microwave and stir every 30 seconds...
... until the preparation reaches 50°C.
Add the rest of the chocolate (166g) to the melted chocolate at 50°C.
Combine with the rubber spatula until all the pistoles have melted and the temperature has cooled down.
At this stage the chocolate has dropped to 35°C.
When the chocolate is completely melted, continue stirring until the chocolate goes down to 31°C. If this operation takes too long, you can transfer the melted chocolate into a separate mixing bowl. Make sure the temperature doesn't go below 31°C.
Combine again with the spatula.
The chocolate is now 31°C. The chocolate should be kept at this temperature during the whole recipe (using a heat gun, bain-marie or dipping machine).
Transfer the tempered dark chocolate into a piping bag...
... and fill the rest of the cavities. Make sure the chocolate is not over overflowing from the cavity.
Tap the tray with the spatula to even the chocolate.
Repeat until all the cavities are filled.
Pipe dark chocolate into the small star cavities.
Tap the mould with the spatula to even the surface and knock out any air bubbles.
Fill the large ring with dark chocolate. This will serve as the base of the tree.
Don't forget to tap the mould with the spatula.
For the fillings: Arrange any dried fruits or nuts of your choice over the dark chocolate shapes...
... following the same method as for the milk chocolate. This operation should be done quickly since the chocolate won't take long to crystallize. It is essential to arrange the toppings before the chocolate has crystallized.
The toppings should create a harmonious effect with various textures and colours.
Finish with small pieces of gold leaf (they should stick easily to the chocolate or dried fruits). Set aside to crystallize in a cool room, between 17 and 18°C.
Releasing the cone from the mould: When crystallized, all the chocolate elements should be glossy. If you see white marks on the chocolate, it means that something went wrong during the tempering process. Press gently on the cone while twisting the mould with your fingers...
... and the chocolate cone should come off really easily. Lift the mould upwards carefully. The milk chocolate cone is ready. The grooves on the surface of the cone will serve as a base for each tier.
Release the chocolate rings carefully from the mould, starting with the biggest one. Hold the mould with one hand, and twist it carefully with the other hand to detach the ring. This operation is quite delicate!
When you feel the chocolate is coming off the mould, flip the chocolate ring carefully over a sheet of greaseproof paper and remove the mould.
Flip the chocolate ring to reveal the final result.
Arrange the ring carefully around the chocolate cone. The large ring will fit on the base of the cone.
Repeat the operation with the second biggest ring (milk chocolate)...
... and release from the mould onto the greaseproof paper sheet.
Arrange the milk chocolate ring around the cone.
Repeat with the third biggest ring (dark chocolate)...
... and arrange it carefully around the cone.
And so on...
... making sure to follow the right size order, alternating between dark chocolate and milk chocolate tiers.
Release the two small star shapes.
Pipe a drop of melted chocolate on one half...
... and assemble both parts together to create a star.
Use a cooling spray to seal.
Using a brush, apply some bronze iridescent colouring powder on both sides of the star. Remove any powder excess with the brush.
This is what the result should be like.
Pipe a drop of melted chocolate on the top of the chocolate cone...
... and arrange the bronze star.
Use the cooling spray to seal the star on the tree.
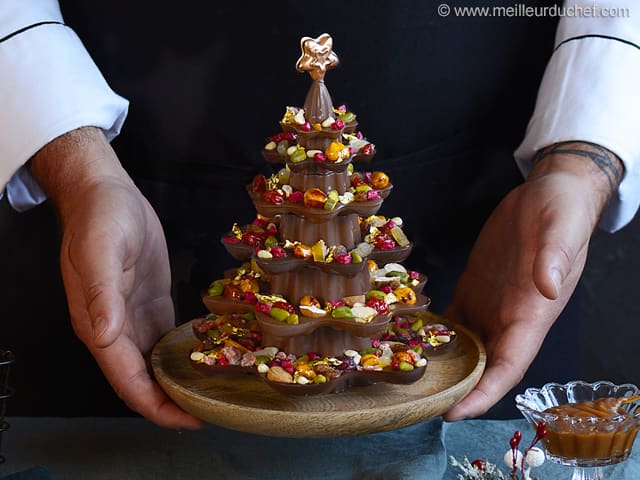
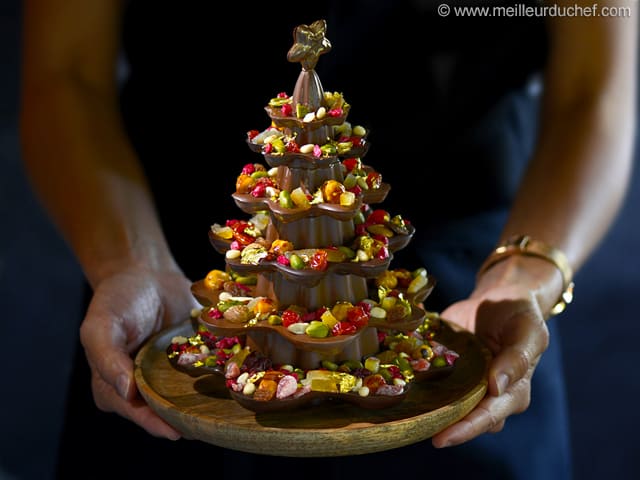
The chocolate Christmas tree is now finished.
Here is a close-up of the chocolate tiers.
This chocolate mendiant Christmas tree is as delicious as it looks! You can store the chocolate tree in a cool room at 17 or 18°C. Enjoy!
Please login to post a review