You can always send us your messages, comments or suggestions.
In one click, store and find all your favourite recipes.
Add this recipe >Before starting this Chocolate Santa Claus, organise the necessary ingredients for tempering the dark chocolate. You will need a base of 150 grams of Ocoa dark chocolate.
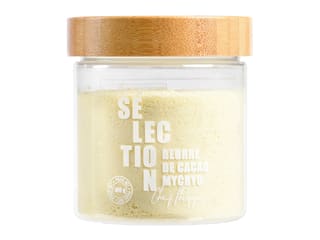
5 Christmas figures: We're going to temper the dark chocolate following the tempering technique with Mycryo cocoa butter.
The dark chocolate is tempered.
Transfer into a piping bag. The use of a nozzle is not necessary. At this stage, the chocolate should be at a temperature of 31°C.
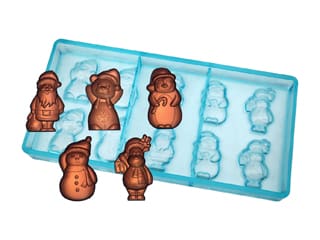
Place the chocolate mould with 5 Christmas shapes on your worktop surface. It is essential that the mould is perfectly clean, with no traces of dried water drops that might create marks on the surface of the chocolate. Wipe each cavity inside the mould with a clean cloth.
Pipe the dark chocolate inside the cavities.
Tap the mould on your kitchen worktop to even the surface of the chocolate.
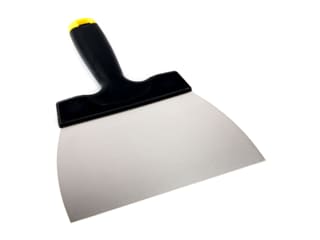
Tap the sides of the mould with the chocolate spatula to knock out any air bubbles.
Place the mould on the workbench and scraper the surface with the chocolate spatula to get rid of the chocolate excess.
This is what the result should look like at this stage. Leave to crystallize in a cool room (18°C). The longer the crystallization, the easier it will be to release the chocolates from the mould.
Hollow Santa shapes: Organise all ingredients.
We're going to temper the Zephyr white chocolate following the tempering technique with Mycryo cocoa butter.
Transfer the tempered chocolate into a piping bag (no nozzle).
Place the Santa with sack chocolate mould on your workbench and fill the appropriate cavities with white chocolate (hat fur, pompom, sleeves, belt and eyes).
For neat results, use a tooth pick to fill the cavities.
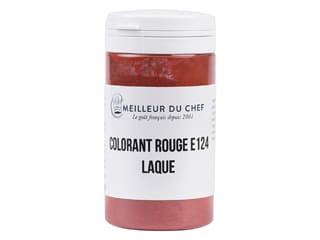
Temper the leftover white chocolate again and add the red colouring powder. Make sure you're using a colouring powder that is soluble in fat. The amount varies according to the desired colour intensity. Add the colouring when the white chocolate is at a temperature of 45°C.
Combine carefully until homogeneous. The temperature will slowly reduce.
The result should be as shown in the photo. Continue the tempering process.
Transfer the red chocolate into a decorating bag prepared with greaseproof paper. A decorating bag will ensure a more precise work than a piping bag.
Close the decorating bag to avoid leaks.
Fill all appropriate cavities with red chocolate, starting with the hat.
Use a toothpick to spread the chocolate in the cavity. Don't worry if the red chocolate leaks a little over the white chocolate areas.
Fill the coat cavity with red chocolate...
... and use the toothpick to spread.
Pipe the red chocolate in the glove cavities.
Don't hesitate to flip the mould to check as you go.
In the meantime, we're going to work with the Santa in sledge chocolate mould as well.
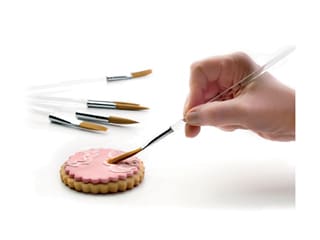
Using a decorating brush, apply gold colouring powder over the sledge.
If the colouring goes beyong the sledge cavity, simply wipe with your finger.
The result should be as shown in the photo.
The chocolate in the Santa with sack mould should be crystallized at this stage.
Flip the mould to check.
Temper some more red-coloured white chocolate if you don't have enough left. Fill the trousers cavity with red chocolate.
Use a tooth pick for neat results.
The result should be as shown in the photo.
In the Santa in sledge mould, pipe the red chocolate in the hat cavity...
... and use the tooth pick.
Fill the coat and gloves...
... and flip the mould to check.
5 Christmas figures (continued): The dark chocolate has crystallized.
Flip the mould on a sheet of greaseproof paper and tap gently on the workbench to release the chocolates.
The chocolates should be glossy.
If the tempering was done correctly, the chocolate shapes should come off easily.
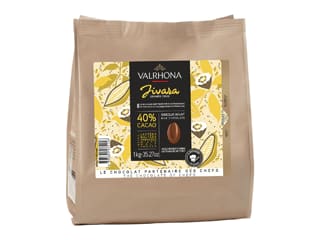
We're going to temper the Jivara milk chocolate following the tempering technique with Mycryo cocoa butter.
Transfer the tempered milk chocolate into a piping bag (no nozzle).
Place the same mould on the workbench...
... and fill all cavities with milk chocolate.
Tap the mould gently on the workbench to even the surface.
The result should be as shown in the photo.
Tap the sides of the mould with a chocolate spatula to knock out any air bubbles.
Scrape the surface with a spatula. Leave to crystallize in a cool room.
Hollow Santa shapes (continued): The chocolate in the Santa with sack mould is almost crystallized.
Pipe the milk chocolate in the sack cavity...
... and spread with the tooth pick.
The result should be as shown in the photo.
Take the Santa in sledge mould and fill the gold-coated sledge cavity with milk chocolate.
Spread the milk chocolate with a tooth pick.
Fill the rest of the sledge cavity with milk chocolate...
... as shown in the photo.
Make sure to fill the whole cavity without leaving any gaps.
Flip the mould to check.
Here is a close up view of the result.
Leave to crystallize.
Temper dark chocolate again, using the Mycryo cocoa butter technique.
Transfer the tempered dark chocolate into a piping bag...
... and fill all cavities of the Santa with sack mould with dark chocolate...
... as shown on the photo.
Tap the mould with a chocolate spatula to knock out any air bubbles.
Flip the mould over the bowl to get rid of the chocolate excess and tap with the spatula.
Scrape the surface with a spatula to get rid of the chocolate excess.
Place the mould flat on the workbench and scrape the surface again.
This is what the result should look like at this stage. The dark chocolate has now covered all coloured areas.
Repeat the operation with the Santa in sledge mould and fill all cavities with dark chocolate.
Tap the mould with a chocolate spatula to knock out any air bubbles.
Flip the mould over the bowl to get rid of the chocolate excess and tap with the spatula.
Scrape the surface with a spatula to get rid of the chocolate excess.
Place the mould flat on a sheet of greaseproof paper and leave to crystallize.
The result should be as shown in the photo.
Repeat the operation with the other mould. Place flat on baking parchment and leave to crystallize.
Releasing the chocolates: I recommend waiting until the next day for this operation. Twist the Santa in sledge mould gently with both hands to release the chocolates.
If the tempering was done correctly, the chocolate shapes should come off easily.
The result should be as shown in the photo.
Repeat the operation to release the 5 Christmas shapes.
The result should be as shown in the photo.
Close up on the chocolates.
Repeat the operation with the Sana with sack mould and twist gently to release the chocolates.
The chocolates should come off easily.
This is what the result should look like at this stage.
Place some melted dark chocolate in a decorating bag...
... and pipe a drop of dark chocolate on the eyes.
Assembling the hollow Santa chocolates: Place both chocolate halves over a hot baking sheet (heated in the oven at 60°C beforehand).
Assemble the two Santa halves together. Melt the rim of both shapes for an easier assembly operation.
Repeat the operation with the Santa in sledge shapes...
... and melt the rim to assemble both halves.
Our Christmas Santa chocolates are now ready. Leave to crystallize. Enjoy!
Please login to post a review