You can always send us your messages, comments or suggestions.
In one click, store and find all your favourite recipes.
Add this recipe >Before starting this Christmas Crescent Moon Cake recipe, organise the necessary ingredients for the hazelnut streusel biscuit.
For the hazelnut streusel biscuit: Place the soft butter in the stand mixer recipient.
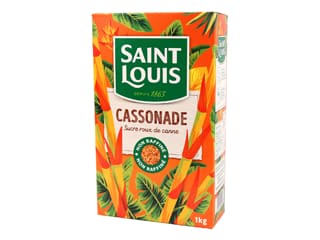
Add the cassonade sugar...
... the chopped roasted hazelnuts...
... ground hazelnuts...
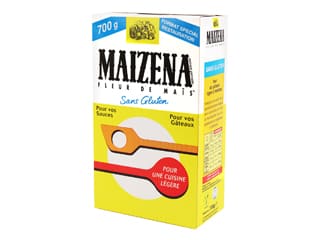
... and the corn starch.
Fit the mixer with the flat beater and mix the ingredients.
You should obtain a crumble consistency within a few minutes.
Make sure you do not overwork the ingredients.
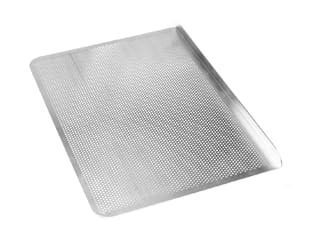
Place the Silikomart Moonlight silicone mould on a Silichef XL perforated baking sheet.
Place the biscuit preparation at the bottom of the mould...
... and spread to an even layer.
The result should look like this.
Press the surface of the crumble with the back of a spoon to make it compact...
... as shown in the photo.
Bake in a fan-assisted oven preheated at 160°C (gas 3) for 25 to 30 minutes.
When cooked, remove from the oven...
... and leave to cool.
When the streusel biscuit has cooled down, gently flip the mould over a baking sheet then make the biscuit slide down slowly.
The biscuit base is now ready. It is very delicate, so make sure you take extra precautions to release it from the mould.
For the morello cherry confit: Organise all the necessary ingredients.
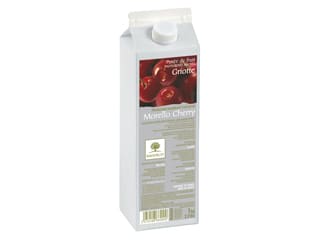
Pour the morello cherry purée in a saucepan...
... and add 3/4 of the castor sugar. Combine carefully.
Combine the pectin NH coating and the remaining castor sugar.
When the cherry purée gets to 60°C, add the pectin and sugar mix...
... and bring to a boil while stirring. Maintain the preparation on a boil for one minute. Increase the temperature slowly to get the perfect consistency.
Remove from the heat after one minute.
Mix with a Bamix hand blender until smooth and homogeneous.
Pour the preparation at the bottom of the Moonlight silicone mould (washed and dried after the hazelnut biscuit).
Set the cherry confit aside until set...
... then freeze until hard.
For the morello cherry mousse: Pour the morello cherry purée and sugar in a saucepan.
Heat the preparation up to 60°C.
Add the soft gelatine sheets (softened in cold water and strained beforehand). Combine carefully and leave to cool at room temperature.
In the stand mixer bowl, beat the whipping cream until you obtain a whipped cream. The whipping cream should be cold and with a 35% fat content.
When the cherry purée is at room temperature, transfer into a mixing bowl...
... and check the temperature, which shouldn't exceed 30°C. The use of a laser thermometer is recommended for this operation.
Add 1/3 of the whipped cream to the cherry purée...
... and combine with a whisk.
Add the rest of the whipped cream...
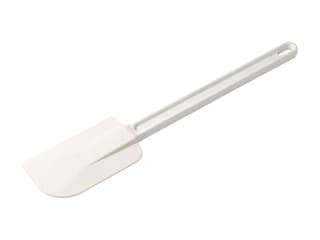
... and fold gently, using a rubber spatula...
... until smooth and homogeneous.
Transfer the mousse into a piping bag. The use of a nozzle is not necessary.
Fill the mould halfway up with cherry mousse.
Spread to an even layer. Cover with cling film and store in the freezer.
For the chocolate mousse: Organise all the necessary ingredients.
Pour the milk in a saucepan...
... and heat up to 60°C.
In the meantime, melt the chocolate in the microwave.
Pour the warm milk over the melted chocolate...
... and combine with the rubber spatula...
... until homogeneous.
Beat the whipping cream until you obtain a whipped cream.
Add 1/3 of the whipped cream to the chocolate preparation...
... and combine with a whisk.
Add the rest of the whipped cream...
... and fold carefully until homogeneous.
Transfer the chocolate mousse into a piping bag. The use of a nozzle is not necessary.
Take the cake out of the freezer...
... and remove the cling film.
Pipe the chocolate mousse inside the mould, making sure to leave a gap of 0.5cm on top.
Place the hazelnut streusel biscuit over the chocolate mousse...
... and bury gently so it gets to the same level as the rim of the mould.
Even the chocolate that might come out of the mould with a spatula...
... and cover the mould with cling film. Place in the freezer.
For the red mirror icing (make the day before): Prepare the ingredients.
Pour the glucose syrup into a saucepan. (If needed, melt in the microwave beforehand for a few seconds to give it a liquid consistency that will be easier to work.)
Add the water...
... and the castor sugar, then bring to a boil.
Hydrate the gelatine with 36 grams of water. Set aside until completely rehydrated.
Place the white chocolate pistoles in a mixing bowl.
When the syrup reaches 103°C (basically immediately after it reaches a boil), remove from the heat.
Pour the unsweetened condensed milk in the boiling syrup.
Add the rehydrated gelatine...
... and combine with a whisk.
Pour the hot preparation over the white chocolate pistoles...
... and let the chocolate melt without stirring for a minute, then whisk until homogeneous.
Mix with a Bamix hand blender.
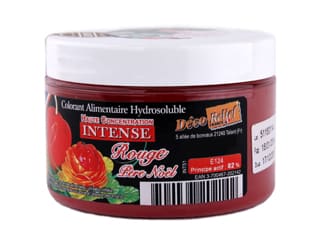
Add the red colouring powder...
... and mix until completely dissolved. The amount of colouring varies, depending on the desired colour intensity.
Transfer the icing into a food tray so it cools down faster.
Cover the surface of the icing with cling film and refrigerate.
The next day, take the tray out of the fridge and remove the cling film.
Transfer the icing into a bowl and reheat in the microwave until the temperature reaches 30°C.
Transfer into a deep, narrow recipient (jug).
Check the temperature.
Remove the cake from the freezer and remove the cling film...
... then gently pull the sides of the mould apart.
Flip the cake on a cooling rack, placed on top of a deep tray...
... and gently slide the mould upwards. Remove the mould very carefully to ensure the crescent tip don't break.
Icing the cake: The icing should be at 30°C. Mix with hand blender to remove air bubbles.
Pour the icing in one stroke, starting from one end and pouring it slowly sideways towards the other to make sure the surface and sides are coated, without any gaps.
Set aside. The icing should set within a few minutes in contact with the frozen cake.
Using a cranked spatula, lift the frozen cake and slide it sideways to get rid of any icing strings at the base...
... and arrange it carefully on a serving plate.
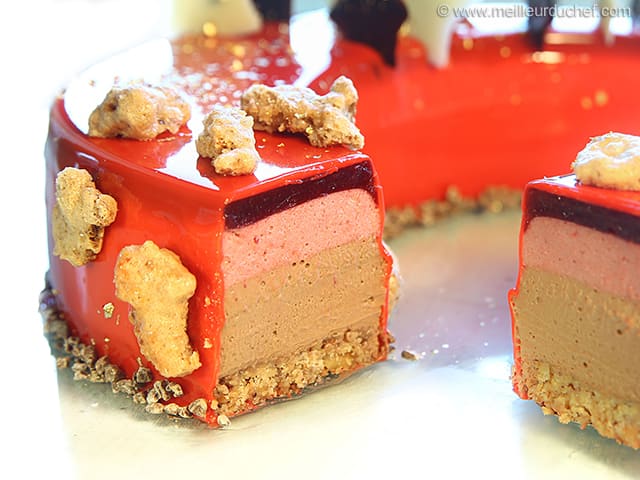
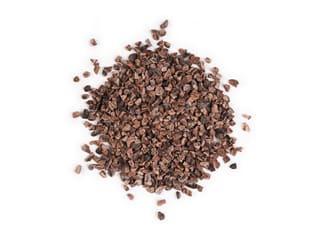
All around the base of the cake, stick a collar of cocoa nibs (coated with gold colouring powder beforehand). This is a nice finish and a great way to hide imperfections at the base of the cake. Arrange the cocoa nibs to a height of 2 or 3mm then remove the excess with a brush.
The result should look like this.
Arrange crunchy hazelnut nuggets over one end of the crescent moon cake.
Detach the dark chocolate stars...
... and the white chocolate stars.
Prick the stars over the surface of the cake. Make sure the cake has started to defrost a little so the stars don't break in contact with the frozen cake.
The result should look like this. Bury the stars over the opposite end of the crescent cake.
Sprinkle the surface of the cake with gold flakes for a festive finish.
The Christmas crescent moon cake is ready. Let defrost in the fridge for at least 4 hours before serving.
Please login to post a review