You can always send us your messages, comments or suggestions.
In one click, store and find all your favourite recipes.
Add this recipe >Before starting this Black Forest Yule Log recipe, organise the necessary ingredients for the chocolate biscuit.
For the chocolate biscuit: Place the whole eggs and egg yolks in the stand mixer recipient. Add the castor sugar.
Place the recipient over a bain-marie and whisk the preparation until the temperature reaches 40/45°C.
Place the recipient in the mixer and beat until cooled down completely.
The preparation should double in volume and become pale. When the preparation is at room temperature, stop the mixer and set aside.
In a separate bowl, beat the egg whites with 40 grams of sugar. Beat until you get a smooth meringue.
Add the meringue to the fluffy preparation. Combine gently.
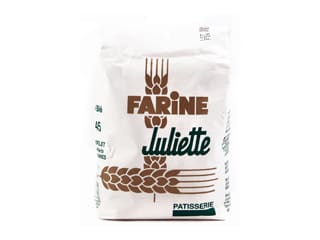
Add the flour and cocoa powder, sifted together beforehand. Combine gently with a rubber spatula.
Pour the preparation into a Flexipan Entremets baking mat 33.5 x 33.5cm and spread the surface...
... to create an even layer.
Bake in a fan-assisted oven, preheated at 180°C (gas 4)...
... for 12 to 15 minutes. When cooked, remove from the oven and leave to cool. Don't release the biscuit from the mould before the preparation cools down.
For the vanilla Chantilly cream: Organise all the necessary ingredients.
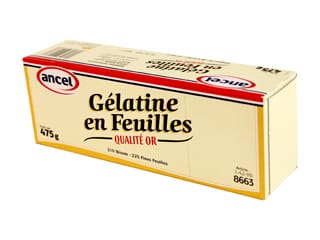
Soak the gelatine sheets in a big bowl filled with cold water.
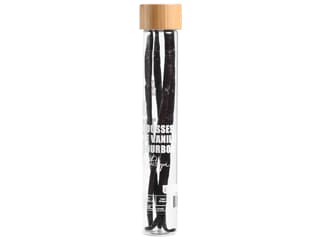
Scrape the seeds out of the vanilla pod and place them in the stand mixer recipient, along with 300 grams of whipping cream.
Add the castor sugar.
Whisk until you obtain a firm Chantilly cream.
Heat the whipping cream.
Squeeze the gelatine sheets to strain...
... and add to the hot cream.
Mix until the gelatine is completely dissolved.
Add the cream to the whipped cream.
Combine well with a whisk.
Place the Chantilly in a piping bag. The use of a nozzle is not necessary.
Place the wood relief mat inside the Silikomart silicone yule mould, with the printed side facing up.
Fill the bottom of the mould with Chantilly cream.
Cover the whole surface of the mat with Chantilly cream.
Spread the cream over the printed mat with a small cranked spatula to get rid of air bubbles.
Use a spoon to shape the Chantilly cream into a round cavity.
Cover with cling film and store in the freezer.
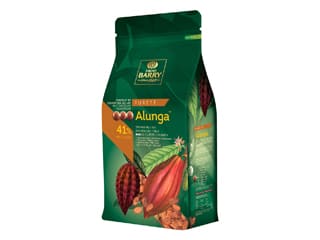
For the chocolate mousse: Heat the milk and pour it over the chocolate pistoles.
Combine well with a whisk. If the chocolate is not totally melted, melt for a few seconds in the microwave.
Beat the whipping cream until you obtain a whipped cream. The whipping cream should contain 35% fat.
Add 1/3 of the whipped cream to the melted chocolate.
Combine vigorously with a whisk.
Add the rest of the whipped cream...
... and fold gently with a rubber spatula. Transfer the preparation into a piping bag.
Assembling the log: Carefully release the chocolate biscuit from the silicone mat onto a sheet of greaseproof paper. Make sure the biscuit has cooled down before this operation. Cut a strip to a length of 25 cm and a width of 4 cm.
Remove the log from the freezer and fill the cavity with chocolate mousse to a thickness of 2 cm.
Place the biscuit strip over the mousse and bury it gently.
Combine the sugar syrup, water and kirsch, then steep the biscuit with a pastry brush.
Cover with another layer of chocolate mousse and a bury a few brandied cherries (pitted).
Cut a second strip to a length of 25 cm and a width of 7 cm. Arrange it over the chocolate mousse. Brush the surface of the biscuit with syrup.
Pipe a thin layer of chocolate mousse...
... over the biscuit.
Even the surface with a spatula. Combine the praline paste, melted milk chocolate, crispy flakes and oil.
Spread this crunchy praline preparation over the chocolate mousse...
... using two tablespoons for an easier operation.
Cut a last strip of biscuit to a width of 8 cm...
... and a length of 25 cm.
Place the biscuit strip over the crunchy praline preparation, with the cooked side facing up.
Press on the biscuit to make it stick.
Brush the surface of the biscuit with syrup.
Cover the mould with cling film and reserve in the freezer, at least overnight. Up to this stage, this recipe can be prepared in advance and stored in the freezer. Take the log out of the freezer on Christmas Eve and let it defrost in the fridge.
For the finish: Take the log out of the freezer. Remove the cling film.
Release the log from the mould onto a yule log cake board.
Gently remove the silicone relief mat.
IMPORTANT: Make sure the log is frozen when you detach the silicone mat. I recommend doing this operation straight after you take the log out of the freezer. Let defrost in the fridge between 4 and 6 hours.
You can decorate the log with any elements of your choice. If you want to reproduce the decorations shown in the photo, you will need to make small chocolate Christmas trees. You make these decorations ahead and store them in a cool place (not in the fridge though).
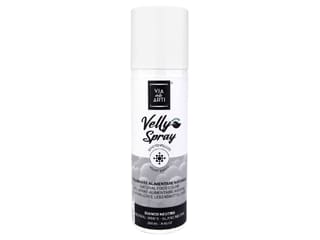
Make two decorated yule log tips then coat them with velvet pearl spray.
When the log has defrosted completely, take it out of the fridge and arrange a couple of Christmas trees on the surface (sprinkle with Codineige decorating sugar beforehand).
Arrange two small brandied cherries (with the stem still on) on the surface of the log.
Using small tongs, bury a few silver pearls in the Chantilly cream.
Apply gold colouring powder with a brush over the dark chocolate spirals.
Place the decorate yule log tips at both ends of the log...
... and finish with the 3D chocolate bowl with holly leaf pattern. Reserve in the fridge until ready to serve. Enjoy!
To ensure good results, the yule log should be frozen when you remove the printed relief mat.
Please login to post a review
I had a concern when I added the vanilla bean to the cold cream when mixing to peaks, that it wouldn't taste like vanilla as it'snot really infusing into the cream, and in the end my concern was true. Why not infuse the vanilla seeds and the pod in the cream that needs to be boiled and remove the pods before adding the gelatine?
That will be my next attempt for the recipe as I didn't taste vanilla at all woth the cold infusion.
But overall, it kept it's shape, texture was lovely, and everyone who had it loved that it wasn't too sweet!