You can always send us your messages, comments or suggestions.
In one click, store and find all your favourite recipes.
Add this recipe >Before starting this Chocolate Yule Log and Apricot Insert, organise all the necessary ingredients for the hazelnut Dacquoise biscuit. Quantities listed above will fill a Flexipan Entremets 33.5 x 33.5cm. The preparation excess can be stored in the freezer for several weeks.
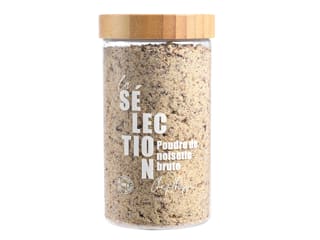
Sift the ground hazelnuts and icing sugar together...
... over a sheet of greaseproof paper.
Place the whole hazelnuts in a piping bag.
Fold the top of the bag and crush with a rolling pin.
Set aside.
Pour the egg whites in the stand mixer recipient. Add half of the castor sugar.
Beat the egg whites until foamy.
Add the rest of the sugar...
... and continue beating until stiff. Remove the whisk attachment.
Add the sifted icing sugar and ground hazelnuts in two batches.
Incorporate the first batch to the meringue with a rubber spatula.
Add the remaining sugar and hazelnut mix...
... and fold gently.
Pour the preparation into a Flexipan Entremets baking mat.
Spread with a cranked spatula into a regular layer.
Sprinkle chopped hazelnuts over the surface...
... and sprinkle a generous amount of icing sugar twice, 5 minutes apart.
Bake in a fan-assisted oven, preheated at 170°C (gas 3)...
... for 20 minutes. When cooked, remove from the oven and set aside to cool.
For the raspberry marmalade: Organise all the necessary ingredients.
Pour the Capfruit raspberry purée in a saucepan and place over medium heat.
Combine the pectin NH coating a little castor sugar (combine these two ingredients together beforehand to avoid lumps).
Add the castor sugar to the fruit purée. Combine gently.
Set the pectin NH and sugar mix aside.
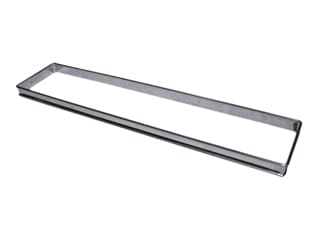
Stretch a sheet of cling film over a rectangular tart frame 35cm and stick it on the sides.
Place the rectangular frame (with the cling film facing down) on a baking sheet.
When the fruit purée starts boiling...
... add the pectin NH and sugar mix...
... and combine gently with a whisk until dissolved completely. Continue cooking for a few minutes.
At this stage, the fruit purée should be at a gentle boil. The pectin should start to kick in and the preparation should thicken.
This should take between 2 and 3 minutes. Pour the raspberry marmalade inside the rectangular frame...
... to a thickness of about 2mm. Spread over the whole surface to create an even layer. Make sure to proceed quickly, as the marmalade will set almost instantly. Place in the freezer.
For the apricot mousse: Organise all the necessary ingredients.
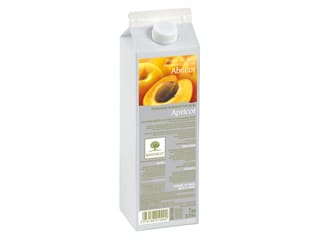
In a saucepan, heat the Capfruit apricot purée and the castor sugar. Bring to a boil.
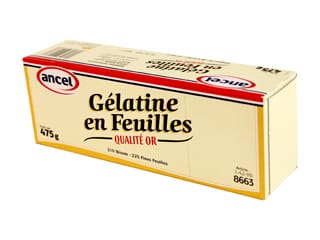
Steep the gelatine sheets in cold water.
Beat the whipping cream until you obtain a whipped cream. Refrigerate.
When the apricot purée starts boiling, remove from the heat.
Strain the gelatine sheets...
... and add to the apricot purée. Combine well.
Transfer into a large dish so it cools down quickly.
Do not refrigerate the fruit purée. When it is at room temperature, transfer into a mixing bowl.
Add 1/3 of the whipped cream. Combine well with a whisk...
... and add to remaining whipped cream...
... and fold gently with a rubber spatula.
Transfer the preparation into a piping bag (no nozzle required)...
... and fill the cavities of the yule log insert mould.
Cover with cling film and place in the freezer.
Cut a transfer sheet to the dimensions of the Silikomart yule log mould cavity.
Place the transfer sheet inside the cavity, with the printed side facing up.
Release the frozen apricot insert from the mould and store in the freezer.
Repeat the operation with the raspberry marmalade. It should be opaque while frozen.
Slide the blade of a knife between the marmalade rectangle and the frame, then detach carefully.
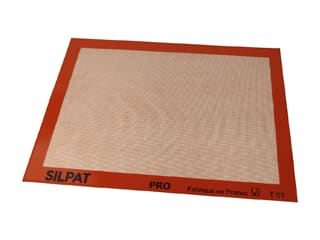
Place the marmalade rectangle on a Silpat baking mat. If the sides are turning dark red, this means the marmalade is starting to defrost. It won't take long to defrost completely, so it is important that you proceed quickly.
Wrap the apricot marmalade with the raspberry jelly. Cut a strip of marmalade for the insert base, then wrap the rest around the apricot insert. Return to the freezer.
For the chocolate mousse: Organise all the necessary ingredients.
In a saucepan, pour the sugar and 5 cl of water. Bring to a boil.
Crack the whole eggs in the stand mixer recipient.
When the boiling intensity starts reducing, check the temperature with a laser thermometer. When the temperature reaches 121°C, take the pan away from the heat.
Beat the whole eggs in the stand mixer, then reduce the speed and add the boiling sugar...
... then increase to maximum speed and continue beating until cooled down completely.
At this stage, the preparation should be pale and doubled in volume (this is called 'pâte à bombe'). Set aside.
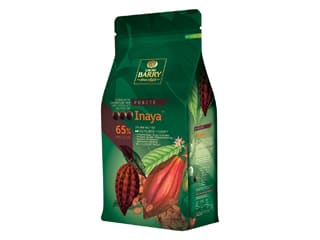
Melt the dark chocolate over a bain-marie...
... until no chunks remain. Remove the bowl from the bain-marie and set aside.
Beat the cold whipping cream to obtain a whipped cream. Refrigerate.
Add the melted chocolate to the pâte à bombe. The chocolate should not be hot; room temperature is best.
Combine gently with a rubber spatula...
... until homogeneous.
The consistency should be smooth and homogeneous, without any lumps or bits of chocolate.
Add the chocolate preparation to the cold whipped cream...
... and combine gently...
... until homogeneous.
Pour the chocolate mousse into a piping bag (no nozzle required)...
... and fill the bottom of the silicone mould.
Using a small palette knife, create a volcano shape, so that the cream goes all the way up the rim. This will get rid of any air bubbles.
Take the apricot insert with raspberry marmalade coating out of the freezer. Place it inside the mould, with the rounded side facing down.
Cover with the rest of the chocolate mousse.
Cut the hazelnut Joconde biscuit into a rectangle, to the dimensions of the mould.
Arrange the biscuit over the chocolate mousse (side with hazelnuts facing down).
Cover with cling film...
... and press on the biscuit so it sticks to the chocolate mousse. Place in the freezer.
When the log is frozen, take out of the freezer and remove the cling film.
Release the log from the mould onto a baking sheet. Carefully flip the log and detach the silicone mould. This operation should be very easy thanks to the flexible silicone material.
Remove the transfer sheet on the surface on the log. The pattern should now be printed on the log. This operation should be done while the log is very cold. If you're equipped with a freezer with boost function or a deep freezer (down to -30°C), use it to store your log. Transfer sheets are delicate to use and it is essential that your log is really cold to ensure good results. If the pattern didn't print well on the surface of the log, you can coat it with chocolate mirror icing or a coloured icing (no flavour) used for the blueberry entremets.
There's no need to add extra decorations on top of the festive pattern. Trims both ends of the log for a clean result. Store the log in the fridge to let it defrost slowly. This should take between 4 and 6 hours before serving.
Important: The use of transfer sheets is delicate and it is essential that your log is really cold to ensure good results.
If you're equipped with a freezer with boost function or a deep freezer (down to -30°C), use it to store your log.
Please login to post a review