You can always send us your messages, comments or suggestions.
In one click, store and find all your favourite recipes.
Add this recipe >Did you know? The Christmas yule log seems to originate from a Nordic tradition. Yule is the name of the old Winter Solstice festivals in Scandinavia, and people used to burn a log as a celebration.
Before starting this Chocolate and Caramel Yule Log recipe, organise all the necessary ingredients for the chocolate loaf cake. The quantities are given for 2 mini loaf cakes. It will be difficult to divide the quantities in half, but I'm sure chocolate lovers will be happy to enjoy the second cake on the side.
For the chocolate loaf cakes: Place the egg yolks and the whole eggs into a food processor.
Add the castor sugar...
... and the invert sugar (or trimoline).
Blanch the ingredients in the food processor.
In the meantime, melt the butter and chocolate couverture over very low heat.
When the the preparation is smooth...
... stop the food processor...
... and add the melted chocolate, which should be at a temperature of about 35°C. If the chocolate is too hot, let it cool down first before adding to the egg preparation.
Resume mixing for a few seconds.
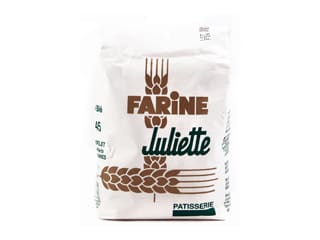
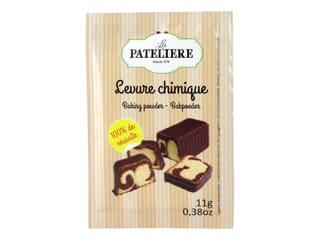
In the meantime, sift the flour and baking powder.
Add the fleur de sel to the sifted ingredients.
Remove the lid from the processor...
... and transfer the preparation in a mixing bowl. Using a rubber spatula, scrape the sides of the bowl to get as much preparation as possible.
Add the sifted ingredients and combine gently.
Using an oil spray, grease a mini loaf cake tin (23 x 4.5 x H 5cm).
Pour one quarter of the preparation into the mould.
Process a few hazelnuts and pistachios...
... into coarse chunks.
Arrange the hazelnuts and pistachios over the chocolate...
... together with the candied orange dices.
Using a teaspoon, gently bury the chunks inside the chocolate preparation.
Fill the mould with the chocolate preparation, up to 0.5cm from the top. Even the surface with a small cranked spatula.
Bake at 160°C (gas 3) for 30 minutes, preferably in a fan-assisted oven.
30 minutes later...
... insert the blade of a knife to check whether the biscuit is cooked. The blade should be dry when you take it out.
Remove the cake from the oven...
... and release from the tin while it is still hot. Set aside to cool.
Using a serrated knife, trim the cake...
... to create regular sides. Set aside.
For the syrup: In a small saucepan, tip the castor sugar and water. Bring to a boil.
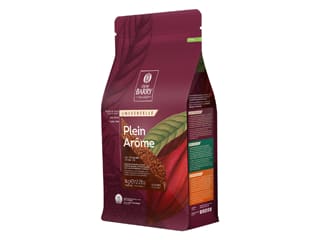
When the sugar has melted and the preparation is syrupy, pour it over the cocoa powder...
... and combine with a whisk.
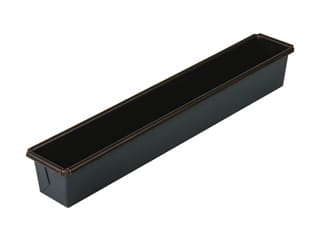
Steep the chocolate cake with the syrup. For this operation, I placed the loaf cake in a large yule log tin (something that is deep and narrow) to collect the excess syrup.
Glaze the cake with syrup, starting from one end to the other.
Flip the cake on all sides to make sure it absorbs as much syrup as possible.
Don't hesitate to collect the syrup excess with a spoon to baste the cake. Leave the cake to sit in the syrup for a bit.
Stretch a sheet of cling film on your worktop surface.
Place the cake on the cling film. Pour the syrup excess over the cake...
... and wrap the mould in cling film.
Reserve in the fridge. You can make the chocolate loaf cake the day before, then leave it overnight in the fridge, wrapped in cling film.
For the caramel and milk chocolate mousse: Organise all the necessary ingredients.
Beat the whipping cream...
... until you obtain a whipped cream, using an electric whisk. Reserve in the fridge.
Tip the castor sugar in a small saucepan. Add 5 cl of water, just enough to humidify the sugar.
Cook the sugar until the temperature reaches 121°C. For this step, the use of a digital thermometer is recommended.
Pour the cooked sugar over the eggs, while whisking at medium speed. Pour the cooked sugar along the inner side of the bowl to avoid splashes of hot sugar.
Increase the speed of the stand mixer and whisk until completely cold. This preparation is called 'pâte à bombe'.
In the meantime, melt the caramel chocolate couverture in the microwave, stirring every 30 seconds to make sure the chocolate doesn't burn.
Stir until smooth and homogeneous.
Pour the melted chocolate (at room temperature) in the preparation...
... and fold gently.
Blend half of the whipping cream to the chocolate preparation to facilitate the incorporation...
... then add the mixture to the remaining whipped cream...
... and fold gently.
Transfer half of the preparation into a piping bag. The use of a nozzle is not necessary.
Assembling the log: Pour some caramel mousse at the bottom of a yule log silicone mould...
... lined with a wood-pattern relief mat.
Remove the chocolate cake from the cling film.
If needed, trim the sides of the cake so it fits perfectly in the centre of the mould.
Arrange the cake on top of the caramel mousse...
... making sure it is well centred.
Pipe the remaining caramel mousse...
... and fill the mould up to the top. Even the surface with a spatula.
Cover with cling film and store in the freezer overnight.
The next day, remove the log from the freezer and remove the cling film.
Place the log flat on your worktop surface and release the silicone mould (white part).
Remove the silicone relief mat.
Make sure you remove the mat when the log is frozen. The mat should come off really easily. Return the log to the freezer.
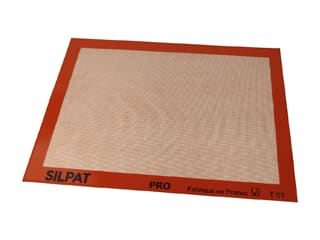
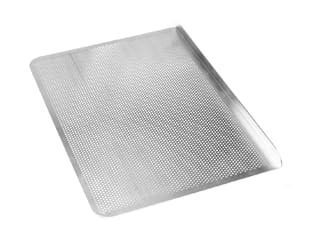
Place a Silpat baking mat on top of a Silichef XL perforated baking sheet. Arrange the pieces of sesame seed nougatine on the mat, making them overlap slightly.
Place the tray in the oven preheated at 150°C (gas 2), for 10 to 15 minutes, until the nougatine has softened.
Meanwhile, cut a cake board (or a piece of hard cardboard) to the dimensions of the log, i.e. 26 x 9cm.
Cut the rectangle with scissors.
When the nougatine is soft, remove from the oven.
Place the Silpat mat on your kitchen worktop, and cover with another silicone mat.
Using a rolling pin, flatten the nougatine brittle into a regular layer.
Remove the mat on top. At this stage, the nougatine is still hot, easy to work and cut.
Place the cardboard rectangle over the nougatine...
... and cut along the rectangle with a knife.
This nougatine biscuit will serve as a base for the log.
Place the nougatine rectangle on a Silpat baking mat.
Arrange the frozen log over the nougatine.
Transfer the log onto a baking sheet (or baking tray with baking tray with raised edges.
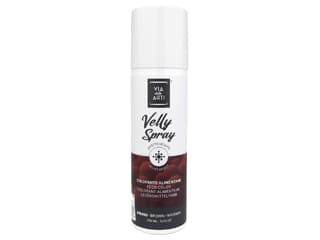
Using the velvet pearl chocolate spray, apply over the surface of the log. Reheat the spray in a bain-marie and make sure you follow the instructions on the bottle.
Spray the whole surface and coat the log with a velvety finish. Store the log in the fridge to let it defrost slowly.
At the latest, this operation should be done the day before serving. The log should not be served on the day you prepare it, otherwise the log will not hold its shape well and will be too difficult to cut. The mousse does not contain any gelling ingredients. Refrigerate for at least 24 hours to allow the mousse to set.
For the decorated tips: Pour some tempered chocolate on an acetate sheet.
Spread into an even layer with a cranked spatula.
Cut a chocolate texture sheet into squares (to the width of the log) and arrange them gently over the melted chocolate.
You can also a plastic mould for yule log tips.
Alternatively, make two embout de bûche wrinkled chocolate squares to decorate both ends of the log.
Make sure chocolate does not spread over the texture sheet, as we will need to remove it later.
Leave the chocolate to set at room temperature. When set, cut along the texture sheet square with a knife.
Gently detach the plastic square. The chocolate should now be printed with the pattern on the texture sheet.
Decorate the log tips with silver colouring spray (optional).
Take the log out of the fridge, then stick the square tips at both ends of the log
Using melted chocolate as an adhesive, arrange the chocolate Christmas trees over the surface of the log.
Use a cooling spray to make sure the decorations adhere to the surface immediately.
Three Christmas tree decorations should be fine for a yule log this size.
Arrange a few chocolate discs vertically on the surface of the log.
Drizzle some non-melting sugar over the log to imitate the effect of snow on wood logs.
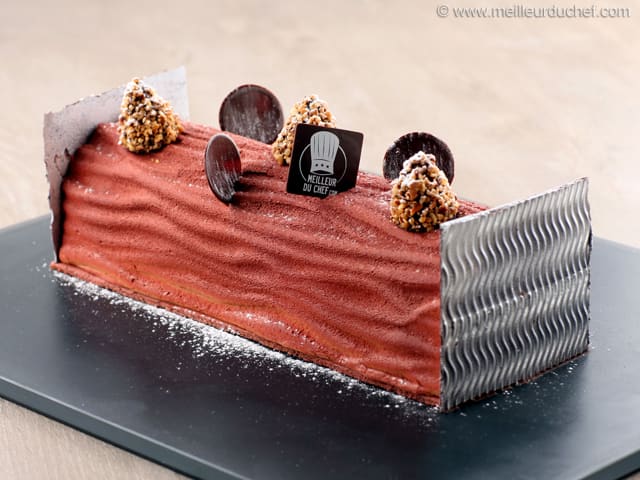
A real treat for chocolate and caramel lovers! Have a wonderful Christmas...
This dessert does not contain any gelling ingredient (such as gelatin or Mycryo cocoa butter) other than chocolate, which sets while cooling down. Milk chocolate takes longer to firm than dark chocolate. From the moment the log is defrosted, it should be stored in the fridge between 24 and 36 hours to allow the caramel and milk chocolate to set completely. Otherwise, the log is likely to collapse and you will have trouble cutting it.
Please login to post a review