You can always send us your messages, comments or suggestions.
In one click, store and find all your favourite recipes.
Add this recipe >To make this Lemon, Black sesame and Yuzu Christmas Yule Log recipe, start by preparing the ingredients for the black sesame praline.
Black sesame praline: Spread the black sesame seeds evenly on a baking sheet...
...ensuring they cover the entire surface of the sheet.
Place the sheet in a fan-assisted oven, preheated to 160°C, and toast the seeds for 15 minutes.
When the black sesame seeds are nearly toasted, heat a saucepan on the stove and pour in a thin layer of caster sugar.
Cook the sugar, stirring with a spatula. The sugar will gradually melt and form a syrup.
Caramelization will begin. Keep the stove at a moderate temperature to prevent the caramel from colouring too quickly. At this point, add the remaining caster sugar in a fine drizzle, spreading it evenly in the bottom of the pan.
Continue cooking while stirring with the spatula. Gradually, the caramel will form. It's called a "dry caramel" because no water is added. Cook it at a gentle temperature to prevent it from darkening too quickly.
The caramel is ready. All the sugar lumps that formed during cooking have dissolved and are well incorporated.
Once the black sesame seeds are toasted, remove them from the oven and pour them onto a sheet of parchment paper.
Fold the parchment paper in half to easily pour the seeds directly into the boiling caramel.
Stir the mixture thoroughly with the spatula to coat all the black sesame seeds with caramel.
Once the seeds are well coated, transfer them onto a silicone baking mat...
...and spread them out as best as possible, as they tend to stick. Let them cool at room temperature.
Once the caramelized sesame has completely cooled, break it into pieces and place it in a food processor bowl...
...then blend it finely.
During blending, add the oil. I use grape seed oil, but you can use any neutral oil, like sunflower or peanut oil.
Blend the mixture again...
...until it becomes a smooth paste. Blending time may vary depending on the power of your food processor.
Transfer this mixture to a mixing bowl.
Now you have your black sesame praline. Set it aside.
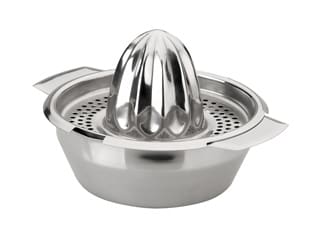
Lime confit: Juice the limes using a citrus press.
Once the lime juice is extracted and weighed, prepare all the ingredients.
Pour the lime juice into a saucepan...
...and add half of the caster sugar. You can eyeball this - no need to weigh it!
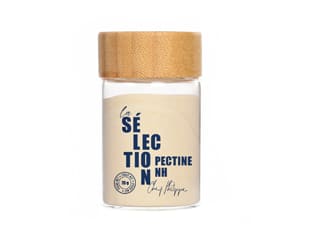
Mix the remaining caster sugar with the pectin NH coating to prevent clumps from forming.
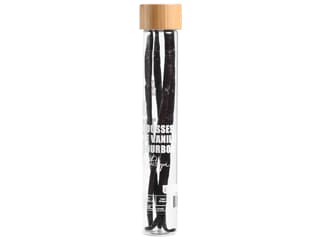
Split the vanilla pod in half and scrape out the seeds with the tip of a knife.
Add the vanilla seeds and the split pod to the lime juice...
...and quickly stir with a whisk to dissolve the sugar.
When the mixture reaches 50 to 60°C, pour in the sugar/pectin mixture while whisking.
Bring the mixture to a boil and maintain the boil for 1 minute to activate the pectin.
You'll notice that the lime juice has thickened slightly.
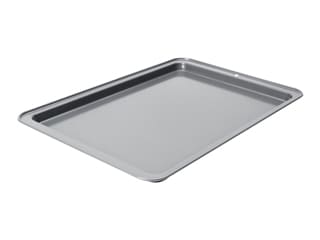
Pour the mixture onto a baking sheet...
...and cover it with a sheet of cling film. Let it cool at room temperature, then refrigerate for complete gelling.
Almond streusel: Prepare all the ingredients.
Place the softened butter and brown sugar in the bowl of a stand mixer.
Add the almond powder...
...as well as the flour...
...and the fleur de sel.
Mix these ingredients using the paddle attachment of the stand mixer. Gradually, the dough will form a crumble, and the streusel dough will come together.
Stop the mixer...
...and transfer the dough onto a 40 x 30 cm sheet of parchment paper.
Cover it with a second sheet of parchment paper.
Roll out the dough with a rolling pin, lengthwise, to shape it into a long strip for the base of your log.
Once you've achieved the desired length, stretch the corners slightly...
...using a template. I'm using a 35 x 11 cm stainless steel frame.
Once the dough is the right size...
...slide it onto a baking sheet and refrigerate for 1 hour to firm up (or freeze for 15 minutes).
When the dough is well-chilled, remove the top parchment sheet...
...and place the stainless steel frame on top. Score the inner part of the frame with a knife. If the dough is too cold, at least mark it with the tip of the knife.
After removing the frame, cut the dough through its full thickness to get the rectangular base.
Remove the excess dough...
...and place the stainless steel frame back onto the dough.
Here's what it should look like.
Bake the dough in a fan-assisted oven, preheated to 170°C, for 12 to 15 minutes. Baking times may vary depending on the oven.
Once baked, remove the sheet from the oven and let the dough cool at room temperature.
Lime madeleine: Prepare all the ingredients.
Pour the caster sugar into a mixing bowl.
Add the flour...
...the fine salt...
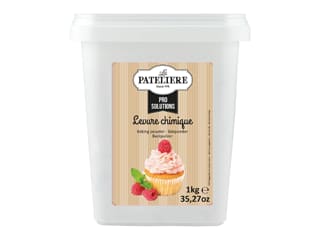
...and the baking powder.
Whisk these dry ingredients together and add the beaten whole eggs.
Add the cold milk...
...as well as the lime juice and zest...
...and whisk vigorously until you have a smooth batter.
Finally, add the melted butter (make sure it has cooled down beforehand)...
...and mix until fully incorporated.
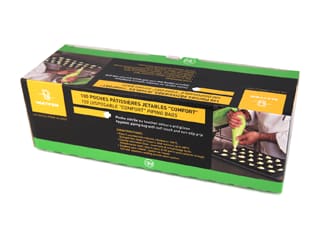
Transfer this lime madeleine batter into a piping bag. No nozzle is needed.
Tie off the piping bag with a knot.
Snip the tip of the bag with scissors to create a small opening about 0.5cm wide.
Pipe the madeleine batter directly into the stainless steel frame, on top of the streusel (either cooled or slightly warm if it hasn't fully cooled yet), in a zigzag pattern to ensure an even thickness...
...like this.
Bake in a fan-assisted oven, preheated to 170°C, for 12 to 15 minutes, depending on your oven.
Once the madeleine biscuit is baked (it should be lightly golden), remove it from the oven...
...and let it cool at room temperature.
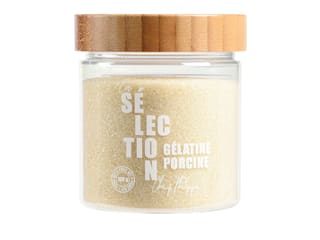
Lemon crémeux: Prepare all the ingredients. Mix the powdered gelatin with water (tap or mineral) and let it hydrate for 15 minutes.
Pour the lemon juice and caster sugar into a saucepan.
Heat and stir well with a whisk to dissolve the sugar.
Add the whole eggs...
...and cook this mixture over medium heat, stirring regularly...
...until it thickens, being careful not to scramble the eggs. To prevent this, cook slowly and evenly over moderate heat.
Once the cream has thickened, remove the saucepan from the stove and add the hydrated gelatin. If small clumps of coagulated egg have formed, it's not a big deal as the mixture will be blended in step 85.
Stir vigorously to fully dissolve the gelatin into the hot mixture.
Finally, add the butter cut into chunks and whisk the mixture.
Mix with a hand blender until smooth and homogeneous.
Pour this lemon crémeux into the mini log insert mould. Here, I placed a spatula in the second cavity to prevent the insert from tipping over while pouring the mixture into the first cavity.
Once the cavity is filled to the top...
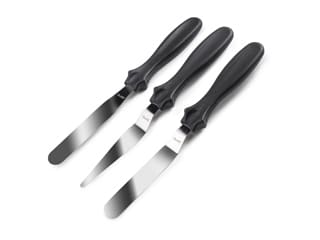
...smooth the surface with a small cranked spatula.
Cover with cling film directly touching the surface...
...and place this lemon crémeux insert in the freezer. Store the remaining crémeux in a container and freeze.
Yuzu whipped ganache (to be started the day before): Prepare the ingredients. Mix the gelatin powder with the hydration water and let it hydrate for at least 15 minutes.
Place the white chocolate in a bowl.
Melt the chocolate in the microwave in intervals of 20 to 30 seconds, stirring between each melting step to prevent burning.
Heat the whipping cream in a saucepan and bring it to a boil.
When boiling, stop the heat and add the hydrated gelatin. Then whisk vigorously to dissolve it.
Pour the boiling cream over the melted white chocolate while mixing with a spatula.
Finally, add the yuzu juice. Be aware that the mixture may "brush," meaning it could become slightly grainy, which is normal since we've added acidity with the yuzu juice into the cream.
Blend the mixture with a hand blender until smooth.
Cover the yuzu ganache with a sheet of cling film and refrigerate. This preparation should be made the day before.
Crunchy sesame: Prepare the ingredients.
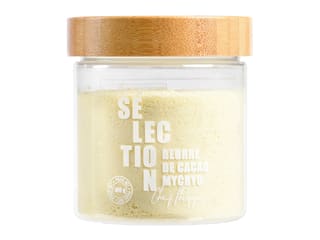
Melt the Mycryo cocoa butter in a small saucepan over very low heat. You can use cocoa butter in discs.
Pour the crispy feuilletine over the black sesame praliné.
Carefully mix everything with a spatula.
Add the melted Mycryo cocoa butter...
...and mix again to combine all these ingredients. Set aside.
Take the frame containing the streusel and madeleine biscuits, and remove the sides by sliding a knife between the stainless steel rectangle and the biscuits.
Carefully remove the stainless steel frame.
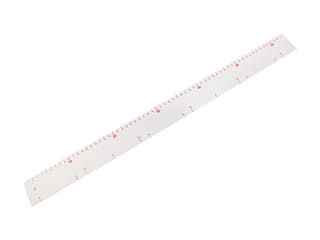
Using a ruler, trim the edge of the biscuit for a neat finish.
Measure 7.5 cm in width and mark it with the tip of a knife.
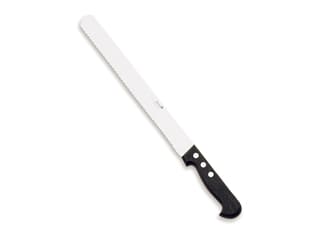
Do the same at the other end of the biscuit and cut a strip of biscuit with a serrated knife.
Trim the ends...
...and with the leftover biscuit scraps, add more to reach a length of 34 cm (total length of the log).
Place the crunchy sesame over the strip of biscuit, directly in contact with the soft madeleine biscuit. The crispy streusel is underneath. We will need about 110 grams of crunchy sesame.
Spread the crisp over the biscuit with a mini cranked spatula. You can use a bench scraper to create a border to prevent the mixture from spilling over the sides.
We achieve this result.
Take the lemon confit out of the fridge, remove the cling film...
...and transfer it to a bowl.
Remove the vanilla pod and vigorously whisk the confit to smooth it out.
Transfer the lemon confit into a piping bag (without a nozzle).
Cut the tip of the bag to create a small opening, and pipe the confit onto the crunchy sesame in long parallel lines.
Then smooth the confit with the mini angled spatula, being careful not to crush it. Place everything in the freezer.
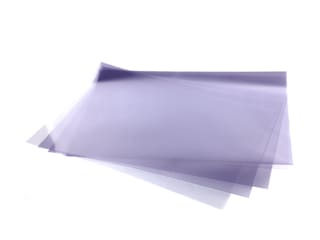
Lay an acetate sheet on the work surface, and cut it to 34.5 cm in length...
...and 15cm in width. These dimensions correspond to the yule log mould used in this recipe.
Check that the acetate sheet is the correct size and fits perfectly inside the yule log mold.
Yuzu whipped ganache (continued): Take the yuzu ganache out of the fridge, remove the cling film, and place it in the mixing bowl. Whip this preparation with the whisk attachment until it becomes smooth and slightly thick, like whipping cream. Be careful not to over-whip it.
The yuzu whipped ganache has slightly lightened, and the marks left by the whisk remain well defined on the surface.
Transfer this preparation into a piping bag (without a nozzle)...
...and pipe the yuzu whipped ganache into the bottom of the yule log mould, directly onto the acetate sheet, filling it 3/4 full.
Use the mini cranked spatula to push the ganache up the sides to eliminate any trapped air bubbles.
Take the lemon creamy insert out of the freezer and remove the plastic wrap.
Then, gently peel the edges of the mold...
...and unmold the lemon creamy insert onto the work surface. It should be frozen through for optimal release results.
Take the insert and place it inside the mould, pressing it into the yuzu whipped ganache, with the rounded side down and the flat side up.
Gently press down on the insert with both thumbs. We can see the ganache rise on the edges.
Fold the excess ganache over the lemon creamy insert with the mini cranked spatula, leaving about a 0.5cm gap between the top of the ganache and the edge of the mould.
Take the biscuit rectangle covered with crunchy sesame and lime confit out of the freezer. It's normal for the confit to whiten a bit when frozen.
Place the biscuit in the mould, with the lime confit directly in contact with the yuzu whipped ganache, and press down gently without breaking the biscuit to let the excess ganache rise on the sides.
Smooth the edges using the mini cranked spatula.
Clean the edges of the mould with a paper towel and cover everything with cling film. Place the log mould in the freezer. This recipe can be made up to this step several days in advance.
Small white trees: Prepare all the ingredients. Here we will proceed with the seeding method for tempering chocolate.
Chop a small amount of white chocolate.
It is important that the chocolate is finely chopped to facilitate melting.
Melt the large amount of chocolate in the microwave in intervals of 20 to 30 seconds, stirring every time to prevent burning.
The melted white chocolate should not exceed 45°C. It is recommended to use a laser thermometer.
Once this temperature is reached, add the finely chopped chocolate all at once...
...and carefully mix with the spatula...
...until the chocolate chunks are completely melted.
Continue mixing the melted white chocolate until its temperature drops to 29°C (if you still have unmelted pieces of chocolate when you reach 29°C, you can use a heat gun or hairdryer to finish melting by sweeping the heat source 30cm above the chocolate).
Transfer the tempered white chocolate into a piping bag (without a nozzle).
Place the Christmas tree silicone stencil on an acetate sheet.
Pipe the tempered white chocolate into the tree-shaped cavities...
...and smooth the surface with a cranked metal spatula before crystallization begins. Don't hesitate to pass the spatula two or three times if necessary.
Finish with a complete smoothing against the stencil. Let crystallize in a cool room (18°C). To speed up the crystallization process, you can place these small trees in the fridge for 5 to 10 minutes.
When the white chocolate is completely crystallized, flip it over, remove the acetate sheet...
...and release the small trees.
Here's a small white chocolate tree. Set aside.
Small yellow trees: We will temper chocolate by using the seeding method as we did previously, then add the yellow Power Flowers colouring at the same time as the white chocolate chunks...
...and mix until the coloured chocolate reaches 29°C.
When the chocolate is at the right temperature, pour it into a piping bag...
...and fill the cavities of the stencil sitting on an acetate sheet.
Then smooth the surface with the cranked metal spatula and let crystallize at room temperature or in the fridge.
Once the chocolate has crystallized, flip it over and release the little yellow trees.
We achieve this result.
Yellow mirror glaze (make the day before): Prepare all the ingredients. Hydrate the gelatin powder with the hydration water for 15 minutes.
Weigh the glucose syrup directly into the saucepan, then add the water...
...as well as the caster sugar.
Mix with a spatula and bring to a boil.
Pour the white chocolate and condensed milk into a measuring pitcher.
Add the hydrated gelatin...
...as well as the yellow Power Flowers colouring. I must specify that the quantity of glaze shown in the photo is greater than what is necessary for this recipe, so it is normal for you to have less glaze when you prepare it at home.
When the syrup comes to a boil, maintain it for 1 to 2 minutes until the caster sugar is completely dissolved; this is essential. The syrup should be transparent.
Pour the boiling syrup directly into the pitcher, in contact with the other ingredients.
Then blend everything using a hand blender until all the ingredients are dissolved.
Continue blending to eliminate air bubbles. To do this, create a very slight swirl on the surface without incorporating air into the mixture. Just tilt the blender a little (without taking it out of the mixture), and blend for a long time so that the existing air bubbles are sucked in by the blade and then eliminated. If you create large swirls, you will create air bubbles. Be careful about that!
We obtain our smooth and homogeneous yellow mirror glaze.
Cover this glaze with a sheet of plastic wrap directly on the surface...
...and let it cool at room temperature before placing it in the fridge.
Finishing: On the day (but at least 24 hours after making the mirror glaze), take the yellow mirror glaze out of the fridge and remove the plastic wrap.
The glaze will have set, which is normal. Heat it in the microwave in intervals of 30 to 45 seconds, mixing every time.
The glaze will gradually melt from the outside to the inside. You will need to blend until homogeneous and fully melted. If you let it melt entirely, in the end, your glaze will be too hot. You will have to cool it down again.
The ideal temperature for using mirror glaze is 35°C. Set it aside.
Take the yule log mold out of the freezer...
...and remove the plastic wrap.
Flip the mould upside down over the work surface and release the cake. The acetate sheet at the bottom of the mould should facilitate the operation. You will just need to detach the ends either with a knife blade or with a blowtorch.
Place the log on a stainless steel tray with rack and remove the acetate sheet.
Position the rack on the tray at a slight angle to ensure it is stable.
Give the glaze one last blend, and pour it from one end to the other of the log, making small back-and-forth motions from right to left to ensure complete coverage.
We obtain our log completely covered in yellow mirror glaze. Do not go back while glazing to avoid drips and thick areas that would be visible and unaesthetic.
Gently lift the log with two cranked spatulas and swirl it on the rack to cut the glaze threads.
Place the yule log on a baking sheet.
Take the excess lemon crémeux (reserved earlier in the recipe) and stir with a spatula until smooth.
Then transfer into a piping bag fitted with a plain nozzle Ø 8mm. Set aside.
Sprinkle a thin stream of black sesame seeds on the surface of the log...
...like this. The seeds should be close together to form a narrow line.
Then sprinkle some black sesame seeds more spread out around the perimeter of the line.
Pipe drops of lemon crémeux on the surface of the log, forming a peak at the top of the drops that will vary in size.
Place the small trees, alternating between the white and yellow ones as you like, standing them upright between the drops of lemon crémeux.
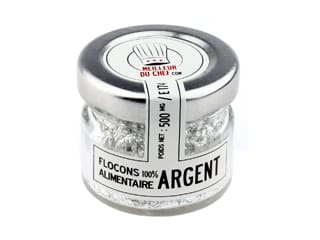
Finish the decoration with a sprinkle of silver flakes here and there, to achieve our Christmas yule log with lemon, black sesame and yuzu. Place the yule log on a serving platter, then refrigerate for 4 to 5 hours until defrosted completely. Enjoy!
Please login to post a review