You can always send us your messages, comments or suggestions.
In one click, store and find all your favourite recipes.
Add this recipe >Before starting this Easter Chocolate Entremets recipe, organise the necessary ingredients for the chocolate biscuit.
For the chocolate biscuit: Pour the whole egg in the stand mixer recipient fitted with the whisk.
Add 65 grams of castor sugar...
... and whisk together...
... until the preparation is pale and doubled in volume. This should take 5 minutes at high speed. Set aside.
Place the egg whites in a separate bowl...
... then beat the egg whites until firm.
When the egg whites are firm, add 10 grams of castor sugar and beat again until you obtain a stiff meringue.
Stop the beater and remove the bowl.
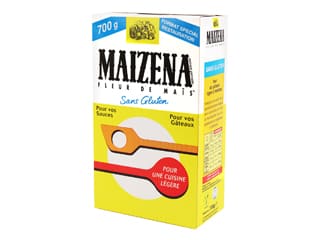
Sift the flour and corn starch in a fine sieve over the blanched preparation.
Repeat the operation with the cocoa powder...
... and sift over the blanched preparation with flour and corn starch.
Stir with a rubber spatula, working in a vertical, rotating motion to get rid of any lumps.
Add the meringue and combine gently with the spatula...
...working in a rotating motion so the preparation does not to collapse.
Pour the biscuit preparation into a baking sheet lined with a baking mat...
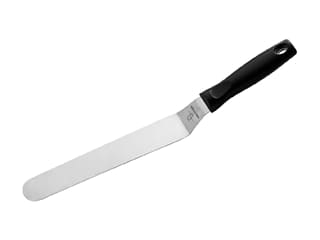
... and spread with a metallic cranked spatula to a thickness of 1cm. You should be able to make two discs with a diameter of 16cm.
Place in a fan-assisted oven preheated at 180°C (gas 4)...
... and bake for about 12 minutes (depending on the type of oven). The biscuit is cooked when the surface no longer sticks to your fingers.
When cooked, remove from the oven and leave to cool at room temperature.
For the chocolate and tonka ganache: Organise the necessary ingredients.
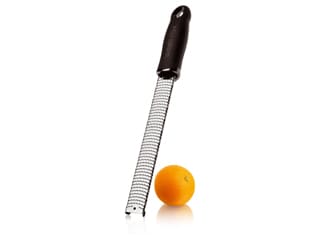
Pour the whipping cream in a saucepan and grate the tonka bean using the Microplane Classic grater. Make sure you're using a scale to measure 1 gram accurately, otherwise the tonka will be too dominant in the preparation.
Start heating the cream.
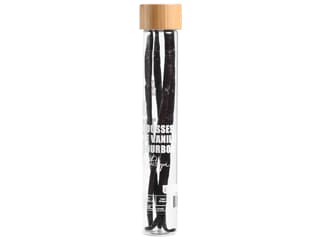
Split the vanilla pod in half, scrape the seeds out with a knife and add to the cream. Bring to a boil.
When the cream starts boiling, take the saucepan away from the heat and stretch a sheet of cling film over the saucepan.
Leave the cream to infuse for 4 minutes.
Tip the sugar in a separate saucepan...
... and heat until a caramel forms, without adding any water. The sugar should slowly melt into a syrup, then into a caramel.
While the caramel is forming, remove the cling film from the other saucepan. Add the honey to the cream (melt the honey in the microwave beforehand until liquid). Combine carefully to incorporate the honey.
Pass the cream through a fine sieve over the caramel...
... and combine with a spatula.
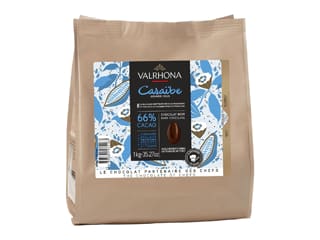
Pour the caramel into a pouring jug containing the Jivara milk chocolate and Caraïbe dark chocolate.
Mix with a Bamix hand blender until smooth and homogeneous.
Add the butter and mix again until you obtain a smooth ganache. Set aside.
When the chocolate biscuit has cooled down, flip it onto a sheet of greaseproof paper and remove the silicone mat.
Using a stainless steel ring Ø 16cm, cut the chocolate biscuit into two discs.
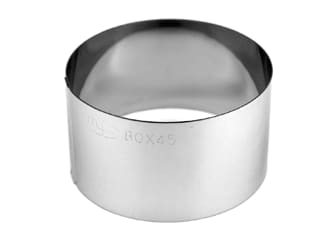
Using a mousse ring Ø 8cm, cut a hole in the centre of the chocolate disc.
The result should look like this. Repeat the operation with the second biscuit disc.
Take the base of the Hula silicone mould kit and fill up to 1/3 with the chocolate ganache.
Arrange one biscuit disc carefully over the chocolate ganache...
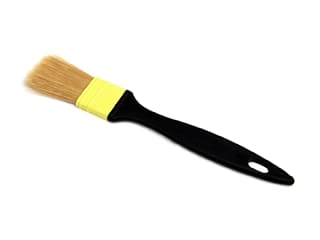
... and steep with sugar syrup 30° baumé, using a pastry brush.
Cover the chocolate biscuit...
...then arrange the second biscuit disc on top.
Brush the surface of the biscuit with syrup.
Fill the rest of the mould with the chocolate ganache. The biscuit might come up to the surface a little. Make sure you bury it again to keep it immersed.
Even the surface with a cranked spatula...
... and stretch cling film over the silicone mould.
Place a baking sheet over the silicone mould to maintain the biscuit immersed. Reserve in the freezer.
For the chocolate crémeux: Organise the necessary ingredients.
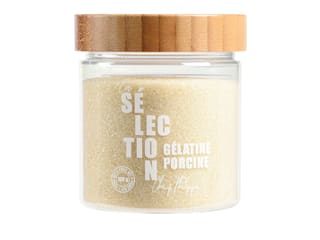
Hydrate the gelatine powder with 10 grams of water. Combine then set aside for at least 10 minutes.
In a saucepan, heat the whipping cream.
Place the egg yolks in a mixing bowl...
... add the castor sugar...
... and blanch with a whisk.
When the cream starts boiling, pour over the blanched preparation while whisking.
Transfer the preparation into the saucepan used to boil the cream...
... and cook 'à la nappe' (i.e. until the consistency is thick enough to coat the back of a spoon), like a custard.
Monitor the temperature with a laser thermometer, making sure it doesn't exceed 82°C. When it reaches this temperature, take the pan away from the heat.
Place the Caraïbe dark chocolate in a pouring jug and add the rehydrated gelatine.
Pour the boiling cream into the jug...
... and mix the preparation with a hand blender until you obtain a chocolate crémeux.
Pour the chocolate crémeux in the Hula spiral silicone mould...
... and fill up to the top.
Cover the surface with cling film. Reserve in the freezer. Up to this stage, this recipe can be made well in advance.
For the chocolate icing: Organise the necessary ingredients.
Hydrate the gelatine with 63 grams of water.
Heat the whipping cream and the glucose syrup in a saucepan...
... while combining with a whisk.
Add the cocoa powder and whisk.
In a separate saucepan, pour the water and castor sugar and bring to a boil.
Transfer the chocolate preparation into a pouring jug. There might be lumps but this is normal.
When the sugar syrup starts boiling, continue cooking until the temperature reaches 110°C.
Pour the hydrated gelatine into a jug.
When the syrup reaches 110°C, pour over the chocolate preparation...
... and mix with a hand blender until smooth and homogeneous.
Stretch cling film over the chocolate icing...
... and refrigerate. (see photo) Ideally, this icing should be prepared the day before (for a better gelling result and a better texture).
For the crunchy disc: Organise the necessary ingredients.
Place the pine nuts and chopped hazelnuts on a baking sheet...
... add the corn flakes...
... and the desiccated coconut and spread over the surface of the baking sheet.
Toast the ingredients in the preheated oven to 150°C for about 15 minutes.
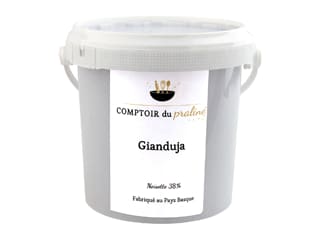
Place the gianduja paste in a bowl.
Melt in the microwave for a few seconds and stir with a rubber spatula.
Add the white almond purée...
... and combine with the rubber spatula.
Place the Jivara milk chocolate and Ivory white chocolate in a separate bowl.
Melt both chocolates ingredients in the microwave, stirring every 20 or 30 seconds to make sure the chocolate doesn't burn.
When the chocolates are melted and homogeneous, pour over the Gianduja and almond preparation.
Combine carefully with the rubber spatula.
Add the fleur de sel (use a kitchen scale) and combine again.
Take the toasted ingredients out of the oven...
... and add to the chocolate preparation.
Combine all ingredients with the rubber spatula (the corn flakes will get crushed during the operation).
The crunchy disc preparation is ready.
Place a mousse ring Ø 18cm on a baking sheet lined with greaseproof paper. Place a mousse ring Ø 6cm in the centre of the large ring.
Pour the biscuit preparation between both rings, as shown in the photo.
Press on the biscuit preparation with the small cranked spatula until compact and regular.
This is what the result should be like. Place the crunchy biscuit ring in the freezer.
The next day, take the chocolate icing out of the fridge. Remove the cling film and reheat briefly in the microwave (the icing should have cooled down before use so there is no need to reheat it until hot).
Stir the chocolate icing with the spatula...
... and mix with a hand blender.
The ideal temperature for the chocolate icing is 28°C.
When the icing is at the right temperature, mix again until smooth and homogeneous.
Take the base mould out of the freezer. Remove the cling film...
...and release the cake from the mould onto a rack placed on top of a deep tray.
Pour the chocolate icing at 28°C over the surface of the cake.
Gently tap the rack on your worktop to let the excess drip off.
Take the crunchy biscuit out of the freezer and remove the small ring in the centre...
... then release the crunchy biscuit from the large ring.
Flip the crunchy biscuit so the surface is perfectly flat. Arrange the biscuit over a cake board. Then lift the frozen entremets carefully with two metallic cranked spatulas...
... and place it on top of the crunchy biscuit disc.
This is what the result should look like at this stage.
Take the chocolate crémeux out of the freezer and remove the cling film from the silicone mould.
Release the frozen chocolate crémeux from the silicone mould onto a sheet of greaseproof paper.
Spray velvet pearl icing over the surface of the chocolate crémeux ring. When coming into contact with the frozen cake, the icing will set instantly into micro drops and create an elegant velvet finish.
This is what the result should be like.
Lift the chocolate crémeux ring carefully with two metallic cranked spatulas...
... and arrange it on top of the frozen entremets, making sure it is well centred.
The result should be as shown in the photo. The crémeux is covered with a layer of frost. This is totally normal, the frost will gradually disappear while the cake defrosts in the fridge.
Arrange chocolate sticks over the surface of the entremets. Pipe drops of chocolate beforehand on the surface of the cake, they will serve as a glue for the chocolate sticks.
Place the chocolate sticks in a random pattern, making them overlap.
Arrange dark chocolate pearls over the surface of the entremets...
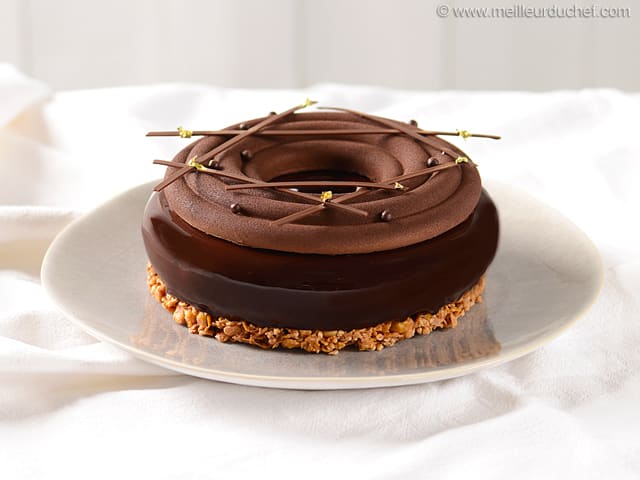
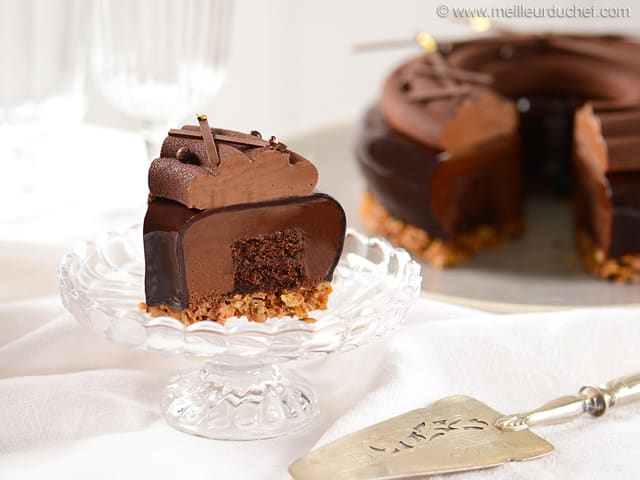
... and finish with small pieces of gold leaf, using decorating tweezers. Stick the gold leaf pieces with drops of chocolate icing. The Easter chocolate entremets is ready. Leave to defrost in the fridge for 3 to 4 hours before serving. Enjoy this delicious dessert!
Please login to post a review