You can always send us your messages, comments or suggestions.
In one click, store and find all your favourite recipes.
Add this recipe >Organise all the necessary ingredients for the chocolate Easter egg.
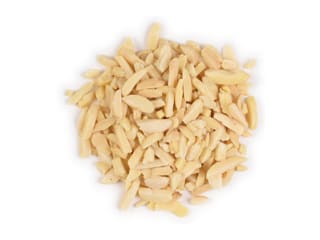
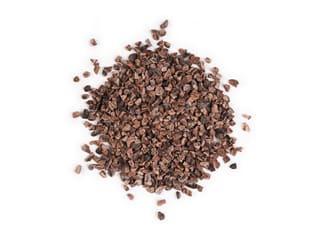
For the inclusions: We used the following ingredients: toasted slivered almonds, cranberries, toasted chopped almonds, chopped pistachios, toasted cocoa nibs, dark or milk chocolate crispy pearls, sesame seeds, sunflower seeds... Use any other ingredients of your choice.
These are all easy to find. Make sure you chop them in tiny chunks.
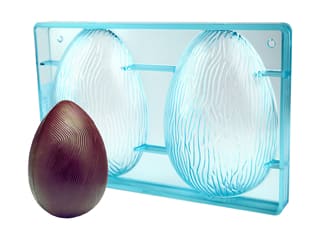
Carefully arrange the inclusions at the centre of each cavity from the striped half egg mould. This operation is all about patience and precision while placing the small chunks inside the cavities. I recommend using small decorating tongs for best results.
Tempering the dark chocolate: This step is essential to get a glossy finish, a neat snap when breaking and to avoid dull white marks.
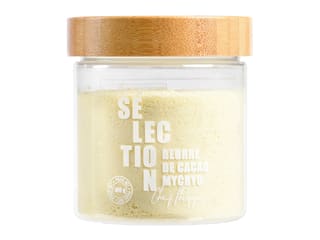
I used the tempering technique with Mycryo cocoa butter, which is the easiest method for beginners who want to temper chocolate at home.
When tempered, the chocolate should have a temperature of 31°C.
Transfer the tempered chocolate into a piping bag.
Moulding the chocolate egg: Cut the end of the bag with scissors to create a small hole.
Carefully pipe some chocolate over the inclusions first.
Cover the inclusions slowly with chocolate...
... making sure they don't move during the process.
Repeat the operation in both cavities and leave to crystallize in a cool room (approx. 17°C). Do not refrigerate.
15 or 20 minutes later, the chocolate should be fully crystallized.
Now that the small inclusions are set in the chocolate, fill the rest of the cavity with tempered chocolate.
Fill the first cavity...
... up to the rim.
Tap the sides of the mould with a spatula handle to knock out any air bubbles.
Rotate the mould with your hands to ensure the chocolate coats the whole surface up to the rim. Rotate the mould several times.
Flip the mould over the chocolate bowl and empty the excess.
Tap the mould to make sure all the excess chocolate drips down.
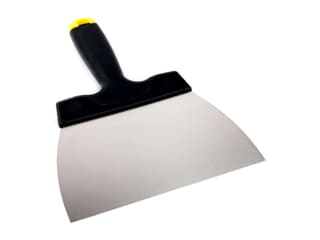
Scrape the surface of the mould with a stainless steel chocolate spatula.
Repeat the same operation with the second cavity.
Tap the sides of the mould with the spatula handle, then rotate the mould so the chocolate spreads evenly over the whole surface. Rotate the mould several times.
Flip the mould over the chocolate bowl and empty the excess.
Tap the mould to make sure all the excess chocolate drips down.
Scrape the surface of the mould with a chocolate spatula.
I recommend working with one cavity at a time to reuse as much chocolate as possible and reduce the amount of leftover chocolate.
Flip the mould over the chocolate bowl and tap the mould to empty all the excess chocolate.
Scrape the surface of the mould with a chocolate spatula.
Place the mould over a sheet of greaseproof paper and leave to crystallize at room temperature (do not refrigerate). This operation will take longer if your room is warm. Ideally, store in a cool room between 17°C and 19°C.
If tempered properly, the chocolate should come off the mould as it crystallizes.
The half egg shapes are ready. The chocolate should be glossy!
Place one half over a small bowl to keep it steady and horizontal...
... as shown in the photo.
Place the second half on a hot baking sheet (place the tray in a hot oven for a few seconds beforehand)...
... until the rim of the egg starts to melt a little.
Assemble the two halves together, making sure both rims join perfectly.
Leave to crystallize at room temperature (between 17°C and 19°C).
Before assembling both halves together, fill the egg with Easter chocolates for the perfect Easter gift!
Please login to post a review