You can always send us your messages, comments or suggestions.
In one click, store and find all your favourite recipes.
Add this recipe >Before starting this Peach, Apricot and Meringue Ingot recipe, organise the necessary ingredients for the cooked meringue.
For the cooked meringue (Swiss meringue): Pour the egg whites in the stand mixer bowl.
Add the castor sugar.
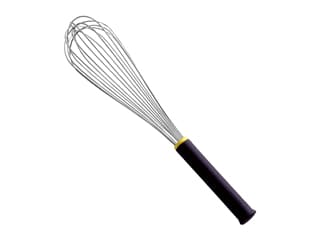
Combine with a whisk to incorporate the castor sugar.
Place the recipient over a bain-marie prepared in a saucepan.
Whisk the preparation until hot. When touching the preparation with the tip of your finger, you should feel a stinging sensation due to the heat. Watch the intensity of the heat, as it could cause the egg whites to coagulate.
Place the recipient in the food mixer and beat...
... until you obtain a meringue. Continue beating until the meringue is cold. The Swiss meringue is now ready.
Scoop the meringue into a piping bag fitted with a plain nozzle.
Using a pen, draw a rectangle to the dimensions of the wider side of the ingot frame on a sheet of greaseproof paper.
Flip the baking parchment so the rectangle drawing is facing down.
Pipe 4 meringue dots in the corners of a baking sheet.
Place the greaseproof paper on top. The meringue dots will prevent the paper from lifting during baking.
Pipe the meringue into the drawn rectangle, creating small balls...
... and piping them in tight rows. Make sure you do not pipe the meringue outside of the rectangle drawing.
Pipe the rest of the meringue into the cavities of a half-sphere silicone mould (5 cm).
Bake in a fan-assisted oven at 100°C (gas 1/4) for one hour. When cooked, remove from the oven and set aside to cool.
For the peach and apricot mousse: Organise all the necessary ingredients.
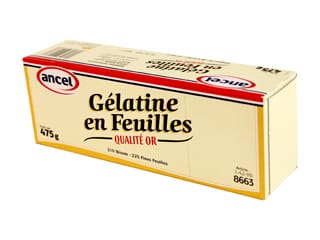
Soak the gelatine sheets in a bowl filled with cold water. Make sure you do not soak all 6 gelatin sheets together. Place 3 sheets in one bowl, and the 3 remaining ones in a separate bowl.
Pour the apricot purée in a small saucepan.
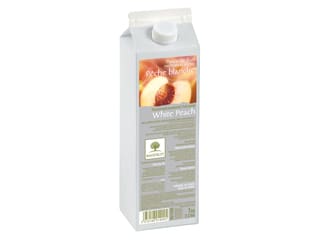
Pour the white peach purée in a separate saucepan.
Cook both preparations over medium heat.
Strain the gelatine sheets from the first bowl...
... and add them to the hot apricot purée. Combine until fully dissolved.
When the peach purée is hot...
... strain the remaining 3 gelatin sheets...
... and add to the hot purée. Combine until fully dissolved.
Pour both preparations into two separate deep trays to speed up the cooling process. Do not refrigerate; the preparation should not jellify.
When cold, pour one purée into a large bowl.
Add the meringue...
... and fold gently.
Add the whipped cream...
... and fold gently, using a rubber spatula...
... until homogeneous.
Repeat the operation with the second preparation. Add the meringue...
... and fold gently. Add the whipped cream and combine until homogeneous.
Transfer the peach preparation into a piping bag. The use of a nozzle is not necessary.
Transfer the apricot preparation into a second piping bag.
Pipe the apricot mousse into the cavities of a half-sphere silicone mould (the mould used has cavities with a diameter of 3.2 cm and is part of the moon curve mould kit).
Even the surface with a spatula and store in the freezer.
Cover a baking sheet with cling film. Make sure the film is stretched tight on the tray.
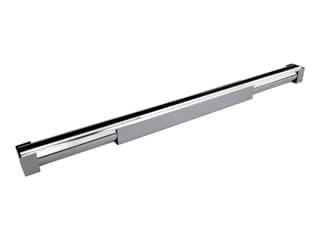
Assembling the cake: Place the ingot cake frame on top of the cling film, narrow side facing down. Fill the ingot frame up to 1/3...
... with the apricot preparation.
Pipe a layer of peach mousse and fill the mould up to 2/3.
For an even layer, pipe the preparation into curves.
Finish with a layer of apricot mousse. Even the surface with a metallic spatula.
Cover with cling film and store in the freezer.
For the poached peaches: Organise all the necessary ingredients.
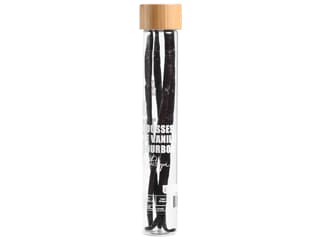
Pour the water in a saucepan. Cut the vanilla pod in half, lengthwise. Add to the saucepan, together with the castor sugar.
Bring to a boil and cook until the sugar has melted.
Add the peaches (preferably yellow variety). Prefer peaches that are not too ripe and that haven't been dropped or damaged.
Poach the peaches in simmering water for at least one hour.
When poached, gently remove them from the syrup and peel them.
Cut them in half and remove the stone. It should come off with no resistance.
For the chocolate waves: Melt the chocolate over a bain-marie, stirring gently. You can also melt the chocolate in the microwave, in periods of 20 seconds to make sure it does not burn.
When the chocolate has almost completely melted (only a few solid pistoles should remain), remove the recipient from the bain-marie. At this stage, the chocolate is roughly 40°C. The temperature should not exceed 45°C.
The chocolate will continue melting without exposing it to any source of heat. Let the temperature go down to 34-35°C.
Add the Mycryo cocoa butter. This cocoa butter is 100% natural. The supplied dispenser cup contains 10 grams, i.e. the necessary quantity for 1 kg of chocolate.
Sprinkle the cocoa butter over the chocolate at 34°C and combine.
Stop stirring for a little while and let the powder melt slowly.
Stir again and let the temperature go down to 31°C. The chocolate is now ready.
To monitor the temperature of the chocolate, the use of a thermometer is essential. I recommend using a laser thermometer, as this product provides accurate information without being in direct contact with food.
When the chocolate is tempered...
... and place a strip of acetate (width 7cm) on your kitchen worktop.
Pour the tempered chocolate on top.
Spread with a cranked spatula into a thin, regular layer.
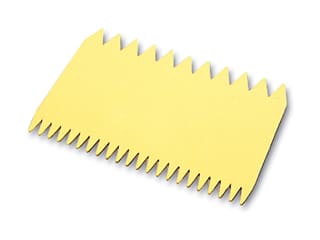
Slide a chocolate comb diagonally across the acetate strip to create parallel lines.
Gently lift the acetate strip with the tip of a knife...
... and place it into a small tube. For this recipe, I used the cylinder mould kit Ø 3cm. Let the chocolate crystallize at room temperature. You can refrigerate the tube, but for no longer than 10 minutes.
When the chocolate has crystallised, gently remove acetate film from the mould...
... and detach the chocolate waves. Set aside.
For the apricot spheres: When the spheres are frozen...
... gently remove each shape from the mould, pushing from the underside.
Insert a wooden pick in the frozen spheres...
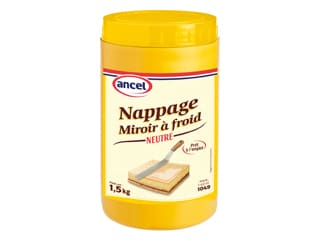
... and dip them in clear mirror glaze, which has been blended with a little raspberry purée beforehand.
Remove the sphere from the glaze, then let the excess icing drip off and place in the fridge to defrost. Lay them on their flat side. This will ensure they remain in a stable position without any alteration to their shape.
For the finish: Remove the frozen ingot cake from the freezer. Slightly heat the sides of the frame with a blow torch.
The frame should come off easily. Remove gently. This operation should be really quick in order not to melt the cake.
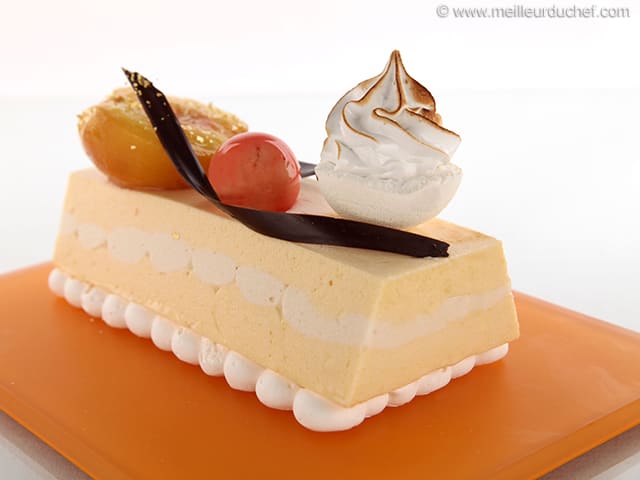
Place the cooked meringue rectangle on a serving plate.
Gently lift the frozen cake with a cranked spatula...
... and arrange it carefully on top of the meringue rectangle.
Take one poached peach half, then trim it a little to create a perfectly flat base. Keep the remaining peaches in the syrup to prevent them from drying.
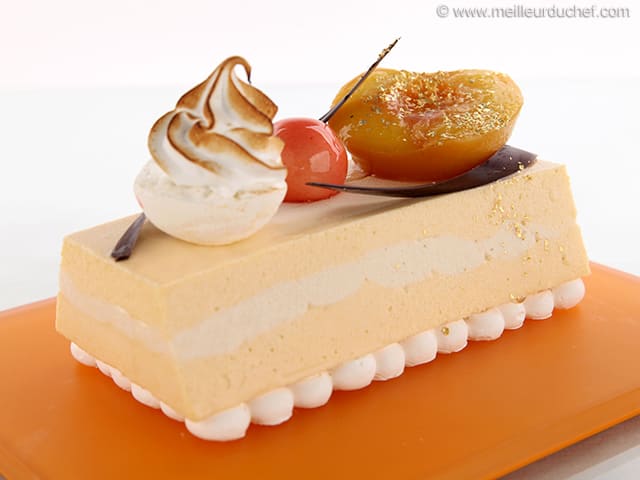
Gently arrange the peach half on the surface of the cake.
Using a wooden pick, gently take an apricot sphere...
... and arrange it carefully next to the peach.
Make the French meringue at the last minute. Using a piping bag fitted with a fluted nozzle, pipe some on top of a meringue shell...
... forming a generous swirl with a pointed end.
Brown the meringue topping with a blow torch, very briefly.
Arrange the meringue element (soft and cooked) on the surface of the cake, as well as a couple of chocolate wave decorations. Sprinkle the peach with a few gold flakes.
Reserve in the fridge. It should take approximately 2 hours for the cake to defrost in the fridge before serving. Enjoy!
Please login to post a review